4-8 Exam Preparation
(2) Roll the trackball and press <Set> to select the exam mode.
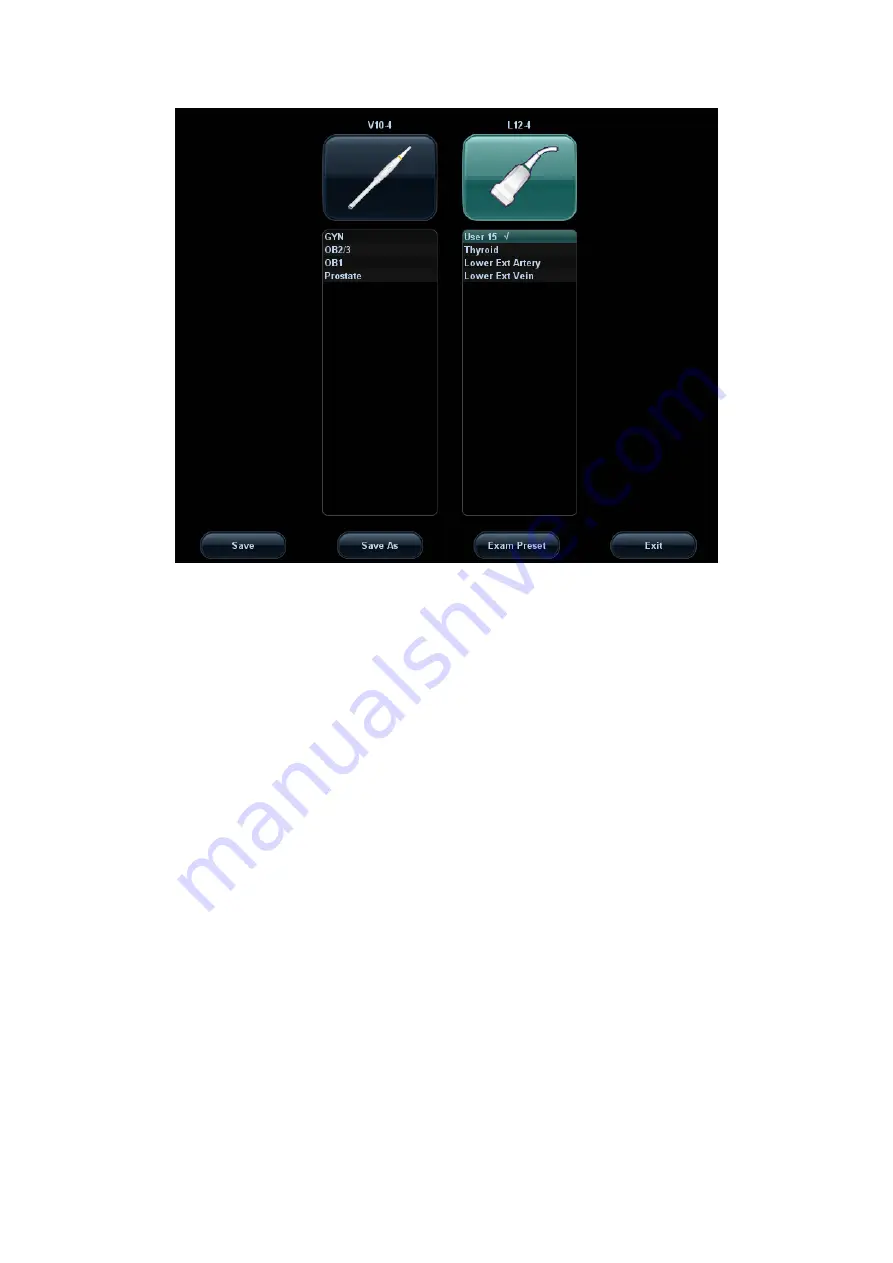
To save the image parameters for the current exam mode quickly:
(1) Press <Probe> to open the dialog box.
(2) Click [Save], to save the image parameters of the current image mode as setup
data. A dialogue box pops up to prompt you that the operation will cover the current
image preset data.
(3) Click [Save as] to save the current image parameters to the designated exam
mode.
Click [Exam Preset] to enter the exam preset screen. For exam preset, please refer to
“15.2 Exam Preset”.
Exit:
Click [Exit] or press <Probe> to exit, press <B>, <Freeze> or <ESC> can also exit the
screen.
4.4
Select the Imaging Mode
Use the corresponding keys in the control panel to enter the imaging modes
For the detailed operations in each imaging mode, please refer to “5 Image Optimization”.
4.5
Activate & Continue an Exam
4.5.1 Activate an Exam
Select an exam that is finished within 24 hours, click [Activate Exam] in “iStation” or
“Review” screen to activate the exam.
Tips:
Summary of Contents for DC-T6
Page 1: ...DC T6 Diagnostic Ultrasound System Operator s Manual Basic Volume...
Page 2: ......
Page 10: ......
Page 16: ......
Page 28: ......
Page 37: ...System Overview 2 9 2 6 Introduction of Each Unit...
Page 178: ......
Page 182: ......
Page 236: ......
Page 240: ...13 4 Probes and Biopsy No Probe Model Type Illustration 19 CW2s Pencil probe...
Page 300: ......
Page 314: ......
Page 320: ......
Page 326: ......
Page 330: ...C 4 Barcode Reader...
Page 337: ...Barcode Reader C 11...
Page 342: ......
Page 347: ...P N 046 001523 01 V1 0...


