15-14 Setup
z
Click
to add the item in Available Items on the left into Selected Items
on the right.
z
Click
to add all items in Available Items on the left into Selected Items
on the right.
z
Click
to delete the selected item in Selected Items.
z
Click
to clear the content in Selected Item.
5. Click [Up] and [Down] to adjust the sequence of the items in Selected Items.
6. Preset the probe mark of the selected body mark in Selected Items.
Move the cursor onto the probe mark of the body mark in Probe area and press <Set>
to make the cursor turn green. Roll the trackball to change the position of the probe,
rotate the multifunctional knob to change the angle, and press <Set> to confirm the
orientation of the probe.
7. Select the body mark in Selected Items and click [Default], and then the body mark
will be prior to be displayed.
8. Click [OK] to complete the body mark setting.
15.5.2 User-defined Body Marks
If there is no body mark pictogram from the body mark library, you can create a graphic of
your own.
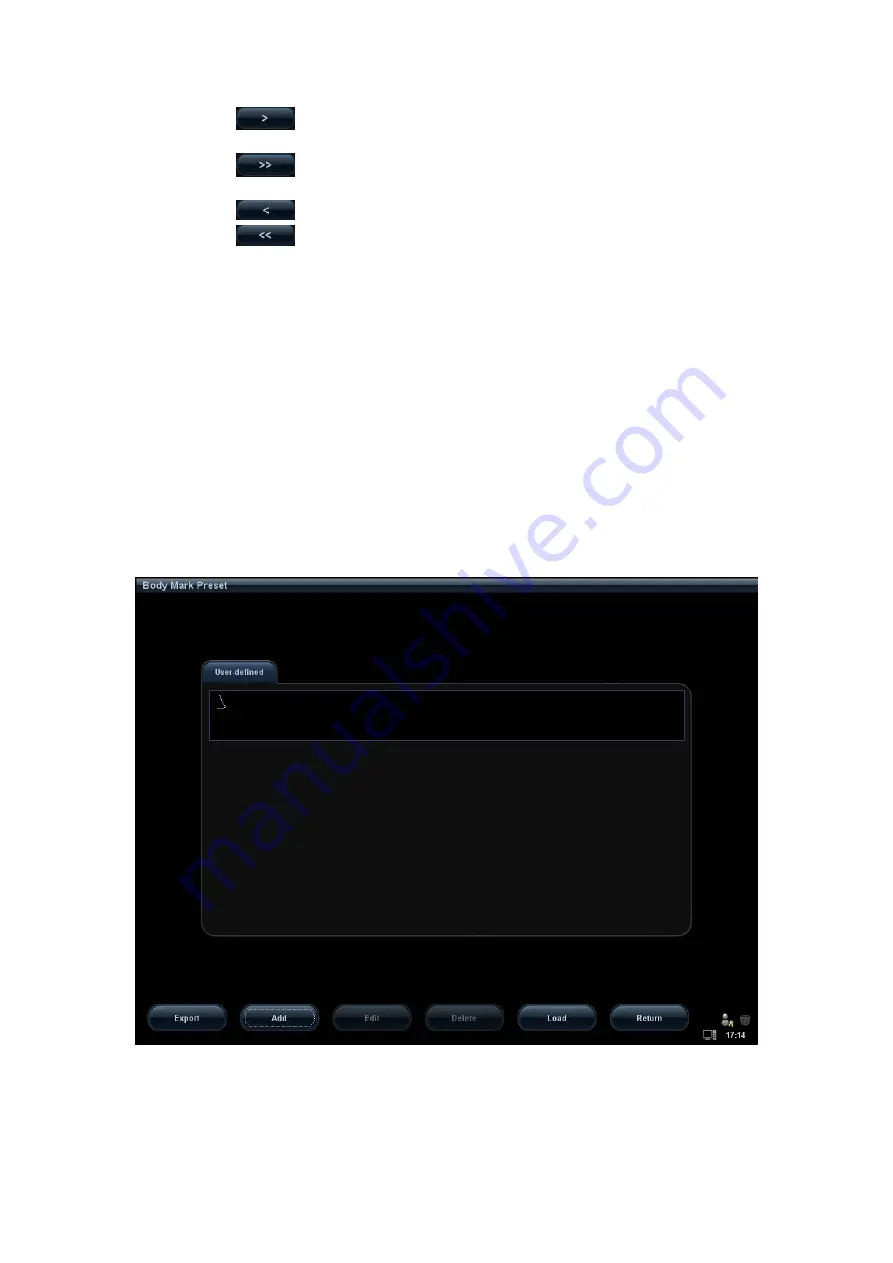
In the Body Mark Preset screen above, click [User-defined] to enter the user-defined body
mark screen (as shown in the figure below).
You can edit, delete, or export a user-defined graphic. In addition, you can create a Body
Mark graphic with a draw tool or add it from loading. The file format is *.Bin.
Adding new body mark
Click [Add] to enter the following page.
Summary of Contents for DC-T6
Page 1: ...DC T6 Diagnostic Ultrasound System Operator s Manual Basic Volume...
Page 2: ......
Page 10: ......
Page 16: ......
Page 28: ......
Page 37: ...System Overview 2 9 2 6 Introduction of Each Unit...
Page 178: ......
Page 182: ......
Page 236: ......
Page 240: ...13 4 Probes and Biopsy No Probe Model Type Illustration 19 CW2s Pencil probe...
Page 300: ......
Page 314: ......
Page 320: ......
Page 326: ......
Page 330: ...C 4 Barcode Reader...
Page 337: ...Barcode Reader C 11...
Page 342: ......
Page 347: ...P N 046 001523 01 V1 0...


