DICOM
12-21
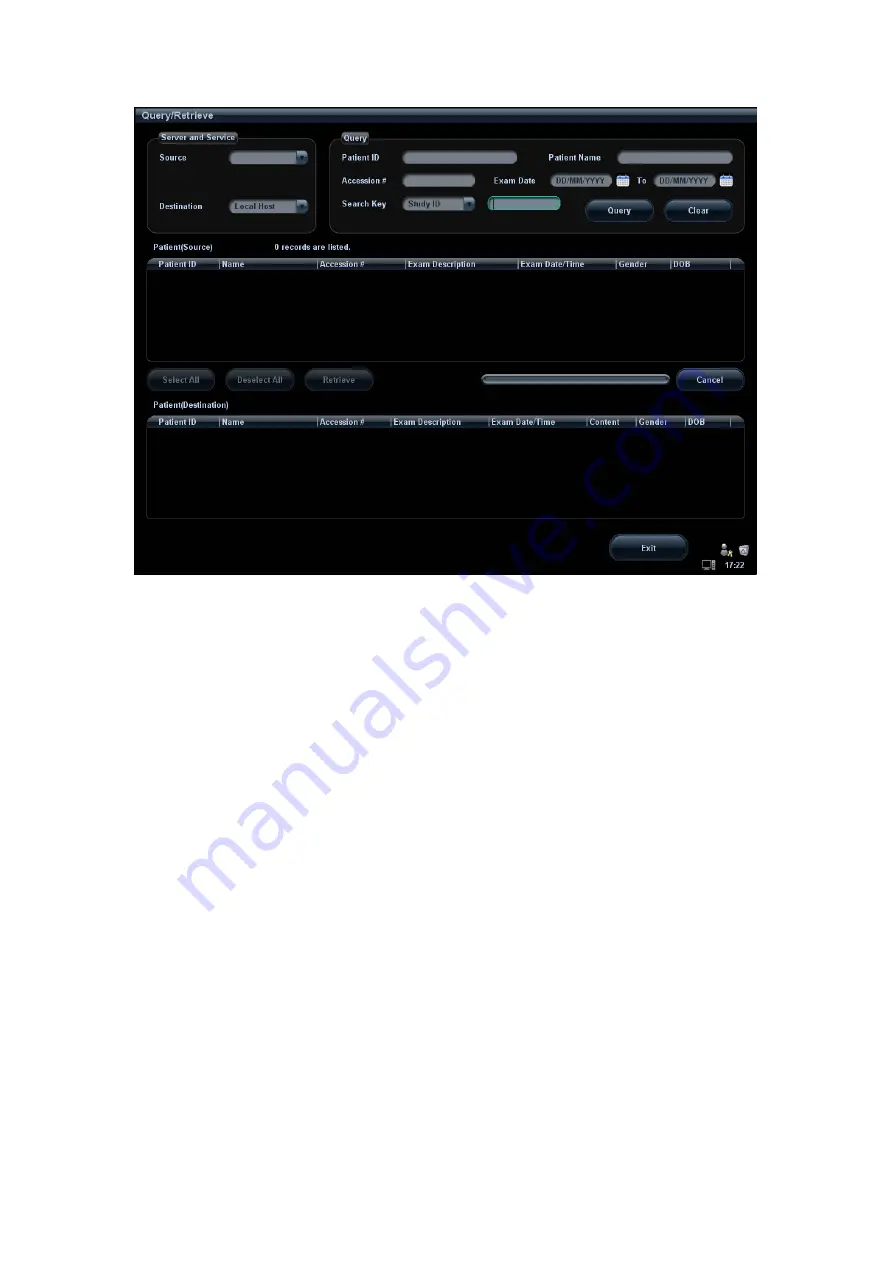
3. Select the server in “Server and Service” area for the source and the destination.
4. Enter the query information, such as patient name, patient ID, accession number,
exam time, and select keyword for searching.
Click [Clear] to empty the entered query information.
5. Click [Query], the system performs the query to the server and lists out the result into
the patient (source) list.
You can perform a second query based on the preview results.
6. Select one or more patient records according to the actual situation.
Click [Select All] to select all the patient records listed.
Click [Deselect All] to deselect all the patient records listed.
7. Click [Retrieve] to retrieve the patient records in the DICOM query/ retrieve server into
the system.
8. Click [Exit], you can see the retrieved patient records listed in the iStation screen.
12.4 DICOM Media Storage
The system supports to save patient data to the external media in DCM format. Meanwhile,
in the system, you can view the saved DCM files from external media.
Media
storage:
1. Select patient record(s) in the iStation screen.
2. Click [Backup] to enter the following dialogue box:
Summary of Contents for DC-T6
Page 1: ...DC T6 Diagnostic Ultrasound System Operator s Manual Basic Volume...
Page 2: ......
Page 10: ......
Page 16: ......
Page 28: ......
Page 37: ...System Overview 2 9 2 6 Introduction of Each Unit...
Page 178: ......
Page 182: ......
Page 236: ......
Page 240: ...13 4 Probes and Biopsy No Probe Model Type Illustration 19 CW2s Pencil probe...
Page 300: ......
Page 314: ......
Page 320: ......
Page 326: ......
Page 330: ...C 4 Barcode Reader...
Page 337: ...Barcode Reader C 11...
Page 342: ......
Page 347: ...P N 046 001523 01 V1 0...


