System Preparation
3-15
4. Place the B/W video printer into the printer room, make the foot mats clip in the
groove to fix the printer.
5. Collect the window cover to a proper place.
6. Load a paper roll, and turn on the system and printer.
7. Add a print service:
(1) Open "[Setup]
→
[Peripheral Preset]
→
[Print Service]" screen.
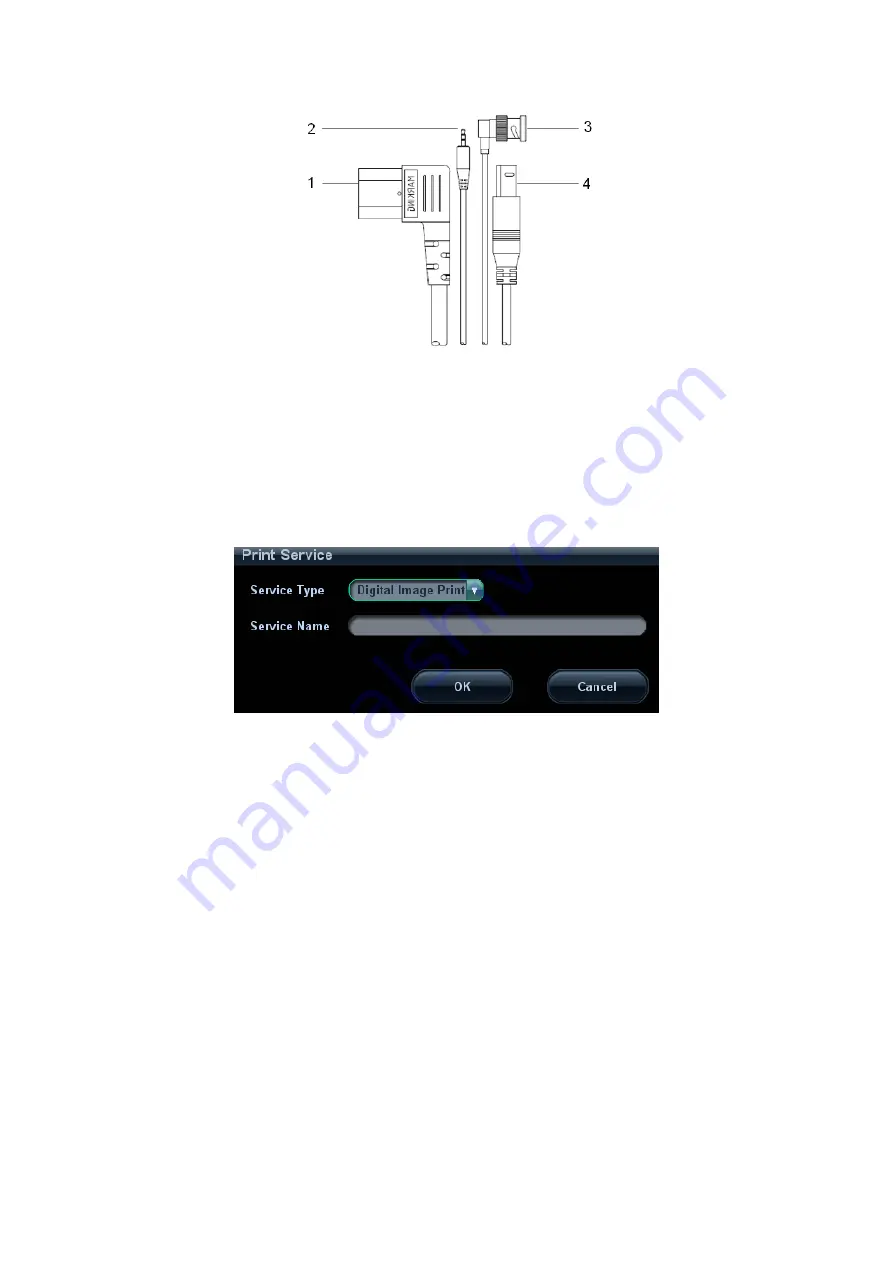
(2) Click [Add Service] to enter the following page.
(3) Select the service type and enter the service name manually.
(4) Click [OK] to return to the Printer Service page.
(5) If it is an analog video printer, select the printer type in the Property column.
If it is a digital video printer, please install the driver first. For the printers
aforementioned in “2.5 System Configuration”, you do not need to install them. Then
select the printer model and set the other property in the property column.
(6) Select a print service and click [Default Print Service] to set it as the default
printer.
(7) Set the items in the Property box and click [Save] to save the settings.
(8) Click [OK] to finish the setting.
Image
Video printers are mainly used for image print; refer to DICOM chapter for DICOM
image print.
z
Video output settings:
Enter "[Setup]
→
[Peripheral Preset]
→
[Input & Display]"; set the output size.
z
Image print
Summary of Contents for DC-T6
Page 1: ...DC T6 Diagnostic Ultrasound System Operator s Manual Basic Volume...
Page 2: ......
Page 10: ......
Page 16: ......
Page 28: ......
Page 37: ...System Overview 2 9 2 6 Introduction of Each Unit...
Page 178: ......
Page 182: ......
Page 236: ......
Page 240: ...13 4 Probes and Biopsy No Probe Model Type Illustration 19 CW2s Pencil probe...
Page 300: ......
Page 314: ......
Page 320: ......
Page 326: ......
Page 330: ...C 4 Barcode Reader...
Page 337: ...Barcode Reader C 11...
Page 342: ......
Page 347: ...P N 046 001523 01 V1 0...


