Manipulating Topology Views and Maps
EPICenter Software Installation and User Guide
293
•
A pop-up menu you can invoke by clicking the right mouse button on any unoccupied area of the
map background
•
A pop-up menu you can invoke by right-clicking on a Device map node
•
Keyboard shortcuts for some functions
The various methods you can use to perform a command are described under each command or
function.
Creating a New View or a New Map
The Default map contains all the network devices known to EPICenter, arranged based on EPICenter’s
internal algorithms (see the discussion on page 294 in the section “Displaying a Network Topology
View”). However, it is often convenient to create views based on other criteria, such as physical
location, departmental organization, and so on. The Topology applet lets you create additional views
that organize your network elements in any way you wish.
Creating a New View
You can create a new view (and its Root Map) by selecting New View from the New menu.
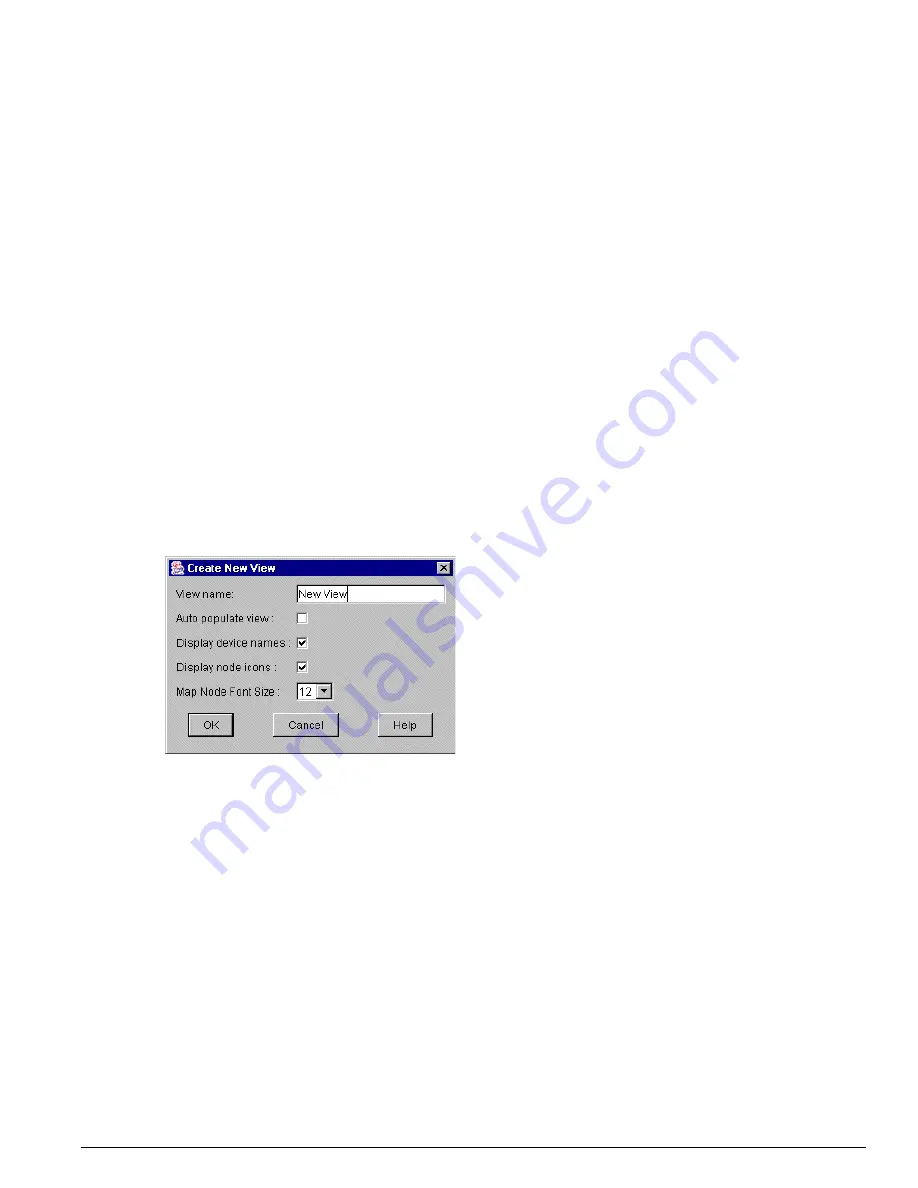
A Create New View dialog box opens, as shown in Figure 140.
Figure 140: Creating a new View
•
Enter a name for the view.
•
Select the Auto populate view option to add the devices currently in the EPICenter inventory
database to the new View. Submaps, L2 clouds and hyper nodes will be created as needed. In
addition, as new devices are added to EPICenter, they will also be added to the view. If you do a
Discovery after you have created a view with the auto populate option enabled, all new discovered
devices will be added to the view.See “Node Placement Criteria in an Auto Populate View” on
page 294 for detailed information.
•
Uncheck the Display device names checkbox to hide device names on the maps. The default is to
display the names.
•
Uncheck the Display node icons checkbox to use plain boxes to indicate map nodes instead of icons
representing specific device types. The default is to use device icons.
•
Set the Map Node Font Size to change the size of the font used for map node labels (names,
annotations, IP addresses and so on). The default is a 12 point font.
Summary of Contents for EPICenter 4.1
Page 20: ...20 EPICenter Software Installation and User Guide Preface ...
Page 46: ...46 EPICenter Software Installation and User Guide EPICenter and Policy Manager Overview ...
Page 190: ...190 EPICenter Software Installation and User Guide Configuration Manager ...
Page 204: ...204 EPICenter Software Installation and User Guide Using the Interactive Telnet Application ...
Page 242: ...242 EPICenter Software Installation and User Guide Using the IP MAC Address Finder ...
Page 266: ...266 EPICenter Software Installation and User Guide Using ExtremeView ...
Page 284: ...284 EPICenter Software Installation and User Guide Real Time Statistics ...
Page 436: ...436 EPICenter Software Installation and User Guide Using the Policy Manager ...
Page 454: ...454 EPICenter Software Installation and User Guide The ACL Viewer ...
Page 468: ...468 EPICenter Software Installation and User Guide Troubleshooting ...
Page 504: ...504 EPICenter Software Installation and User Guide EPICenter External Access Protocol ...
Page 510: ...510 EPICenter Software Installation and User Guide EPICenter Database Views ...
Page 522: ...522 EPICenter Software Installation and User Guide EPICenter Backup ...
Page 526: ...526 EPICenter Software Installation and User Guide Dynamic Link Context System DLCS ...
Page 546: ......