5. INSTALLATION
5-12
COPYRIGHT © 2001 CANON INC. CANON CLC1000/1000S/3100 REV.2 MAY 2001 PRINTED IN JAPAN (IMPRIME AU JAPON)
Step
26
27
28
29
Remarks
Work
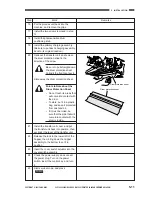
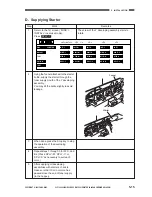
Press ‘INSTALL’ twice to select screen
2.
Press
LSNS-KIL
to select ‘1’.
Wait until warm-up ends.
During the wait period, perform the
following:
• Set the cassette size to suit the needs
of the user.
• First, set the side guide plate to suit
the paper size. Then, put paper in the
cassette, and adjust the trailing edge
guide plate against the trailing edge of
the paper.
• Remove the cassette size plate from
each cassette, and attach the
appropriate size label; then, put the
cassettes back into their original
positions.
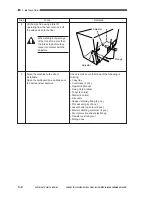
• Install the original tray.
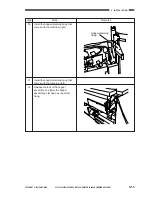
Lift the hopper assembly as far up as it
goes.
<M>
<S>
<R>
<P>
<F>
FUNC
DISP
ADJUST
COUNTER
OPTION
TEST
AUTO-REG
0
LSNS-KIL
0
INSTALL
2/4
REG-APER
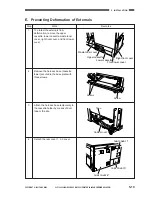
If you are installing a paper
deck, you must remove the
rear right cover. Be sure to
install the paper deck before
installing the original tray (if
on the right side).
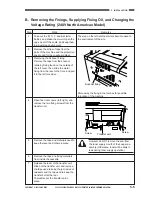
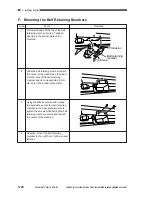
Original tray
Original tray
Stepped screws
(face sticker is
attached to the
screw hole
Screws
(face sticker is attached
to the screw hole)
Stepped screws
(face sticker is attached
to the screw hole)
Screws
(face sticker is
attached to the
screw hole)
Summary of Contents for Vizcam 1000
Page 12: ......
Page 30: ......
Page 44: ......
Page 86: ......
Page 254: ......
Page 372: ......
Page 374: ......
Page 418: ......
Page 438: ......
Page 442: ......
Page 754: ......
Page 764: ......
Page 766: ......
Page 840: ...0501GR PRINTED IN JAPAN IMPRIME AU JAPON This publication is printed on 100 reprocessed paper...


