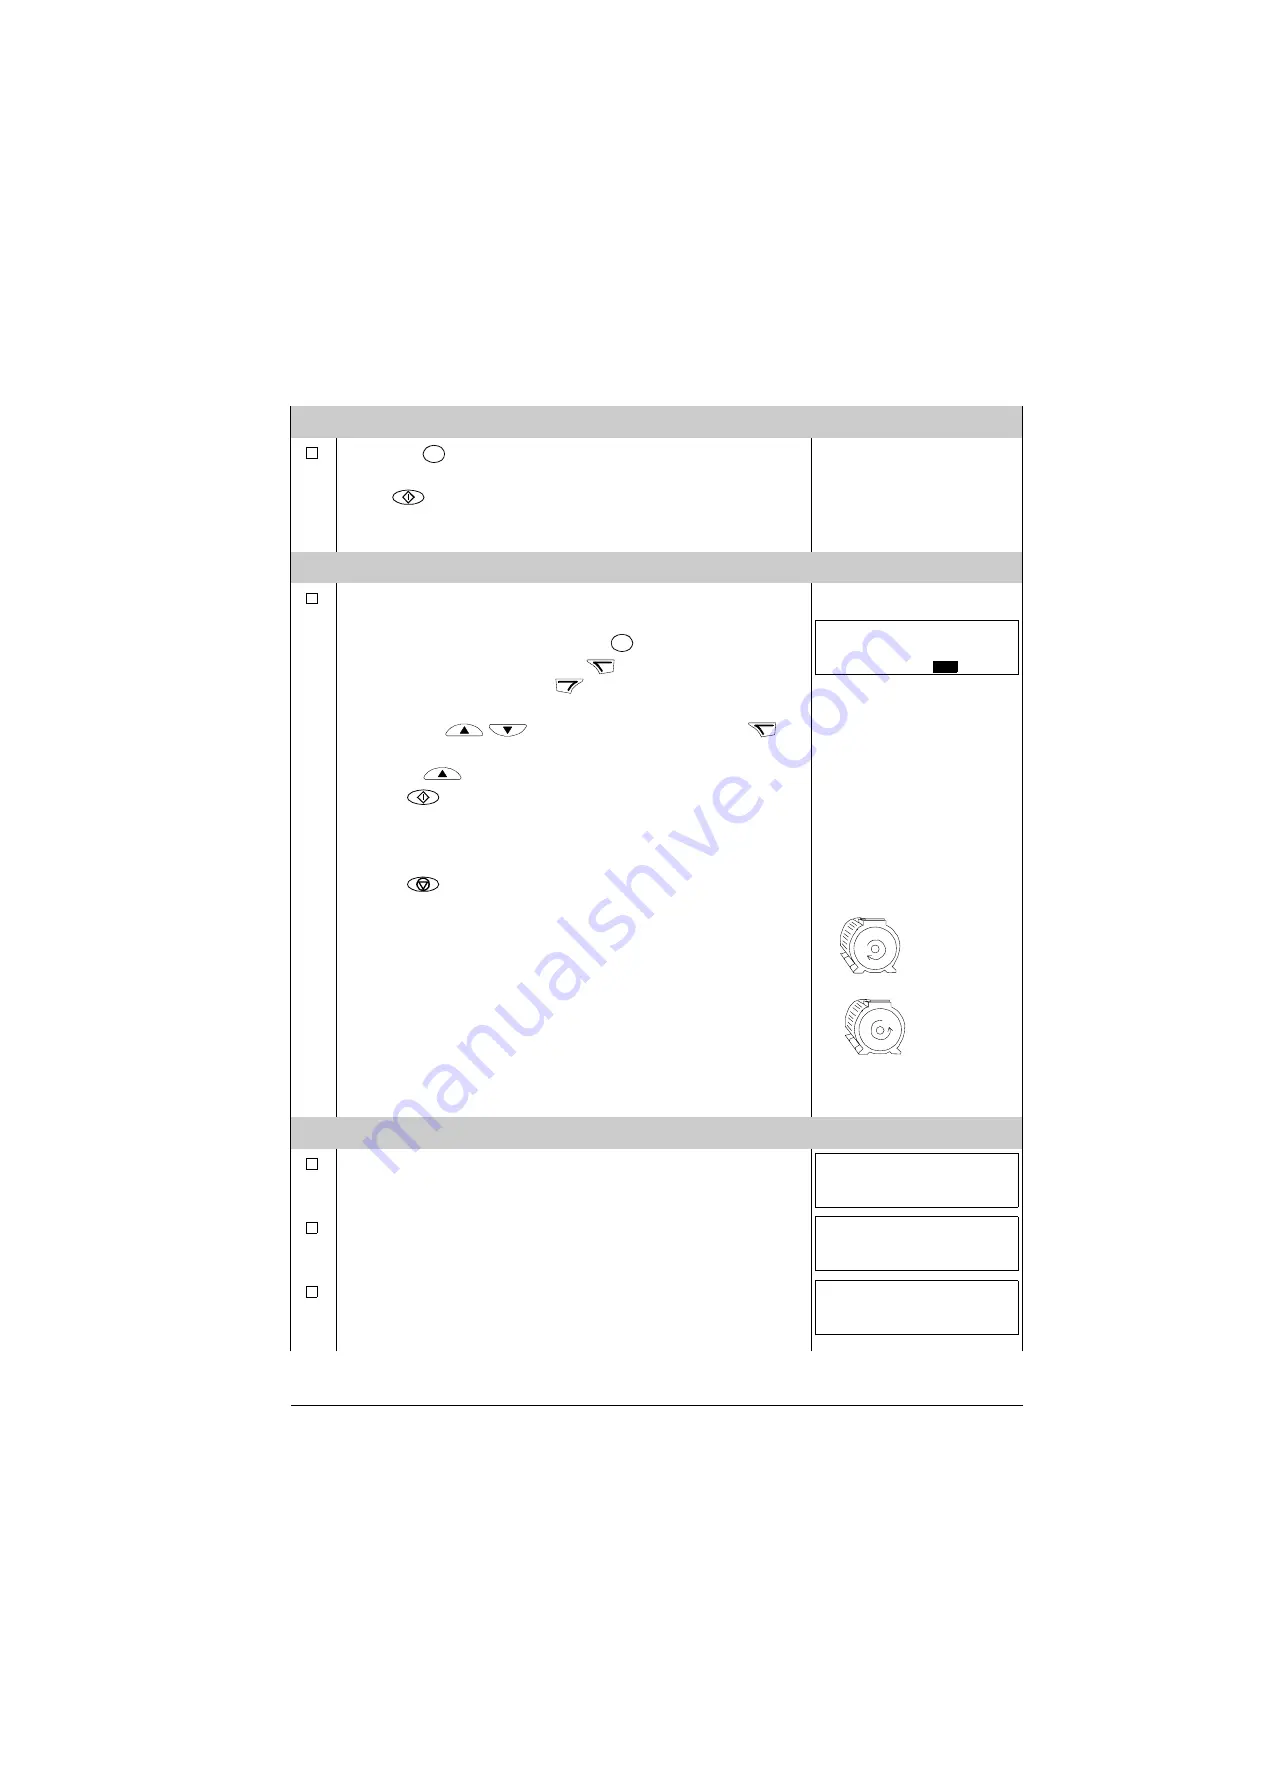
Start-up, control with I/O and ID Run
49
IDENTIFICATION MAGNETIZATION WITH ID RUN SELECTION 0 (OFF)
Press key
to switch to local control (LOC shown on the
left).
Press
to start the drive. The motor model is now
calculated by magnetizing the motor for 10 to 15 s at zero
speed.
DIRECTION OF THE MOTOR ROTATION
Check the direction of the motor rotation.
• If the drive is in remote control (REM shown on the left),
switch to local control by pressing
.
• To go to the Main menu, press
if the bottom line shows
OUTPUT; otherwise press
repeatedly until you see
MENU at the bottom.
• Press keys
/
until you see “rEF” and press
.
• Increase the frequency reference from zero to a small value
with key
.
• Press
to start the motor.
• Check that the actual direction of the motor is the same as
indicated on the display (FWD means forward and REV
reverse).
• Press
to stop the motor.
To change the direction of the motor rotation:
• Disconnect input power from the drive, and wait 5 minutes
for the intermediate circuit capacitors to discharge. Measure
the voltage between each input terminal (U1, V1 and W1)
and earth with a multimeter to ensure that the drive is
discharged.
• Exchange the position of two motor cable phase conductors
at the drive output terminals or at the motor connection box.
• Verify your work by applying input power and repeating the
check as described above.
SPEED LIMITS AND ACCELERATION/DECELERATION TIMES
Set the minimum speed (parameter
).
Set the maximum speed (parameter
).
Set the acceleration time 1 (parameter
).
Note:
Check also acceleration time 2 (parameter
) if two
acceleration times will be used in the application.
LOC
REM
LOC
REM
LOC
Hz
SET
FWD
xxx
.
forward
direction
reverse
direction
LOC
PAR FWD
2001
LOC
PAR FWD
2002
LOC
PAR FWD
2202
Summary of Contents for ACS350 Series
Page 1: ...ACS350 User s Manual ACS350 Drives 0 37 22 kW 0 5 30 HP ...
Page 4: ......
Page 8: ...Safety 8 ...
Page 18: ...Table of contents 18 ...
Page 24: ...Hardware description 24 ...
Page 44: ...Installation checklist 44 ...
Page 56: ...Start up control with I O and ID Run 56 ...
Page 140: ...Program features 140 ...
Page 242: ...Actual signals and parameters 242 ...
Page 266: ...Fieldbus control with embedded fieldbus 266 ...
Page 284: ...Fault tracing 284 ...
Page 288: ...Maintenance and hardware diagnostics 288 ...
Page 309: ...Dimensions 309 Frame size R2 IP20 NEMA 1 3AFE68586658 A Frame size R2 IP20 NEMA 1 VAR EMC ...
Page 311: ...Dimensions 311 Frame size R3 IP20 NEMA 1 3AFE68579872 B Frame size R3 IP20 NEMA 1 VAR EMC ...
Page 313: ......


