SmartPAC 2 with WPC Integration
1126800
SmartPAC Preventive Maintenance
Appendix B
page 447
(PM) Monitor
PM MONITOR
MORE
AIR ROTARY SEALS
BCKSHFT BEARING 1
BCKSHFT BEARING 2
BCKSHFT BEARING 3
BCKSHFT BEARING 4
BRAKE
BULL GEAR
CLUTCH VALVE
CONVEYOR 1
CONVEYOR 2
CONVEYOR 3
CONVEYOR 4
CONVEYOR 5
CONVEYOR 6
USE THE CURSOR KEYS TO
MAKE SELECTION. PRESS
ENTER TO SELECT, RESET
WHEN DONE.
YOUR PRESS NAME
"CUSTOM NAME"
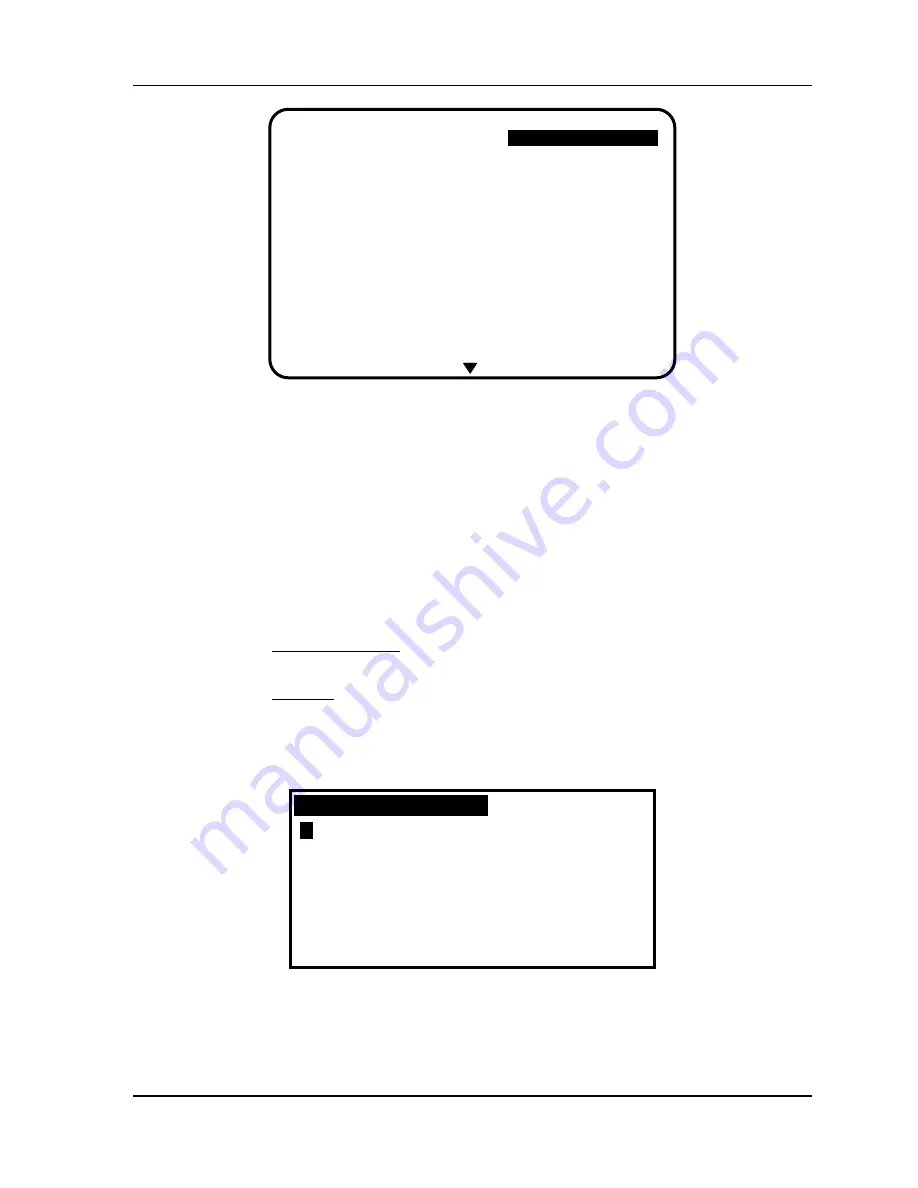
Figure B - 9. Displaying Available List of PM Names
3. To see the complete list of names press the "down" cursor key until the bottom name on
the list is highlighted, then keep pressing it. A new name will appear each time you press
the key. You can also use the "up" cursor key to reverse direction.
4. If you do not find a suitable name but you still want to name the item, you can select
"Custom Name,” by highlighting it and pressing Enter.
5. As the screen suggests (see the next illustration), certain keys enable you to custom
name the item. The name you select can be any combination of alpha-numeric
characters, symbols, etc. Pressing the CLEAR key clears the text. To create a custom
name, do the following:
a.
To select letters or symbols: Use the up, down, left, and/or right cursor keys to
highlight the desired letter; then press ENTER.
b. To select numbers: Use the number keypad.
c.
When finished, press function key
F6
(to the right of the LCD display). To cancel
you selection, press RESET. (For assistance in using the various keys, refer to
Chapter 3 of this manual.)
F
L
R
X
.
A
G
M
S
Y
(
B
H
N
T
Z
)
C
I
O
U
,
*
D
J
P
V
-
/
E
K
Q
W
#
&
PRESS CLEAR TO CLEAR
TEXT. USE THE KEYPAD
TO ENTER NUMBERS. USE
CURSORS TO SELECT THE
LETTERS. PRESS ENTER
TO ENTER THE LETTERS.
PRESS F6 WHEN DONE.
PRESS RESET TO CANCEL.
Figure B - 10. Alpha-numeric Display Superimposed over PM Names Screen
6. After you have named the item, you are prompted to set the PM monitor tracking units.
You can select a time-based measure, such as: run hours, days, weeks, months; or you
Содержание SmartPAC 2
Страница 192: ...1126800 SmartPAC 2 with WPC Integration Page 170 Chapter 2 Installing SmartPAC 2 and WPC ...
Страница 222: ...1126800 SmartPAC 2 with WPC Integration Page 200 Chapter 3 SmartPAC 2 Keyboard Displays and Operating Modes ...
Страница 294: ...1126800 SmartPAC 2 with WPC Integration Page 272 Chapter 4 SmartPAC 2 Initialization Mode ...
Страница 342: ...1126800 SmartPAC 2 with WPC Integration page 320 Chapter 5 SmartPAC 2 Program Mode ...
Страница 404: ...1126800 SmartPAC 2 with WPC Integration Page 382 Chapter 6 SmartPAC 2 Run Mode ...
Страница 448: ...1126800 SmartPAC 2 with WPC Integration Page 426 Chapter 7 SmartPAC 2 Fault Messages ...
Страница 476: ...1126800 SmartPAC 2 with WPC Integration page 454 Appendix C Updating SmartPAC 2 Firmware ...
Страница 478: ...1126800 SmartPAC 2 with WPC Integration page 456 Appendix D SmartView Remote Viewing and E mail Setup ...
Страница 480: ...1126800 SmartPAC 2 with WPC Integration page 458 Appendix E Upgrade from Original SmartPAC to SmartPAC 2 ...
Страница 482: ...1126800 SmartPAC 2 with WPC Integration page 460 Appendix F Replacing SmartPAC 2 PC Board ...
Страница 492: ...1126800 SmartPAC 2 with WPC Integration page 470 Glossary ...


