1126800
SmartPAC 2 with WPC Integration
page 300
Chapter 5
SmartPAC 2 Program Mode
2.
If you edited the tool that is currently loaded, SmartPAC 2 automatically gives you the
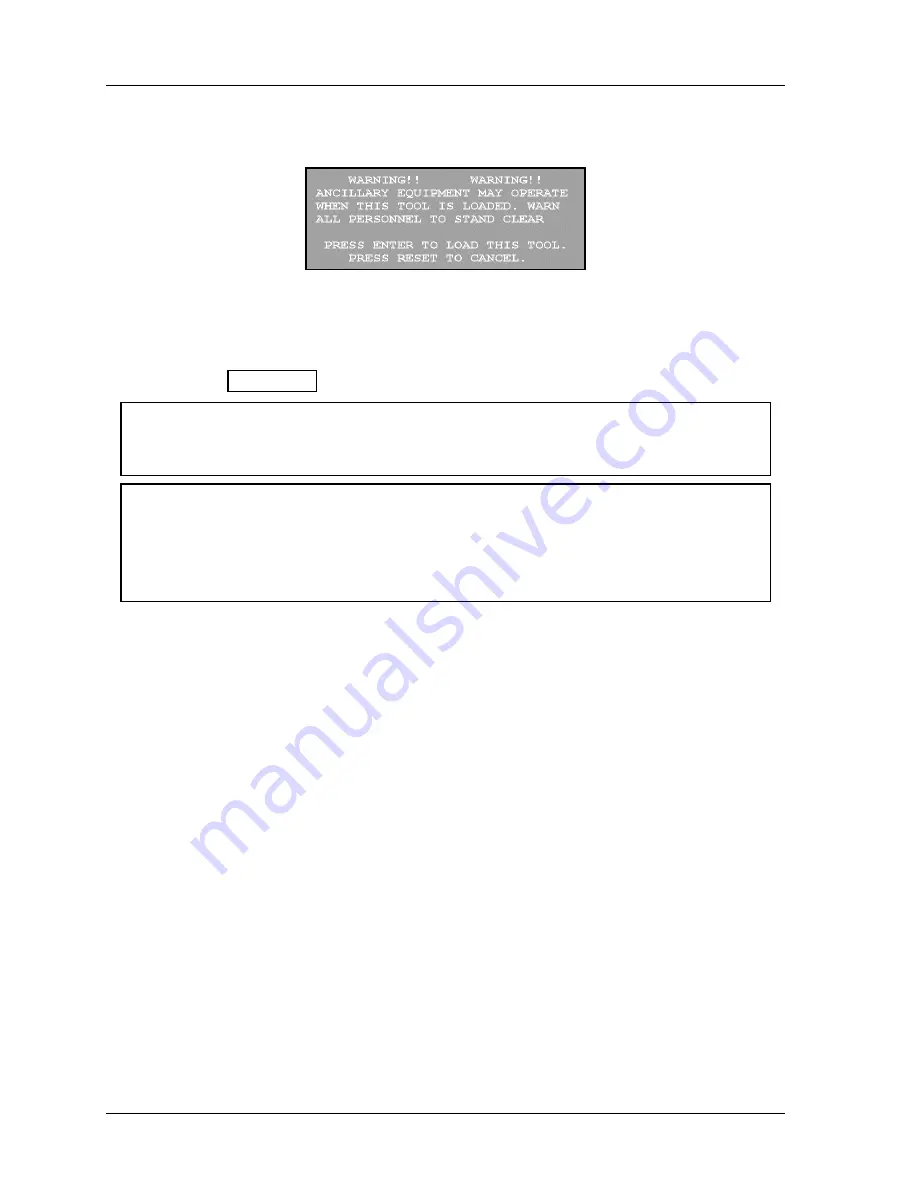
opportunity to load the tool. A box appears similar to the figure below.
Figure 5 - 26. Load Tool Warning Box
•
If you want to load the tool, press ENTER. The tool will be loaded in SmartPAC 2.
•
If you do not want to load the tool, press RESET. The main Program mode menu
appears (Figure 5 - 3).
NOTICE
SmartPAC 2 saves your settings automatically. You do not have to press any key or issue
any command to save settings.
NOTICE
RELOAD CURRENTLY LOADED TOOL IF YOU CHANGE ANY OF ITS SETTINGS
If you change settings for a tool that is currently loaded, you should load the tool again after
you make the settings. If you do not re-load the tool, the old settings will be used until you
load the tool again.
What to do about sensor inputs that are not used
If a sensor input is not used for a tool, do not make any settings for the sensor. SmartPAC 2
will ignore any signals from that input, even if a sensor is connected. SmartPAC 2 will list an
unused sensor on the sensor list as "sensor 1" or "sensor 2,” whatever number it is. Sensor
type is automatically set to "not used" if no settings have been made.
To change a sensor input to "not used,” select "not used" for sensor type. The list of sensors
will be immediately displayed. Any sensor settings for this sensor are erased.
Going back to the sensor list using the RESET key
If you press RESET instead of Enter when making a setting for a sensor, you go back to your
list of sensors. The item highlighted when you pressed RESET is the item selected.
Fine tuning the settings for green sensors
To set a precise ready signal for your green sensors, you should fine-tune the ready signal
after seeing each sensor's actuation angle. You do this by loading the settings, then turning
the Program/Run key to "Run.” When you run the press, SmartPAC 2 will record all
actuation times and display the earliest "on" and latest "off" times for each sensor.
In Run mode, you can call up the display for each green sensor. The display will show each
green sensor's actuation angle along with the ready signal you set. It is easy to adjust the
Содержание SmartPAC 2
Страница 192: ...1126800 SmartPAC 2 with WPC Integration Page 170 Chapter 2 Installing SmartPAC 2 and WPC ...
Страница 222: ...1126800 SmartPAC 2 with WPC Integration Page 200 Chapter 3 SmartPAC 2 Keyboard Displays and Operating Modes ...
Страница 294: ...1126800 SmartPAC 2 with WPC Integration Page 272 Chapter 4 SmartPAC 2 Initialization Mode ...
Страница 342: ...1126800 SmartPAC 2 with WPC Integration page 320 Chapter 5 SmartPAC 2 Program Mode ...
Страница 404: ...1126800 SmartPAC 2 with WPC Integration Page 382 Chapter 6 SmartPAC 2 Run Mode ...
Страница 448: ...1126800 SmartPAC 2 with WPC Integration Page 426 Chapter 7 SmartPAC 2 Fault Messages ...
Страница 476: ...1126800 SmartPAC 2 with WPC Integration page 454 Appendix C Updating SmartPAC 2 Firmware ...
Страница 478: ...1126800 SmartPAC 2 with WPC Integration page 456 Appendix D SmartView Remote Viewing and E mail Setup ...
Страница 480: ...1126800 SmartPAC 2 with WPC Integration page 458 Appendix E Upgrade from Original SmartPAC to SmartPAC 2 ...
Страница 482: ...1126800 SmartPAC 2 with WPC Integration page 460 Appendix F Replacing SmartPAC 2 PC Board ...
Страница 492: ...1126800 SmartPAC 2 with WPC Integration page 470 Glossary ...


