


1126800
SmartPAC 2 with WPC Integration
page 292
Chapter 5
SmartPAC 2 Program Mode
DIE PROTECTION
For HELP press the HELP key located at the center of the cursor (arrow) keys.
To set Die Protection parameters, you need to:
•
Select "Die protection" from the Main Programming menu
•
Set the "Auto enable by tool" stroke counter
if this was your selection in Initialization **
•
Assign a name for each sensor
•
Set the "Auto enable by sensor" stroke counter
if this was your selection in
Initialization**
•
Set sensor type
•
Set stop type
•
Set the ready signal for a green sensor
•
Set the other sensors for the tool
** Depending on how you Initialized DiProPAC, you may be prompted to do one or the
other, not both.
1. You will see the Tool Programming menu (Figure 5 - 11) after entering a new tool
number or selecting an existing one. Select "Die Protection.”
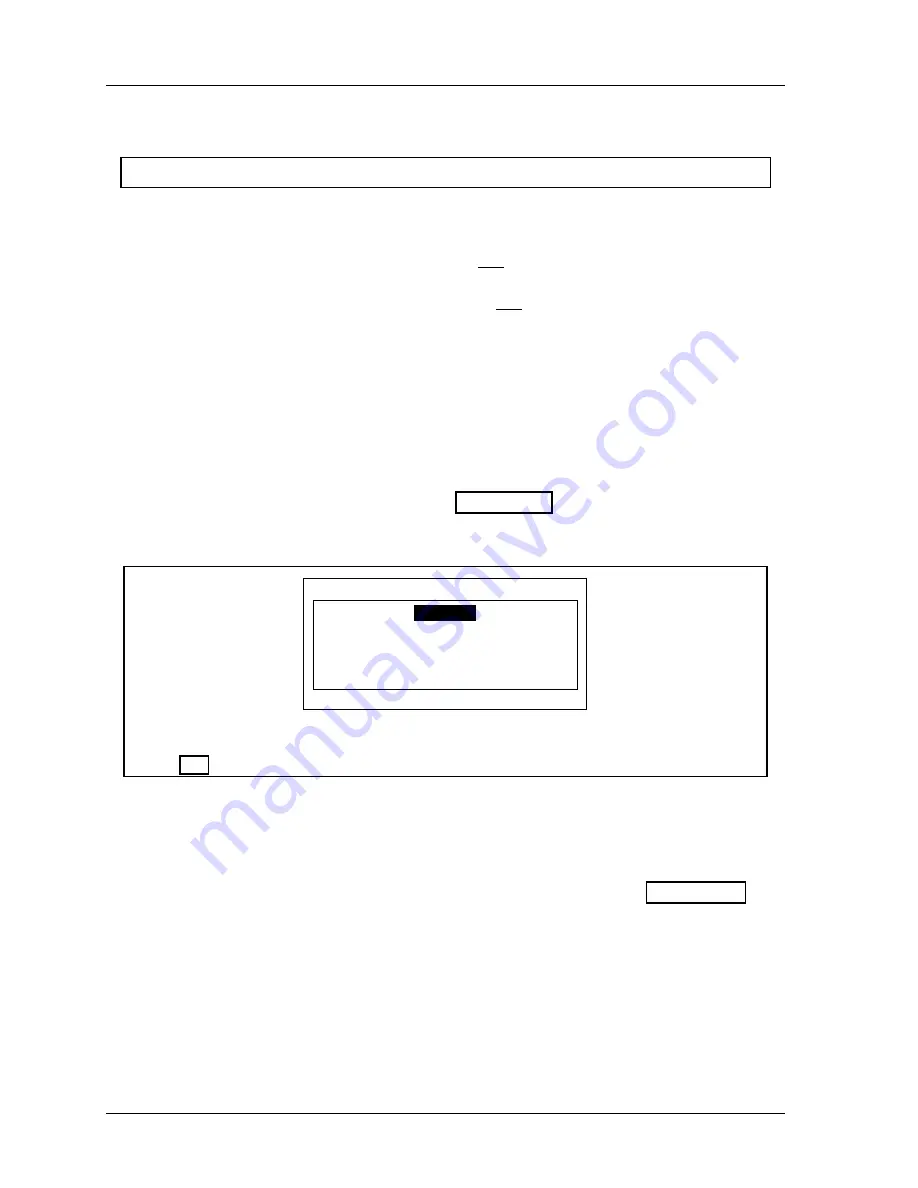
ENTER YOUR PASSWORD
USE THE KEYPAD TO ENTER NUMBERS.
USE THE UP/DOWN CURSON KEYS TO
INCREASE/DECREASE. PRESS ENTER
WHEN DONE. PRESS RESET TO CANCEL.
60599
If this display appears, you need to enter the general password to access these settings. Password
access is set under Security Access in Initialization mode. See
“Security Access” in Chapter 4,
page 251
Setting "Auto Enable by Tool" Counter Value
2.
If you had selected "Auto enable by tool" in Initialization mode (Chapter 4), a screen
appears asking you to enter the stroke value. If you had selected "Auto Enable by
Sensor and tool" in Initialization, this screen will not appear (refer to
further down in this section) .
Use cursor keys to change the number of strokes.
The maximum number of strokes that
you can enter is 24.
Then press ENTER when done (see Chapter 3 for help in using
cursor keys).
Содержание SmartPAC 2
Страница 192: ...1126800 SmartPAC 2 with WPC Integration Page 170 Chapter 2 Installing SmartPAC 2 and WPC ...
Страница 222: ...1126800 SmartPAC 2 with WPC Integration Page 200 Chapter 3 SmartPAC 2 Keyboard Displays and Operating Modes ...
Страница 294: ...1126800 SmartPAC 2 with WPC Integration Page 272 Chapter 4 SmartPAC 2 Initialization Mode ...
Страница 342: ...1126800 SmartPAC 2 with WPC Integration page 320 Chapter 5 SmartPAC 2 Program Mode ...
Страница 404: ...1126800 SmartPAC 2 with WPC Integration Page 382 Chapter 6 SmartPAC 2 Run Mode ...
Страница 448: ...1126800 SmartPAC 2 with WPC Integration Page 426 Chapter 7 SmartPAC 2 Fault Messages ...
Страница 476: ...1126800 SmartPAC 2 with WPC Integration page 454 Appendix C Updating SmartPAC 2 Firmware ...
Страница 478: ...1126800 SmartPAC 2 with WPC Integration page 456 Appendix D SmartView Remote Viewing and E mail Setup ...
Страница 480: ...1126800 SmartPAC 2 with WPC Integration page 458 Appendix E Upgrade from Original SmartPAC to SmartPAC 2 ...
Страница 482: ...1126800 SmartPAC 2 with WPC Integration page 460 Appendix F Replacing SmartPAC 2 PC Board ...
Страница 492: ...1126800 SmartPAC 2 with WPC Integration page 470 Glossary ...