


Pearl Mini User Guide
Install and format an SD card for the Pearl Mini and Pearl Nano
If you're only using the device for switching video or live streaming, then you don't need to
install an SD card.
If you're using a Pearl device with a Content Management System (CMS), we recommend using large
capacity SD cards such as 256 GB or more , see
CMS recording and webcasting control
.
We recommend using a minimum class 10 (C10) SD card that's at least 64 GB capacity but does not
exceed 512 GB; however, most SD cards that are at minimum a C10, a UHS class 1 (U1), or a video speed
class 10 (V10) should work. The SD card must be EXT4 formatted for the Ubuntu operating system. After
the SD card is installed and formatted for the EXT4 format, you are ready to record.
Ejecting the SD card while recording is in progress may corrupt the SD card and cause loss of
data.
Format the SD card using the Admin panel
1. Insert the SD card into the SD card slot on the front panel.
2. Login to the Admin panel as admin, see
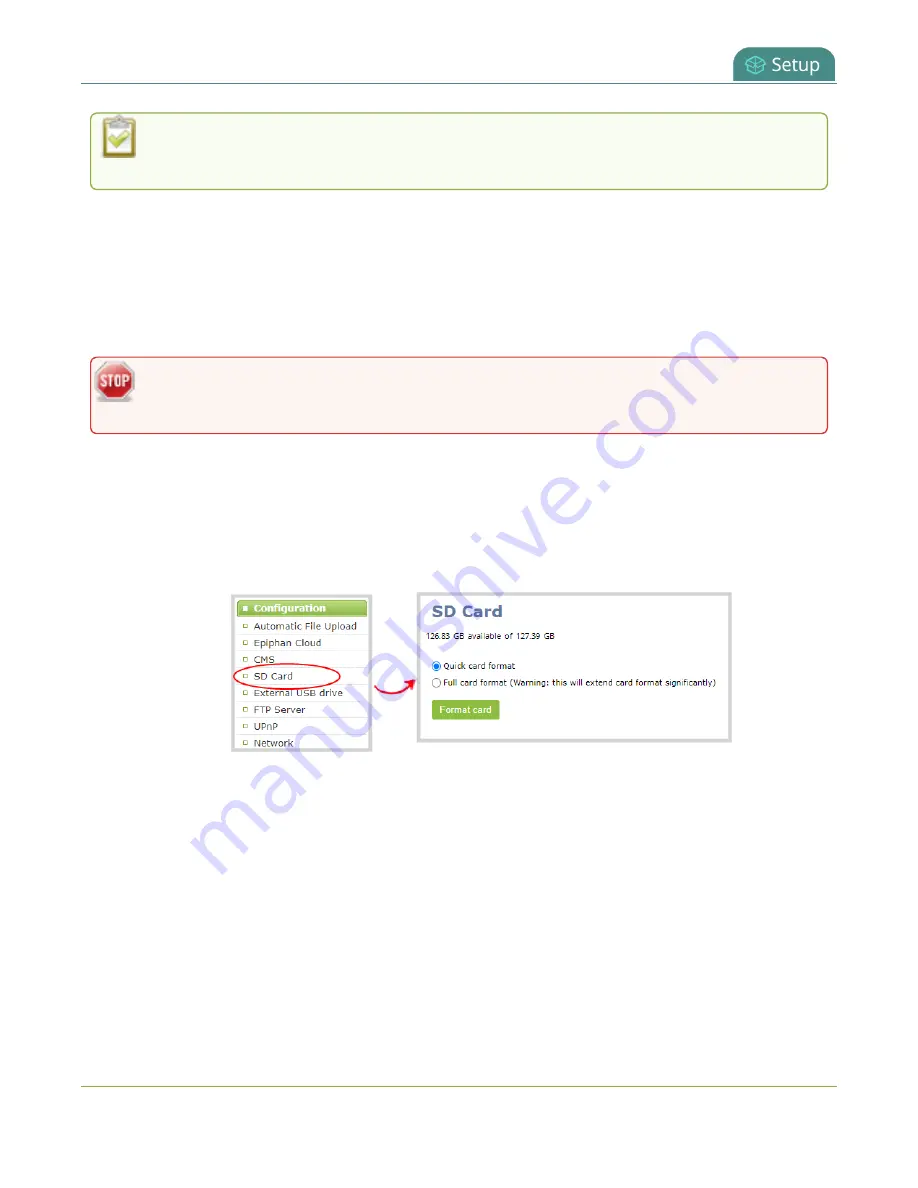
3. From the Configuration menu, select
SD Card
. The SD Card configuration page opens.
4. Select either quick disk format or the full disk format, then click
Format card
. A full disk format
checks for bad blocks on the SD card and marks any that are found on the EXT4 partition.
You must wait for the formatting to finish before removing or recording to the SD card. The amount of
time it takes to format depends on the capacity of the SD card and if you select quick disk format or the
full disk format.
Format an SD card for Pearl Mini
1. From Pearl Mini's touch screen, tap the
gear
icon to open the System settings screen. If the control
icons aren't showing, tap anywhere on the touch screen.
125


