2-
7
2
System overview
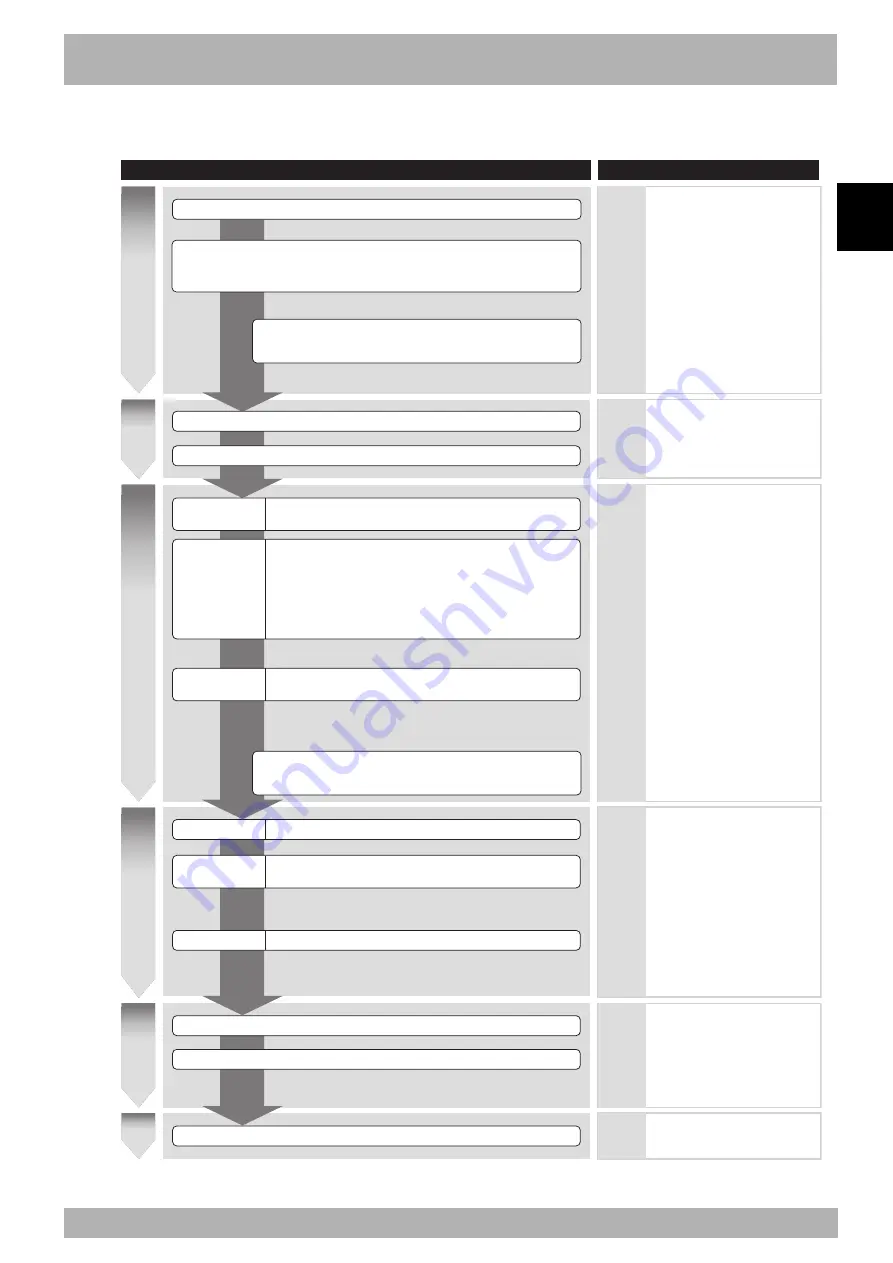
5. Basic sequence from installation to operation
The basic sequence from installation to actual operation is shown below. Refer to this sequence to use the RCX141
safely, correctly and effectively. Before beginning the work, read this user's manual thoroughly.
Install the controller.
• Make cable and connector connections.
• Ground the controller.
• Configure an emergency stop circuit.
Start operation.
Check that the safety devices such as an emergency stop circuit function correctly.
Make a trial run using step operation and make adjustment as needed.
Check that the wiring and supply voltage are correct and then turn power on.
Check that no alarm is issued after turning power on.
Robot type check
Return-to-origin Perform return-to-origin to teach the origin position to the
controller.
Parameter setting Set parameters according to the operation conditions.
Programming
Create programs according to the robot operation.
Point data editing Create or edit point data according to the robot operation.
Parameter initial
setting
Set the following parameters to optimize the robot operation.
• Tip weight (workpiece tool weight)
* Set the "Axis tip weight" parameter if the robot is set to
"MULTI" or has an auxiliary axis.
* Before determining soft limit positions by jog movement,
return-to-origin must first be complete.
* Always set this parameter when using the robot for the
first time. After that, change it as needed.
* Always perform return-to-origin when using the robot for
the first time. After that, reperform it when the controller
power is turned on before starting robot operation or
when the origin position becomes indefinite
(return-to-origin incomplete).
For SCARA robots:
Set the reference coordinates (XY coordinate system with the
X-axis rotation center set as the origin).
* Programming is unnecessary if not using a program
such as in operation with I/O commands.
Basic procedure
Refer to:
4. Turning power on and off
11. Checking the robot
controller operation
12. "SYSTEM" mode
(Robot type can be
checked on the initial
screen in SYSTEM mode.)
12.1 Parameters
9.1 Automatic operation
9.6 Changing the automatic
movement speed
10. "PROGRAM" mode
See the programming
manual for information
about the programming
language.
11.2 Displaying and editing
point data
11.3 Displaying, editing and
setting pallet definitions
11.8 Return-to-origin
11.9 Setting the standard
coordinates
12.1.1 Robot parameters
• Tip weight
12.1.2 Axis parameters
• + Soft limit
• - Soft limit
• Axis tip weight
9.2 Stopping the program
9.12 Executing the next step
Installation, connection and wiringIn
s
ta
lla
tio
n
, c
o
n
n
e
c
tio
n
a
n
d
w
ir
in
g
Power ONP
o
w
e
r
O
N
Initial settingIn
it
ia
l s
e
tt
in
g
Data settingD
a
ta
s
e
tt
in
g
Trial operationT
ri
a
l o
p
e
ra
tio
n
OperationO
pe
ra
tio
n
Installation, connection and wiring
Power ON
Initial setting
Data setting
Trial operation
Operation
See the serial I/O instruction
manuals for detailed
information.
1. Unpacking
10. Precautions for cable
routing and installation
Parallel I/O interface
SAFETY I/O interface
Chapter 3
Chapter 5
Chapter 6
Chapter 4
Chapter 3
Chapter 4
Chapter 4
Chapter 4
Chapter 4
~
~~
• Soft limits (movement range)
When a serial I/O board is added:
Set the station number, communication speed, etc. (Setup
depends on the serial I/O type.)
Check that the robot type setting in the controller matches
the robot that is actually connected.
Summary of Contents for RCX141
Page 1: ...User s Manual ENGLISH E YAMAHA 4 AXIS ROBOT CONTROLLER E93 Ver 2 02 RCX141 ...
Page 2: ......
Page 16: ...viii MEMO ...
Page 18: ...MEMO ...
Page 24: ...1 6 MEMO ...
Page 26: ...MEMO ...
Page 34: ...2 8 MEMO ...
Page 36: ...MEMO ...
Page 54: ...3 18 MEMO ...
Page 290: ...4 232 MEMO ...
Page 292: ...MEMO ...
Page 316: ...5 24 MEMO ...
Page 318: ...MEMO ...
Page 326: ...6 8 MEMO ...
Page 328: ...MEMO ...
Page 338: ...7 10 MEMO ...
Page 340: ...MEMO ...
Page 346: ...MEMO ...
Page 401: ...MEMO ...


