9
Adding Modules
Adding a Helium Saver Injector Module
Thermo Scientific
TRACE 1300 and TRACE 1310 Hardware Manual
455
2. Allow a few centimeters of column to extend past the tip of the ferrule and insert it into
the base of the inlet. It will be necessary to gently poke around in order to find the small
bore cone that serves as a column guide and ferrule seat.
3. Use the knurled tool to tighten the nut by finger force only, until the ferrule grabs the
column, and the column no longer slides in the bore of the ferrule.
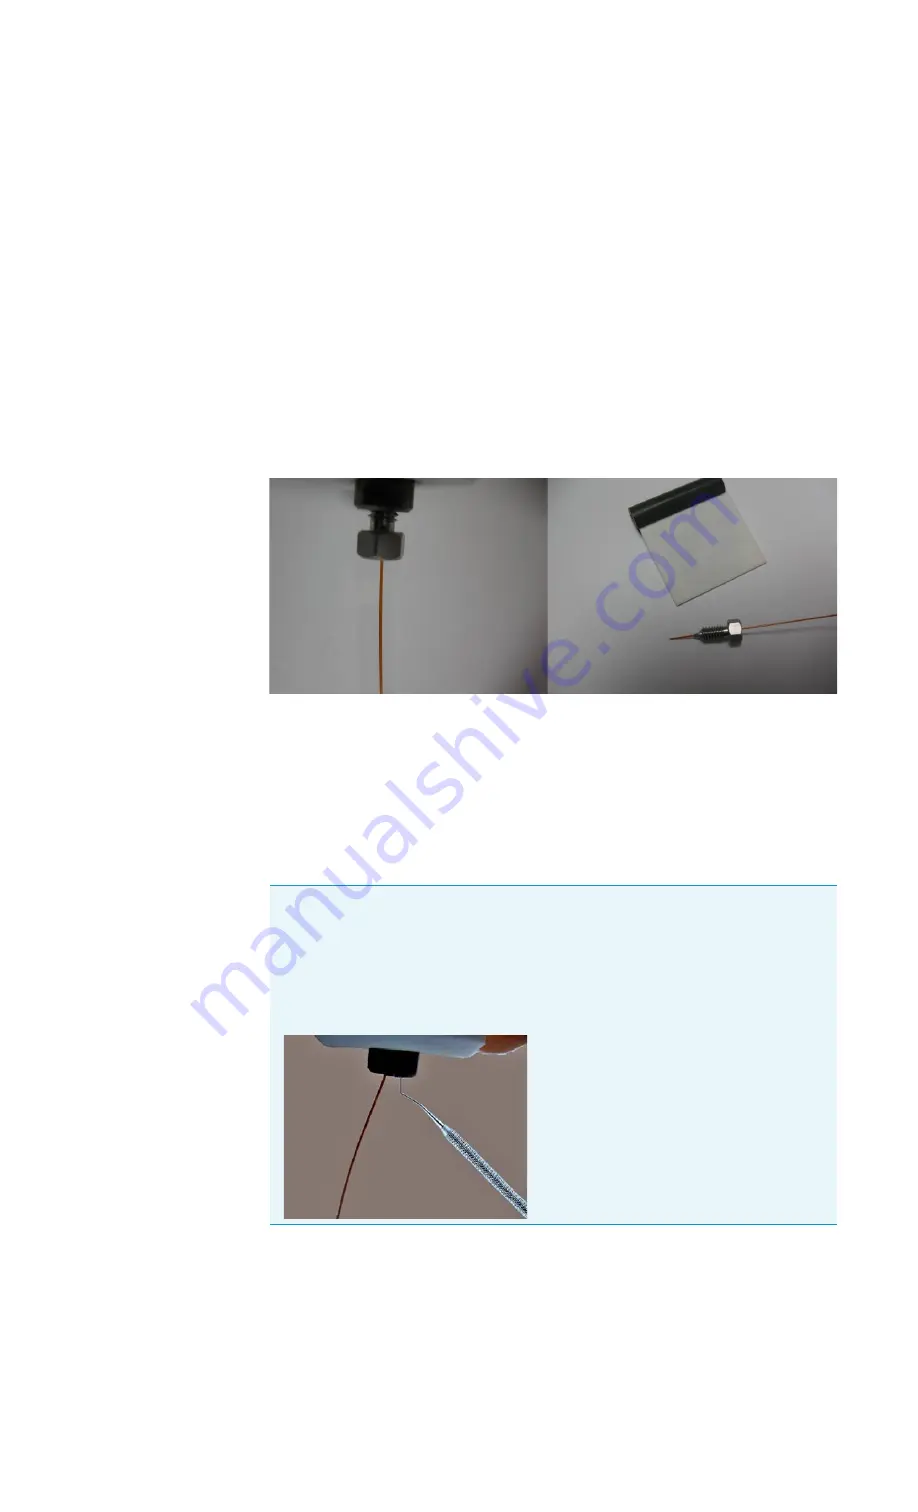
The column connection should appear as shown in
.
Figure 474.
Installing the Column in the Injector
The column should be fully captured by the ferrule without the ability to slide it up or
down.
4. At this point, remove the nut and ferrule assembly and confirm the column will not slide
in the ferrule (See first
Tip
). Trim the column such that only 5 mm extends
past the tip of the ferrule.
5. Carefully reinstall the column and again tighten the ferrule. The column is now installed
in the injector.
Tip
An indispensable tool for removal of the column from the inlet is a dental pick or
thumbtack. When the SilFlow ferrule engages the inlet on tightening, it is slightly
deformed at the tip in order for the sealing to occur. This causes the ferrule to become
“stuck,” which is a normal occurrence. The ferrule can easily be removed by inserting
the pointed tip of the dental pick gently along the side of the ferrule and pressing
vertically to cause the ferrule to be displaced to the side. Gently pulling on the
column at the same time will dislodge the ferrule.


