d. If you are using hydrogen as a carrier gas, replace the front panel screw.
e.
Replace all remaining hydrogen safety screws if you are using hydrogen.
27. Power on the mass spectrometer.
28. Once the instrument is pumped down and able to scan, click
Air & Water / Tune
on the
Dashboard view air water spectra and look for evidence of leaks with a large
m/z
28 signal.
If you observe a leak, stop scanning and gently tighten the nut in small increments until
no leaks appear when scanning.
Connecting the Capillaries to the Microfluidics Splitter
You can attach now attach all the capillaries to the microfluidics splitter.
To connect the capillaries to the microfluidics splitter
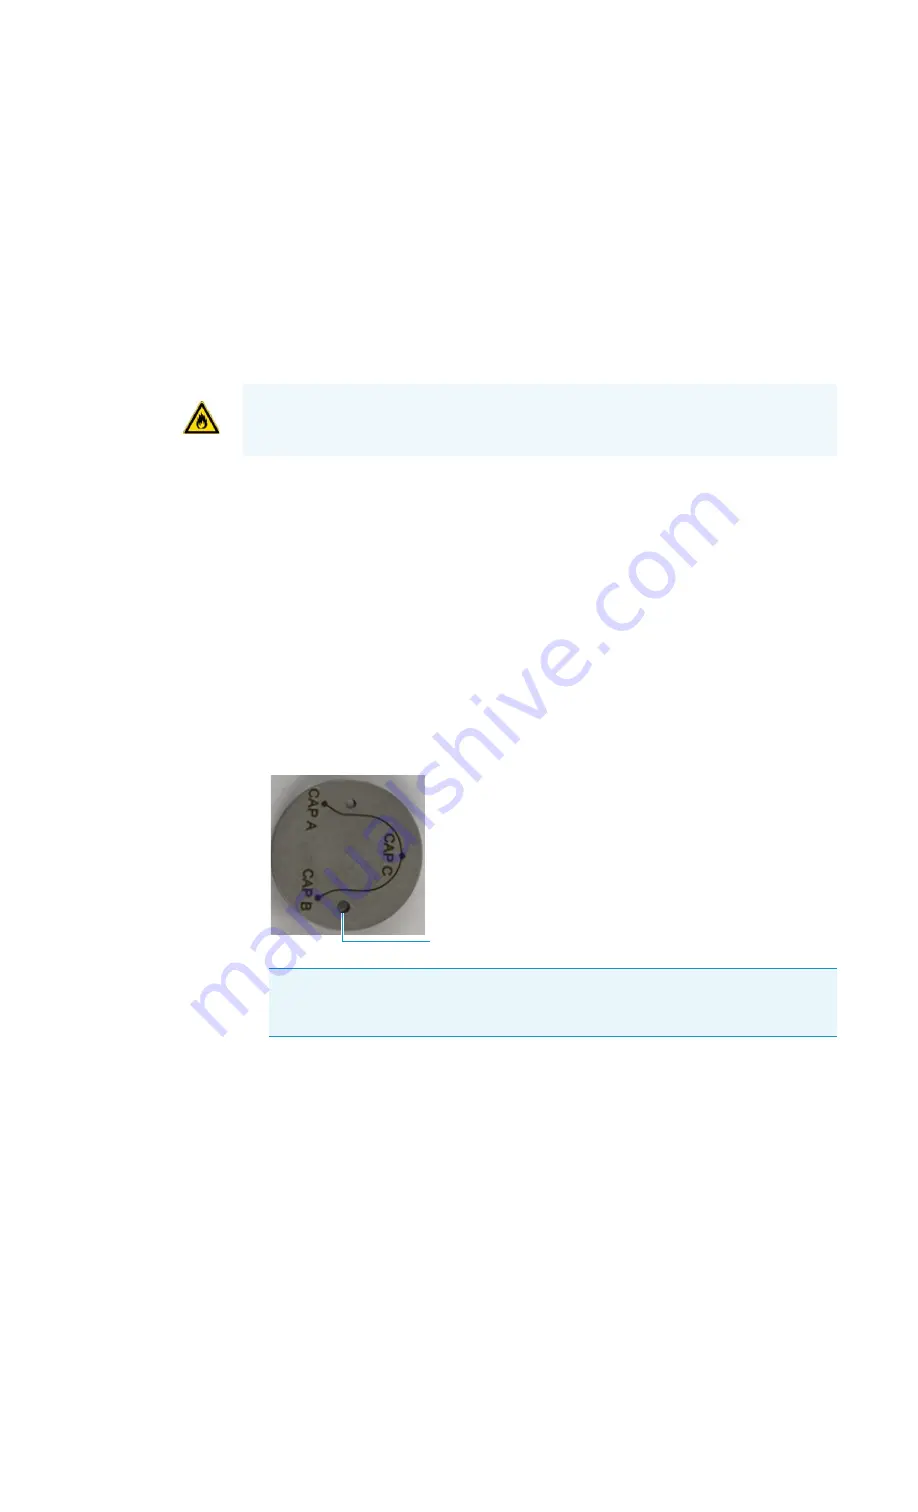
1. Place the ferrule connected to the original GC column into capillary B location on the
microfluidics splitter. See
. This corresponds to the bottom of the three holes
on a correctly installed splitter.
Figure 396.
Correct Orientation for the Microfluidics Splitter
2. Use the FingerTite tool to secure the nut you previously attached to the column to top of
the three holes on the microfluidics splitter.
3. Orient the capillary connected to the transfer line and the one attached to the no-vent
module as shown in
WARNING - FIRE HAZARD:
If you are using hydrogen, do NOT reach over the top of the
instrument to power it on. Instead, reach around the side or go to the back of the
instrument and flip up the power switch.
Tip
If a ferrule gets stuck in the microfluidics splitter, use a thumbtack or similar
pointed tool for removal. Insert the point of the tool between the ferrule and threads
and press so that the ferrule is forced off center. This will dislodge the ferrule.
GC Column


