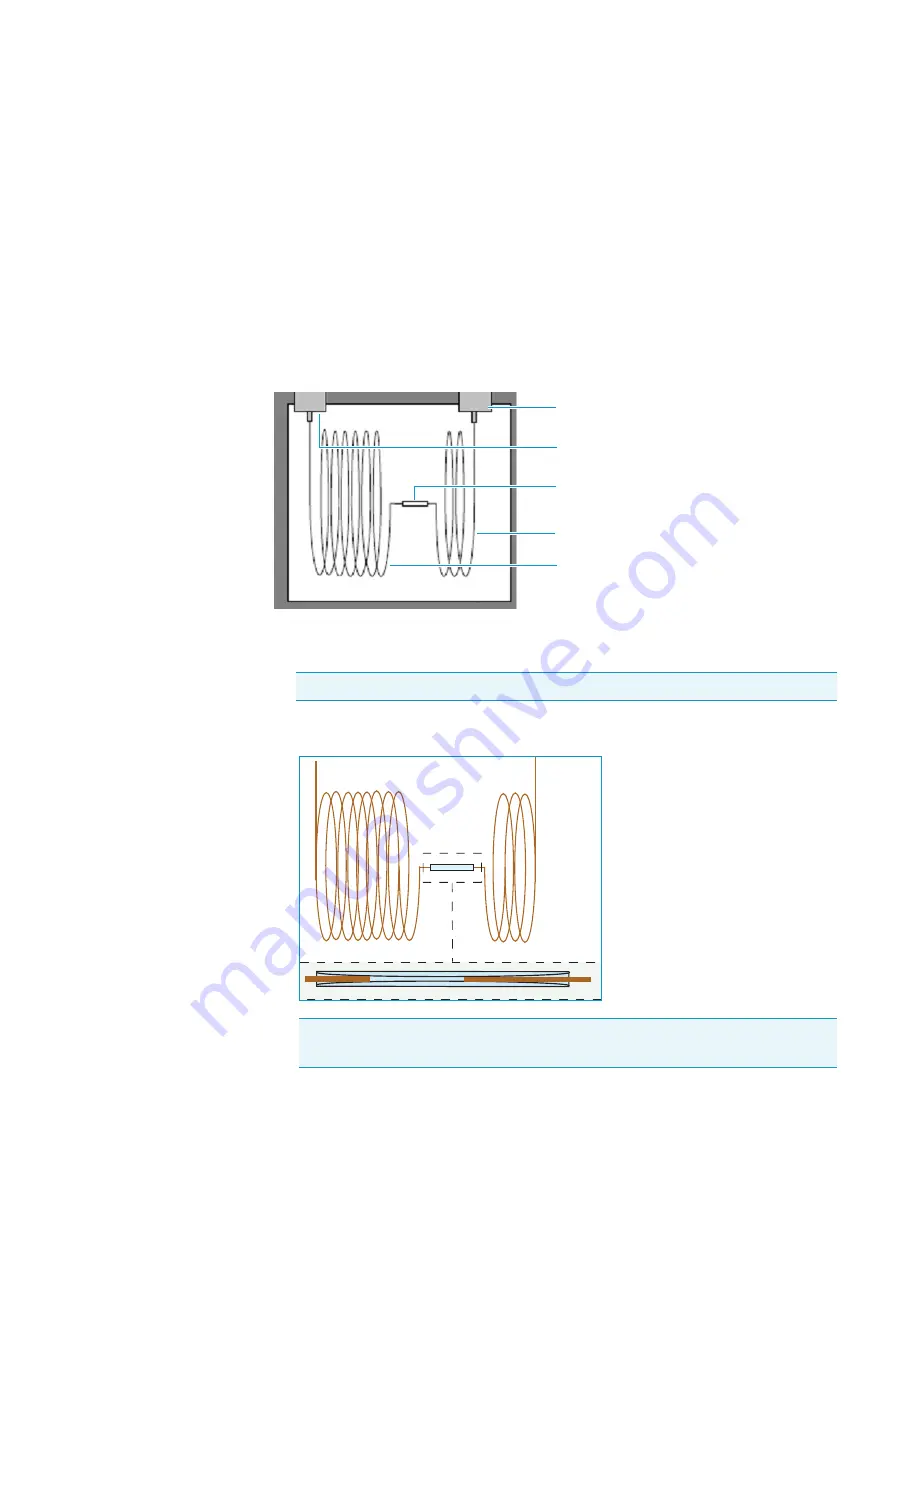
8
Installing Optional Kits
Installing the Large Volume Splitless Kit
356
TRACE 1300 and TRACE 1310 Hardware Manual
Thermo Scientific
c.
Connect an end of the precolumn to the bottom of the injector by using the proper
nut and ferrule. Position the precolumn so that its end extends a distance of 5 mm
above the end of the ferrule.
10. Couple the precolumn to the analytical capillary column.
a.
Properly cut the fused silica column ends pay attention to achieve a clean square cut
by using a ceramic scoring wafer or sapphire scribe.
b. insert the precolumn and analytical column ends into the relevant ports of the
deactivated connector.
11. Close the oven door.
12. If present, move the autosampler towards the module to restore the original alignment.
13. Turn the carrier gas on.
14. Set the injector, detector, and GC working conditions.
CAUTION
A poorly cut will produce an insufficient seal.
Note
To create a good seal between all the parts, will be necessary to increase the
oven temperature up to 200 °C.
Split/Splitless Injector
Detector
Deactivated connector
Precolumn
Analytical column


