14.
Enter the login name attribute, and then press [OK].
Use the login name attribute as a search criterion to obtain information about an authenticated
user. You can create a search filter based on the login name attribute, select a user, and then
retrieve the user information from the LDAP server so it is transferred to the machine's Address Book.
To specify multiple login attributes, place a comma (,) between them. The search will return hits for
either or both attributes.
Also, if you place an equals sign (=) between two login attributes (for example: cn=abcde,
uid=xyz), the search will return only hits that match the attributes. This search function can also be
applied when Cleartext authentication is specified.
When authenticating using the DN format, login attributes do not need to be registered.
The method for selecting the user name depends on the server environment. Check the server
environment and enter the user name accordingly.
15.
Press [Change] for "Unique Attribute".
16.
Enter the unique attribute and then press [OK].
Specify unique attribute on the machine to match the user information in the LDAP server with that in
the machine. By doing this, if the unique attribute of a user registered in the LDAP server matches
that of a user registered in the machine, the two instances are treated as referring to the same user.
You can enter an attribute such as "serialNumber" or "uid". Additionally, you can enter "cn" or
"employeeNumber", provided it is unique. If you do not specify the unique attribute, an account
with the same user information but with a different login user name will be created in the machine.
17.
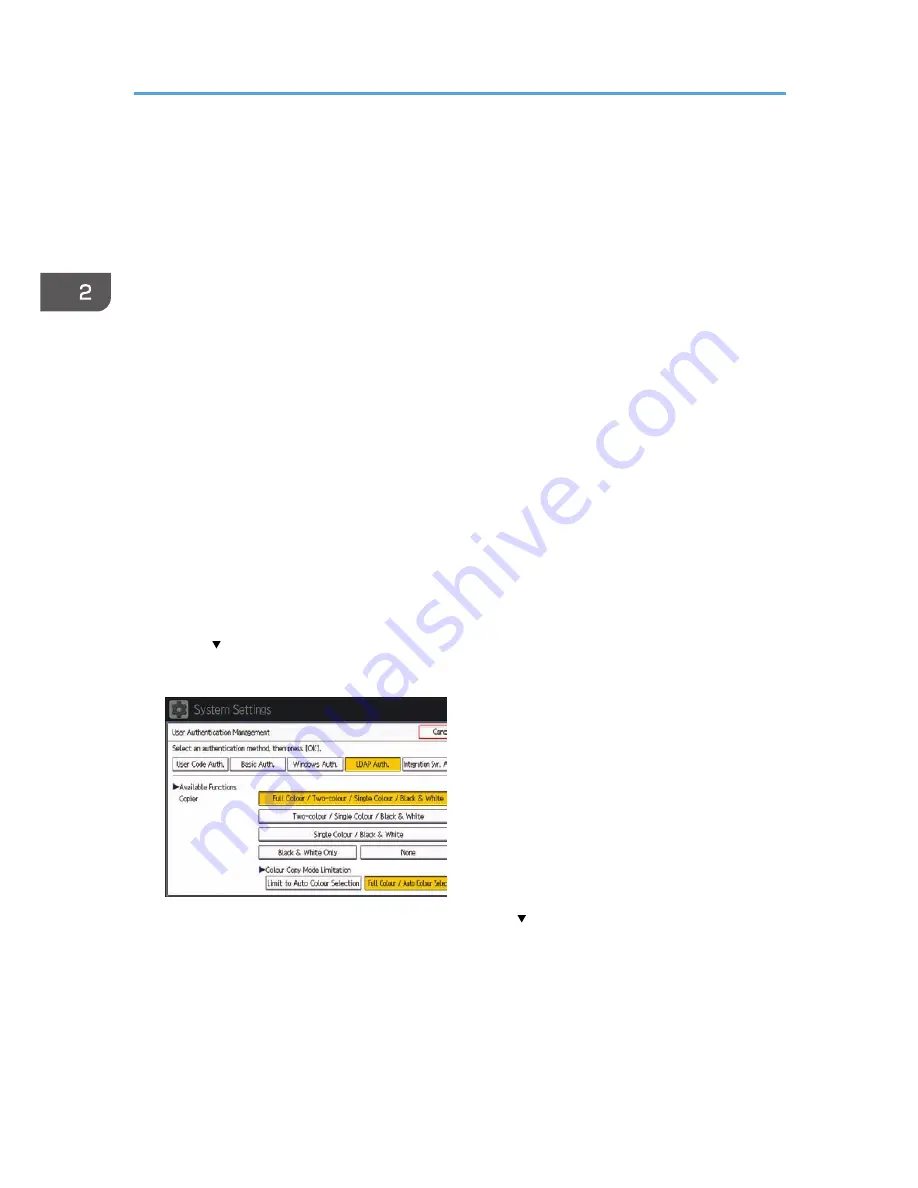
Press [ Next].
18.
In "Available Functions", select which of the machine's functions you want to permit.
If the function you want to select is not displayed, press [ Next].
LDAP authentication will be applied to the selected functions.
Users can use the selected functions only.
For details about specifying available functions for individuals or groups, see p.80 "Limiting
Available Functions".
19.
Press [OK].
2. Configuring User Authentication
56
Summary of Contents for Aficio MP C3002
Page 7: ...6 ...
Page 15: ...1 Manuals Provided with This Machine 14 ...
Page 39: ...2 Safety Information 38 ...
Page 51: ...3 Information for This Machine 50 ...
Page 54: ...Cover Paper Thickness 0 10 Body Paper Thickness 0 08 Pages in Book 0 Spine Width 0 2011 ...
Page 60: ......
Page 65: ...INDEX 235 5 ...
Page 86: ...1 What You Can Do with This Machine 26 ...
Page 126: ...2 Getting Started 66 ...
Page 128: ...7 When the copy job is finished press the Reset key to clear the settings 3 Copy 68 ...
Page 197: ...Storing the Scanned Documents to a USB Flash Memory or SC Card 6 126D ...
Page 201: ...7 Document Server 130 ...
Page 205: ...8 Web Image Monitor 134 ...
Page 235: ...9 Adding Paper and Toner 164 ...
Page 303: ...10 Troubleshooting 232 ...
Page 309: ...MEMO 238 ...
Page 310: ...MEMO 239 ...
Page 311: ...MEMO 240 EN GB EN US EN AU D143 ...
Page 312: ... 2011 ...
Page 313: ...GB EN D143 7003 US EN AU EN ...
Page 320: ......
Page 360: ...3 Installing the Scanner Driver 40 ...
Page 372: ...5 Troubleshooting 52 ...
Page 378: ...6 Installing the Printer Driver Under Mac OS X 58 ...
Page 382: ...3 Quit uninstaller 7 Appendix 62 ...
Page 386: ...MEMO 66 ...
Page 387: ...MEMO 67 ...
Page 388: ...MEMO 68 EN GB EN US EN AU D143 7038 ...
Page 389: ......
Page 390: ...EN GB EN US EN AU D143 7038 2011 ...
Page 392: ......
Page 398: ...6 ...
Page 440: ...MEMO 48 EN GB EN US EN AU D143 7042 ...
Page 441: ......
Page 442: ...EN GB EN US EN AU D143 7042 2011 ...
Page 444: ......
Page 454: ...10 ...
Page 472: ...1 Getting Started 28 ...
Page 540: ...3 Restricting Machine Usage 96 ...
Page 560: ...4 Preventing Leakage of Information from Machines 116 ...
Page 717: ...7 Press Yes 8 Log out Limiting Machine Operations to Customers Only 273 ...
Page 724: ...7 Managing the Machine 280 ...
Page 829: ......
Page 830: ...EN GB EN US EN AU D143 7040 2011 ...


