APPLIED OPERATIONS
/Viewing 3D Image
IV.
OPERATION INSTRUCTIONS
IV .
2 - 3 0 3
Page
4. Click the <Set start position> button. (If the start position is not set, image No. 0
becomes the start image automatically.)
5.
Display the image slice to end the successive display by using the <Display> button
at the top of the [Display] panel.
6. Click the <Set end position> button. (If the end position is not set, image No. n-1,
assuming that the number of images is n, becomes the start image automatically.)
7. Click and hold the <Display> button. The image slices will be displayed
successively from the start position to the end position.
To stop the successive display, click the <Display> button again.
2-9-1-1 Changing the Successive Display Speed
The buttons on the top of the [Display] panel can be used to vary the speed of
successive display of multiple image slices.
1. Display the [Display] panel of the image to be subjected to successive display
speed change.
2.
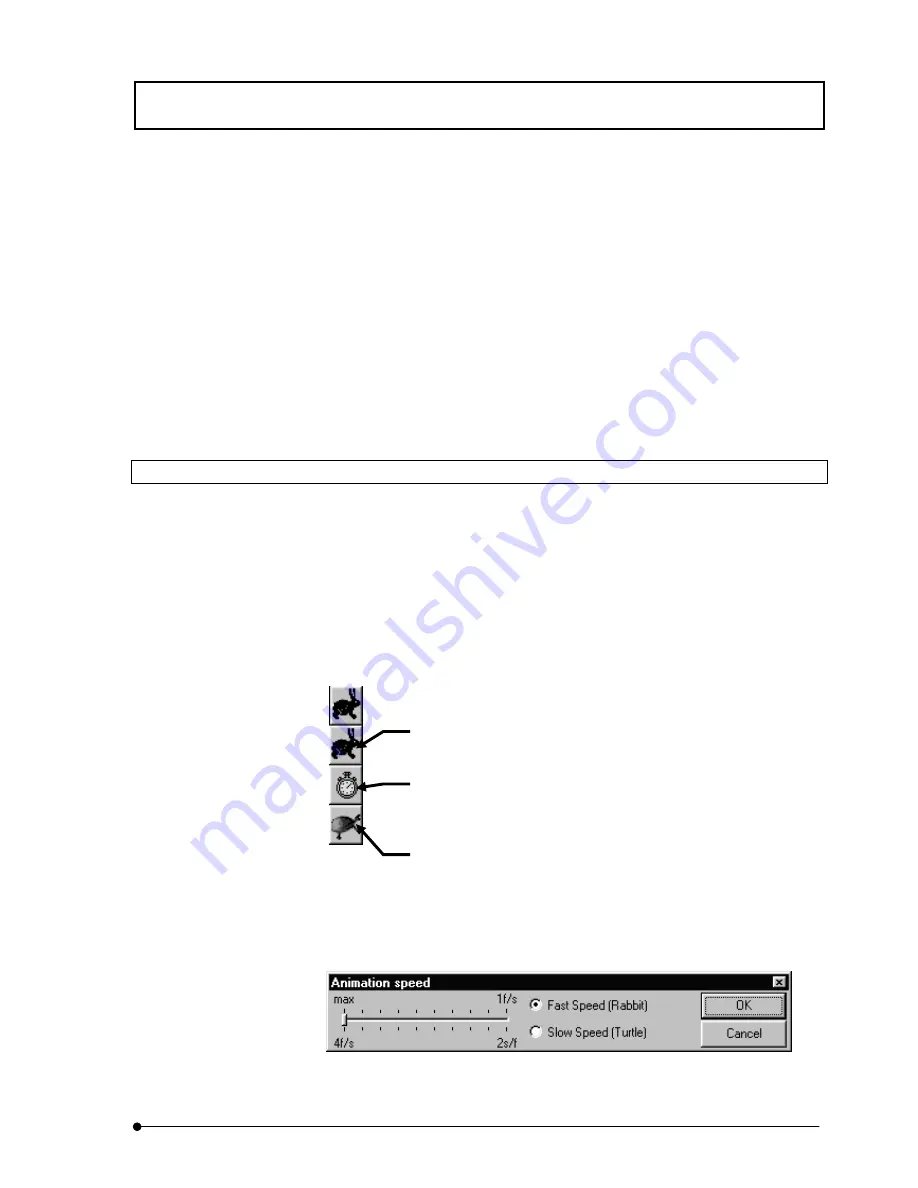
The buttons as shown below are displayed at the top of the [Display] panel.
(Usually, the <Rabbit> button is displayed. Clicking it displays a list of buttons as
shown below.) Click one of the buttons to select the display speed.
3. The display speed provided by the <Rabbit> or <Turtle> button can be varied by
clicking the mouse right button on the button.
The [Animation speed] dialog box appears when the button is right-clicked.
<Rabbit> button
Successive display at a high speed.
<Clock> button
Displayed in case of time-lapse observation.
Successive display at the same speed as that
used in image acquisition.
<Turtle> button
Successive display at a low speed.
Summary of Contents for FLUOVIEW FV300
Page 2: ......
Page 8: ......
Page 10: ......
Page 12: ......
Page 26: ......
Page 28: ......
Page 38: ......
Page 114: ......
Page 486: ......
Page 506: ......
Page 512: ......
Page 518: ......
Page 520: ......
Page 548: ......
Page 552: ......
Page 554: ......
Page 556: ......
Page 562: ......
Page 563: ......


