Operation Panel
4-58
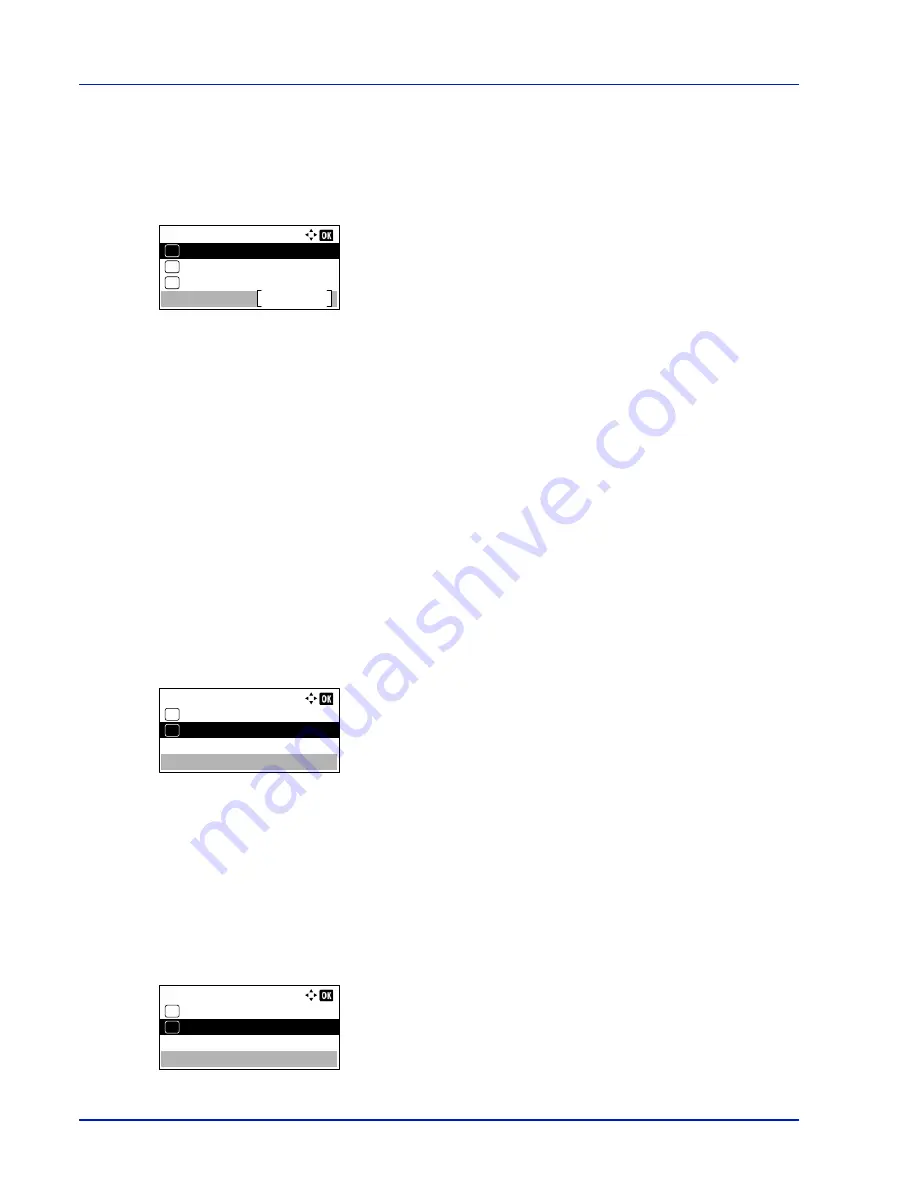
IPv4 Setting (TCP/IP IPv4 settings)
This selects the settings for TCP/IP (IPv4).
1
In the
TCP/IP Settings
menu, press
U
or
V
to select
IPv4
Setting
.
2
Press
[OK]
. The
IPv4 Setting
menu screen appears.
The options available in the TCP/IP (IPv4) settings are as follows:
• DHCP (DHCP setting)...4-58
• Auto-IP (Auto-IP setting)...4-58
• IP Address (IP address setting)...4-59
• Subnet Mask (Subnet mask setting)...4-59
• Default Gateway (Gateway setting)...4-60
• Bonjour (Bonjour setting)...4-60
IMPORTANT
The DHCP, Auto-IP, IP address, subnet mask, default
gateway and Bonjour menu options for IPv4 settings are displayed
when TCP/IP is enabled.
DHCP (DHCP setting)
DHCP (Dynamic Host Configuration Protocol) is the protocol that assigns the information required to establish a network
connection when a host attempts to connect to the network (Internet). This information includes the IP address of the local
node and the default router (the router in the host's own network system) and the DNS (Domain Name System) server.
DHCP is an extension of the BOOTP (Bootstrap) startup protocol.
1
In the
IPv4 Setting
menu, press
U
or
V
to select
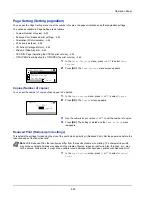
DHCP
.
2
Press
[OK]
. The
DHCP
screen appears.
3
Press
U
or
V
to select whether DHCP is enabled.
4
Press
[OK]
. The DHCP setting is set and the
IPv4 Setting
menu
reappears.
Auto-IP (Auto-IP setting)
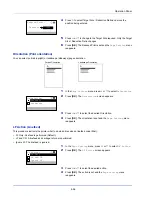
This protocol is used for automatic assignment of an IP address when you connect to a small network that does not have
a DHCP server. Select an address from the range 169.254.0.1 to 169.254.255.254, and if no other device on the network
is using that address, it is used as your address.
1
In the IPv4 Setting menu, press
U
or
V
to select
Auto-IP
.
2
Press
[OK]
. The
Auto-IP
screen appears.
IPv4 Setting:
DHCP
Exit
01
Auto-IP
02
IP Address
03
DHCP:
Off
01
On
02
*
Auto-IP:
Off
01
On
02
*
Summary of Contents for ECOSYS P4040dn
Page 1: ...ECOSYS P4040dn PRINT OPERATION GUIDE ...
Page 16: ...xii ...
Page 22: ...Machine Parts 1 6 ...
Page 58: ...Preparation before Use 2 36 ...
Page 66: ...Printing 3 8 ...
Page 202: ...Operation Panel 4 136 ...
Page 250: ...Maintenance 7 12 ...
Page 273: ...8 23 Troubleshooting 3 Close the rear cover 4 Open and close the top cover to clear the error ...
Page 274: ...Troubleshooting 8 24 ...
Page 306: ...Appendix A 32 ...
Page 315: ......
Page 318: ...Rev 1 2014 12 2P7KDEN001 ...


