Document Box
5-28
5
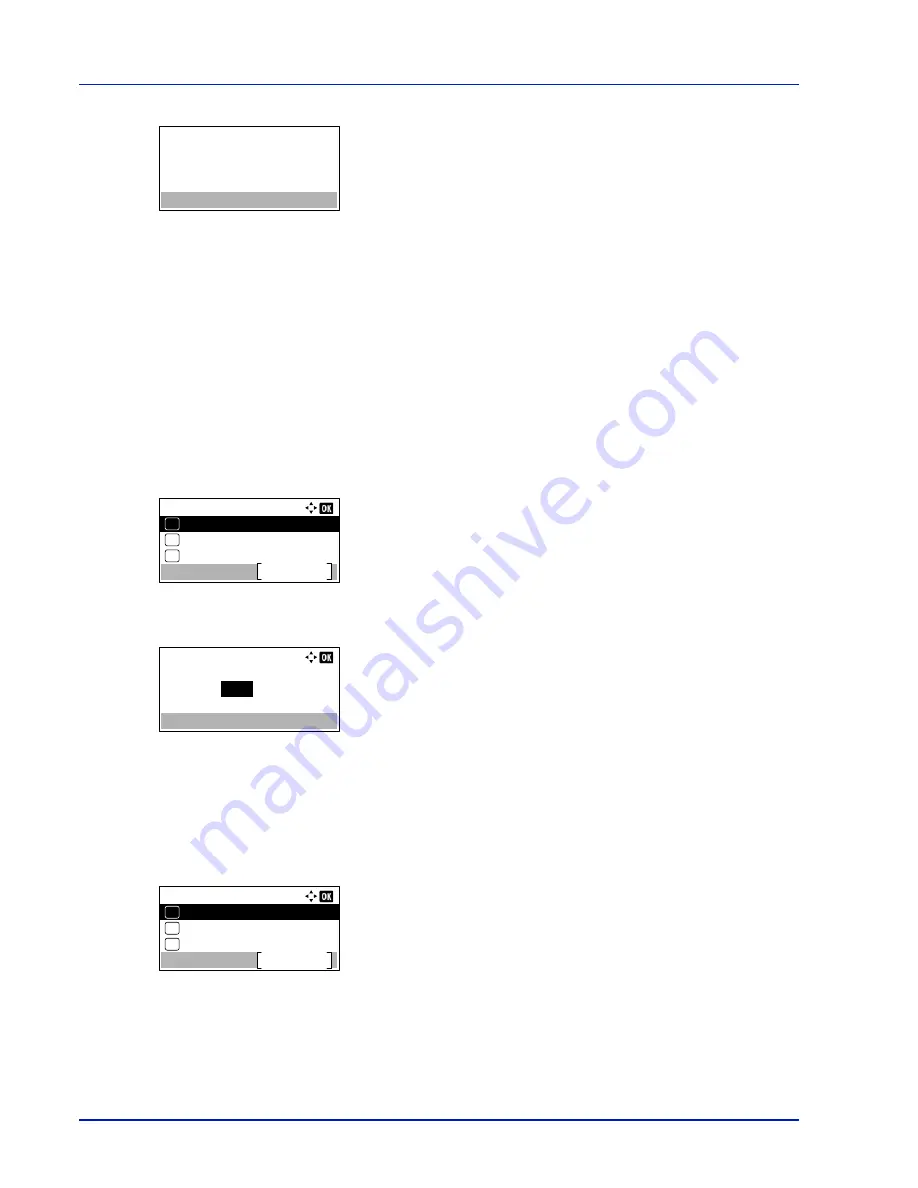
Press
[Yes]
(
[Left Select]
).
Complete.
appears and the printer
deletes the selected job.
Pressing
[No]
(
[Right Select]
) returns to the file list screen.
Job Box Setting (Job Box Configuration)
Change Job Box setting, such as the maximum number of storable documents in the Document Box, and automatic delete
settings, and select the storage media.
The following items are available in the Job Box setting.
• Quick Copy Jobs (Changing the Maximum Number of Quick Copy jobs)...5-28
• JobRet. Deletion (Set Automatic Delete times for Temporary Jobs)...5-28
• Storage Media (Selecting the storage media for the jobs)...5-29
Quick Copy Jobs (Changing the Maximum Number of Quick Copy jobs)
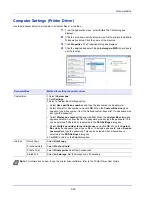
This changes maximum number of Quick Copy jobs to a value between 0 and 300. The default is 32.
1
In the
Job Box
menu, press
U
or
V
to select
Job Box Setting
.
2
Press
[OK]
. The
Job Box Setting
screen appears.
3
Press
U
or
V
to select
Quick Copy Jobs
and press
[OK]
. The
Quick Copy Jobs
screen appears.
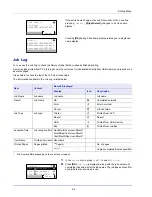
4
Use the numeric keys or
U
or
V
to set the maximum number of Quick
Copy jobs.
5
Press
[OK]
. The setting is stored and the
Job Box Setting
menu
reappears.
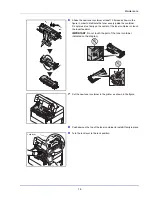
JobRet. Deletion (Set Automatic Delete times for Temporary Jobs)
When the set period passes, the temporary jobs are automatically deleted.
1
In the
Job Box
menu, press
U
or
V
to select
Job Box Setting
.
2
Press
[OK]
. The
Job Box Setting
screen appears.
3
Press
U
or
V
to select
JobRet. Deletion
and press
[OK]
. The
JobRet. Deletion
screen appears.
Completed.
Job Box Setting:
Storage Media
Exit
03
JobRet. Deletion
02
01
Quick Copy Jobs
Quick Copy Jobs:
32
(0 - 300)
job(s)
Job Box Setting:
Storage Media
Exit
03
JobRet. Deletion
02
01
Quick Copy Jobs
Summary of Contents for ECOSYS P4040dn
Page 1: ...ECOSYS P4040dn PRINT OPERATION GUIDE ...
Page 16: ...xii ...
Page 22: ...Machine Parts 1 6 ...
Page 58: ...Preparation before Use 2 36 ...
Page 66: ...Printing 3 8 ...
Page 202: ...Operation Panel 4 136 ...
Page 250: ...Maintenance 7 12 ...
Page 273: ...8 23 Troubleshooting 3 Close the rear cover 4 Open and close the top cover to clear the error ...
Page 274: ...Troubleshooting 8 24 ...
Page 306: ...Appendix A 32 ...
Page 315: ......
Page 318: ...Rev 1 2014 12 2P7KDEN001 ...


