Operation Panel
4-66
8
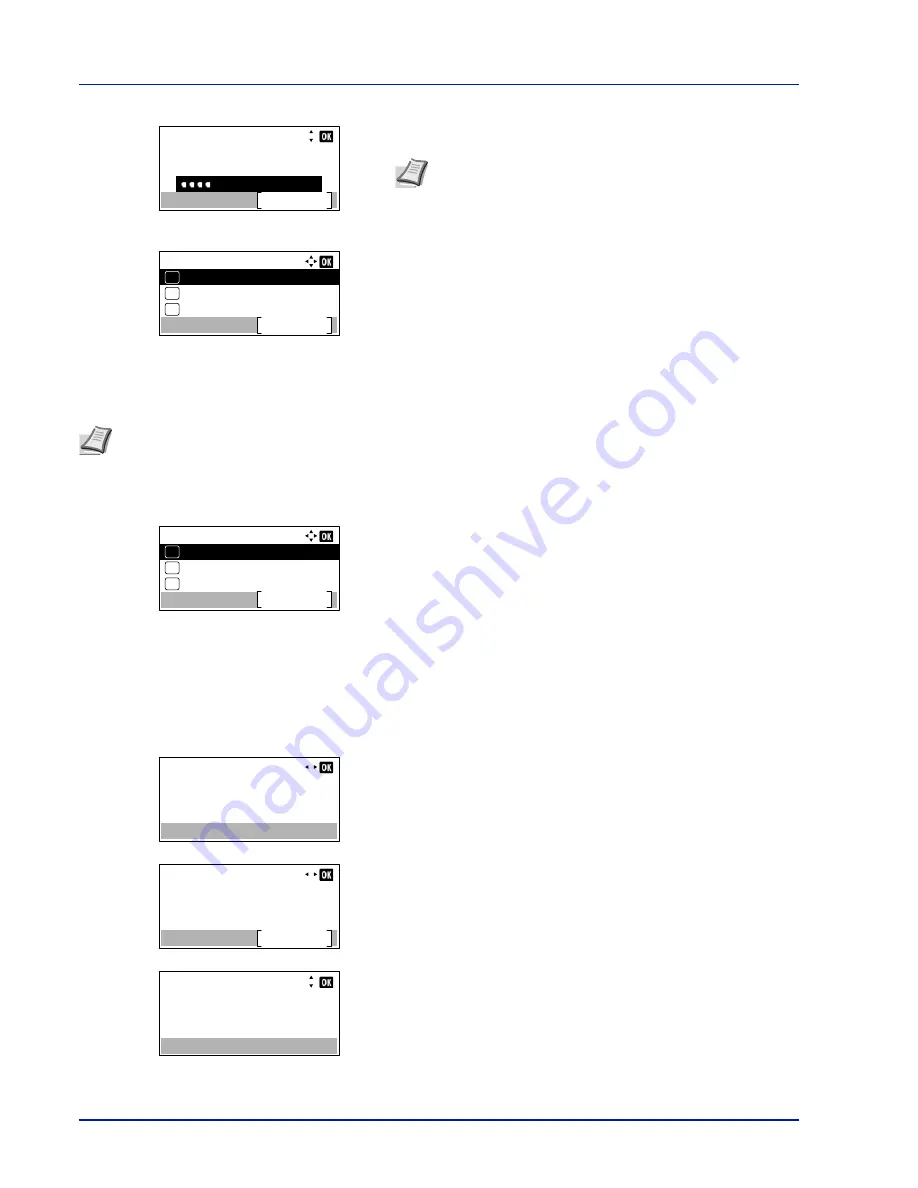
Enter the Login Password using the numeric keys then press
[OK]
.
The login screen reappears.
9
Pressing
[Login]
(
[Right Select]
). If the entered Login User Name
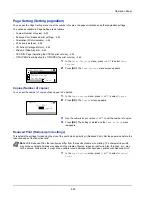
and Login Password are correct, the
Optional Network
menu
appears showing a list of available options.
Wireless Network (Wireless network
settings
)
This selects the settings for Wireless network.
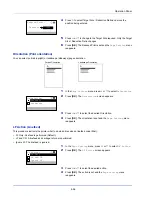
1
In the
Optional Network
menu, press
U
or
V
to select
Wireless
Network
.
2
Press
[OK]
. The
Wireless Network
menu screen appears.
The following operations are possible:
• ConnectionStatus (Wireless network connection status check)...4-
66
• Quick Setup (Quick setup for the wireless network)...4-67
• Custom Setup (Detailed settings for the wireless network)...4-68
ConnectionStatus (Wireless network connection status check)
When the optional Wireless Network Interface Kit (IB-51) is installed, you can check the status of the wireless network.
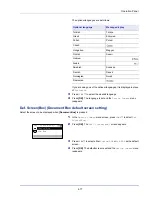
1
In the
Wireless Network
menu, press
U
or
V
to select
ConnectionStatus
.
2
Press
[OK]
. The
ConnectionStatus
screen appears.
3
Press
Y
or
Z
. The
NetwkName(SSID)
is displayed.
If the entire name shown as the
NetwkName(SSID)
will not fit on one
line, pressing
[Detail]
(
[Right Select]
) changes to a 3-line name
display.
Login User Name:
Login
Login Password:
4000
Note
The initial setting for the administrator's Login
Password is "4000".
For details on entering characters, refer to
Character Entry
Method on page A-2
.
Optional Network:
Communication
Exit
03
Basic
02
01
Wireless Network
Note
Wireless Network
is only displayed when the optional Wireless Network Interface Kit (IB-51) is installed.
Wireless Network:
Custom Setup
Exit
03
Quick Setup
02
01
ConnectionStatus
ConnectionStatus:
Status:
Connected
1/ 2
ConnectionStatus:
Detail
NetwkName(SSID):
2/ 2
ABCDEFGHIJKLMNOPQRST…
Detail:
ABCDEFGHIJKLMNOPQRSTU
VWXYZabcdefghijklmnop
qrstuvwxyz1234567890
Summary of Contents for ECOSYS P4040dn
Page 1: ...ECOSYS P4040dn PRINT OPERATION GUIDE ...
Page 16: ...xii ...
Page 22: ...Machine Parts 1 6 ...
Page 58: ...Preparation before Use 2 36 ...
Page 66: ...Printing 3 8 ...
Page 202: ...Operation Panel 4 136 ...
Page 250: ...Maintenance 7 12 ...
Page 273: ...8 23 Troubleshooting 3 Close the rear cover 4 Open and close the top cover to clear the error ...
Page 274: ...Troubleshooting 8 24 ...
Page 306: ...Appendix A 32 ...
Page 315: ......
Page 318: ...Rev 1 2014 12 2P7KDEN001 ...


