5-15
Document Box
Print a File (Changes to the print settings)
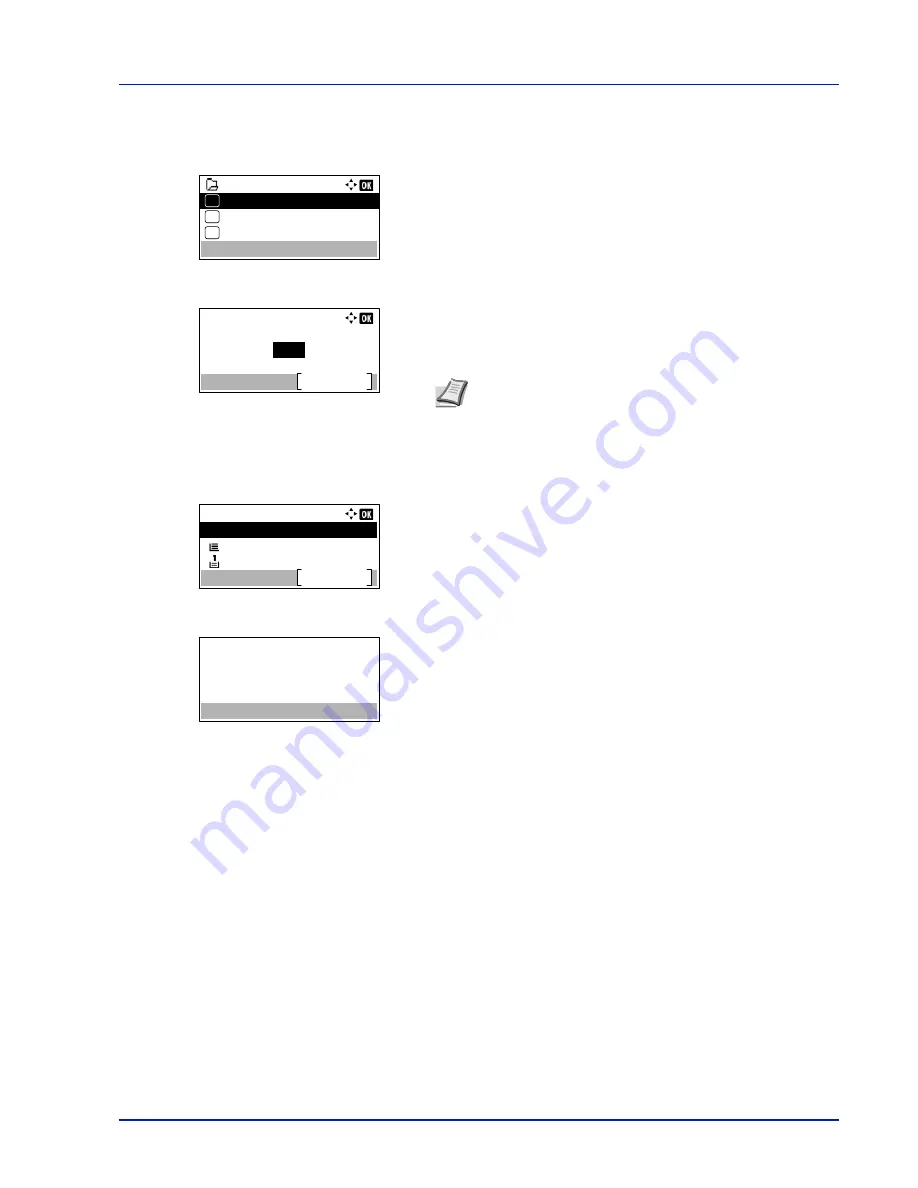
To change the print settings for a file selected in a Custom Box and print it.
1
In the file list screen, select the item and press
[OK]
. The
/
Delete
menu screen appears.
2
Press
U
or
V
to select
Print(ChangeSet)
.
3
Press
[OK]
. The
Copies
menu screen appears.
If you want to change the number of remaining copies to be printed,
use the numeric keys or press
U
or
V
to set the number of copies to
be printed.
4
Press
[OK]
. The
Paper Source
menu screen appears.
5
Press
U
or
V
to select the tray containing the paper you want to use.
6
Press
[OK]
. The message
Accepted.
appears and printing begins.
When
On
is selected in the
Del. afterPrint (Setting for file deletion after
printing) on page 5-9
, the selected file will be deleted from the
Custom Box after it is printed.
Print Function Settings
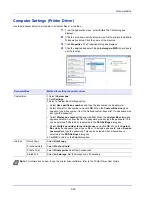
When printing, the print settings can be changed.
Options available in Print Function Settings are as follows:
• Quiet Mode (Selecting the Quiet Mode)...5-16
• Duplex (Setting the duplex printing)...5-16
• EcoPrint (Selecting the EcoPrint mode)...5-17
• File Name Entry (entering a file name)...5-17
• JobFinish Notice (Settings for notification when jobs are finished)...5-18
• Del. after Print (Delete data after printing setting)...5-18
0001 Box 01
Print(ChangeSet)
Delete
03
02
01
Copies:
(1 - 999)
Function
copies
1
Note
If Job Accounting is enabled, enter the account ID in
the login screen that appears. The
Copies
menu screen
appears after login.
[Function] (
[Right Select]
) can be pressed to change the print
settings. For details, refer to
Print Function Settings on page
5-15
.
Paper Source:
A4
Function
A4
Labels
Plain
Auto
Accepted.
Summary of Contents for ECOSYS P4040dn
Page 1: ...ECOSYS P4040dn PRINT OPERATION GUIDE ...
Page 16: ...xii ...
Page 22: ...Machine Parts 1 6 ...
Page 58: ...Preparation before Use 2 36 ...
Page 66: ...Printing 3 8 ...
Page 202: ...Operation Panel 4 136 ...
Page 250: ...Maintenance 7 12 ...
Page 273: ...8 23 Troubleshooting 3 Close the rear cover 4 Open and close the top cover to clear the error ...
Page 274: ...Troubleshooting 8 24 ...
Page 306: ...Appendix A 32 ...
Page 315: ......
Page 318: ...Rev 1 2014 12 2P7KDEN001 ...


