4-119
Operation Panel
14
Pressing
[Edit]
(
[Right Select]
). The
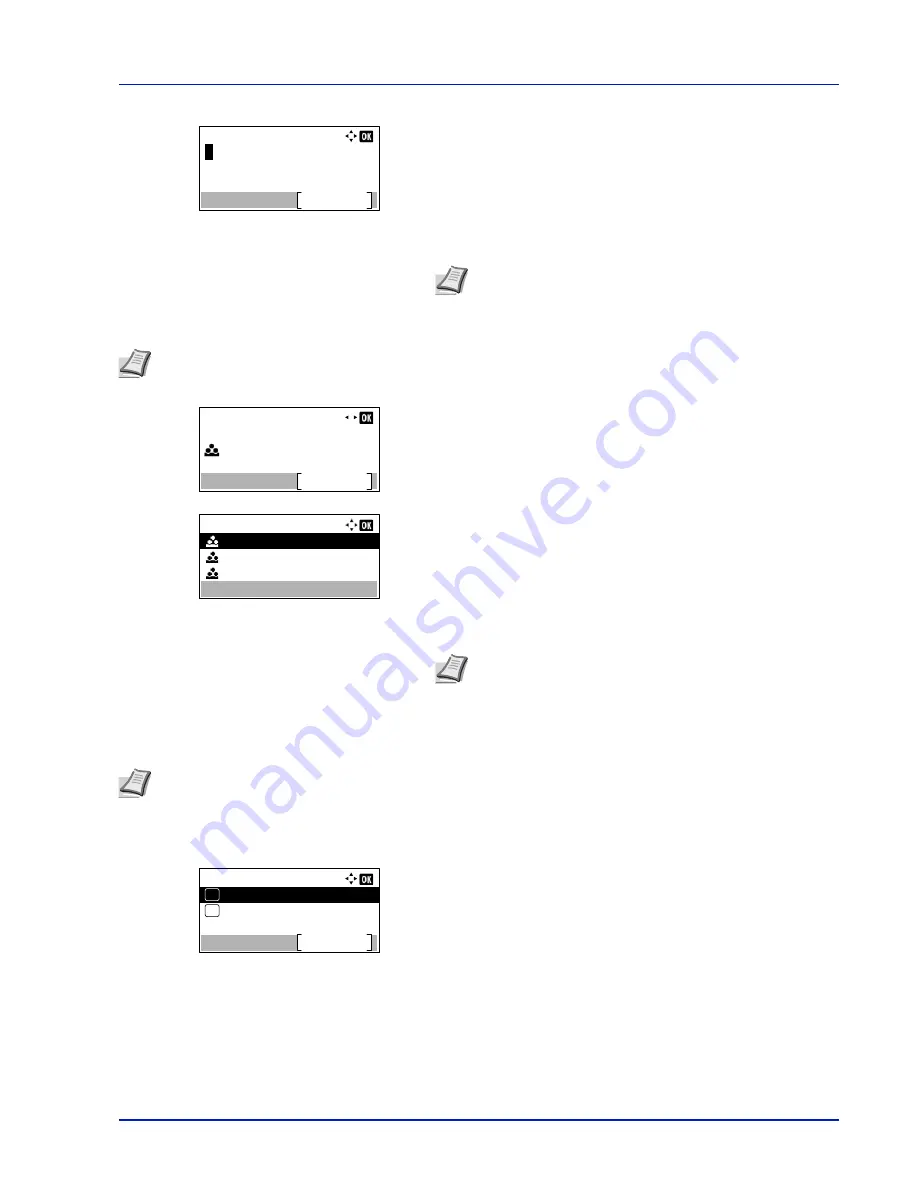
Address Entry
screen
appears.
15
Change the address using the numeric keys and press
[OK]
. The
E-
mailAddress
screen reappears.
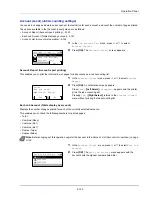
To change the Account ID
16
Press
Y
or
Z
to select
Account ID
.
17
Pressing
[Change]
(
[Right Select]
). The
Account ID
screen
appears.
18
Press
U
or
V
to select the Account ID and press
[OK]
. The
Account
ID
screen reappears.
ID Card Settings
This sets the login method when the optional Card Authentication Kit is used and users are managed using ID cards.
1
In the User Login Set. menu, press
U
or
V
to select
ID Card
Settings
.
2
Press
[OK]
. The
ID Card Settings
menu screen appears.
The options available in ID Card Settings are as follows:
• Key Login (Setting for key login permission)...4-119
• Additional Auth. (Setting for additional authentication)...4-120
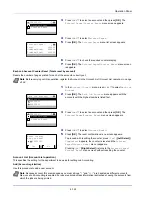
Key Login (Setting for key login permission)
This setting also permits logging in using the numeric keys on the ID card login screen. When
Permit
is set,
KeyLogin
is
displayed on the login screen and it is possible to log in by entering the Login User Name and Login Password using the
numeric keys. When
Prohibit
is set, it is not possible to log in using the numeric keys.
1
In the
ID Card Settings
menu, press
U
or
V
to select
Key
Login
.
Address Entry:
Text
ABC
Note
Up to 128 characters can be entered. For details on
entering characters, refer to
Character Entry Method on page
A-2
.
Note
This item is only displayed when Job Account is set.
Detail:
5/ 5
Account ID:
Change
00000001
Account ID:
11111111
22222222
33333333
Note
For other accounts, select
Others
.
Note
This item is only displayed when the optional Card Authentication Kit is activated. For details of the Card
Authentication Kit, refer to
Card Authentication Kit(B) Operation Guide for Printer
.
ID Card Settings:
Key Login
Exit
Password Login
01
02
Summary of Contents for ECOSYS P4040dn
Page 1: ...ECOSYS P4040dn PRINT OPERATION GUIDE ...
Page 16: ...xii ...
Page 22: ...Machine Parts 1 6 ...
Page 58: ...Preparation before Use 2 36 ...
Page 66: ...Printing 3 8 ...
Page 202: ...Operation Panel 4 136 ...
Page 250: ...Maintenance 7 12 ...
Page 273: ...8 23 Troubleshooting 3 Close the rear cover 4 Open and close the top cover to clear the error ...
Page 274: ...Troubleshooting 8 24 ...
Page 306: ...Appendix A 32 ...
Page 315: ......
Page 318: ...Rev 1 2014 12 2P7KDEN001 ...


