4-67
Operation Panel
Quick Setup (Quick setup for the wireless network)
When connecting to an access point which supports the automatic wireless network setup, you can select the connection
settings using Quick Setup.
1
In the
Wireless Network
menu, press
U
or
V
to select
Quick
Setup
.
2
Press
[OK]
. The
Quick Setup
menu screen appears.
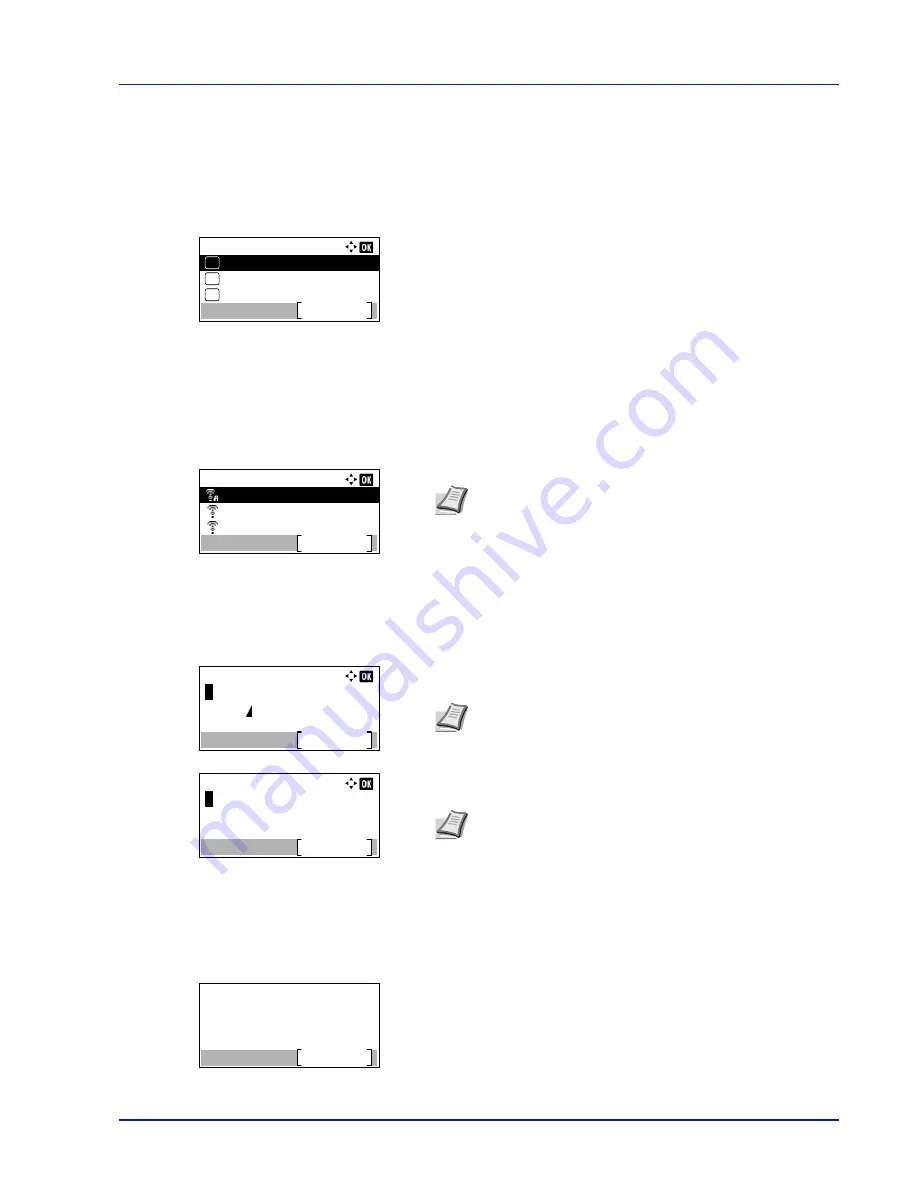
The following operations are possible:
• AvailableNetwork (Display the access points)
• Push Button (Connect using Push Button)
• PIN (Device) (Connect using a PIN code (for the Wireless Network
Interface Kit))
• PIN (Terminal) (Connect using a PIN code (for the access point))
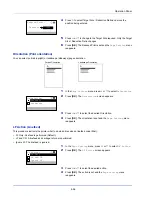
AvailableNetwork (Display the access points)
Displays the access points which can be connected to.
1
In the
Quick Setup
menu, press
U
or
V
to
AvailableNetwork
.
2
Press
[OK]
. The
AvailableNetwork
screen appears.
3
Press
U
or
V
to select the access point to connect to.
4
Press
[OK]
. The connection with the access point is started.
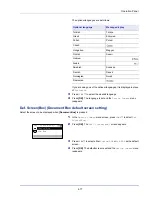
When it is necessary to enter an encryption key, the WEP Key entry
screen or Preshared Key entry screen appears.
When a WEP Key must be entered:
Enter the WEP Key using the numeric keys and press
[OK]
.
When a Preshared Key must be entered:
Enter the Preshared Key using the numeric keys and press
[OK]
.
Push Button (Connect using Push Button)
When the access point supports the automatic wireless network setup button, you can configure the wireless settings
automatically using the button and the panel operation of the printer.
1
In the
Quick Setup
menu, press
U
or
V
to select
Push Button
.
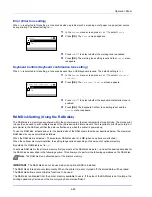
2
Press
[OK]
. A confirmation message is displayed.
Quick Setup:
PIN (Device)
Exit
03
Push Button
02
01
AvailableNetwork
AvailableNetwork:
AccessPoint_003
Reload
AccessPoint_002
AccessPoint_001
Note
If you cannot find the desired access point, press
[Reload]
(
[Right Select]
) to update the information.
WEP Key:
Text
ABC
Up to 26 characters can be entered. For details on entering
characters, refer to
Character Entry Method on page A-2
.
Preshared Key:
Text
ABC
Note
The number of characters is between 8 and 64. For
details on entering characters, refer to
Character Entry
Method on page A-2
.
Press the push button
on access point and
then press [Next].
Next
Summary of Contents for ECOSYS P4040dn
Page 1: ...ECOSYS P4040dn PRINT OPERATION GUIDE ...
Page 16: ...xii ...
Page 22: ...Machine Parts 1 6 ...
Page 58: ...Preparation before Use 2 36 ...
Page 66: ...Printing 3 8 ...
Page 202: ...Operation Panel 4 136 ...
Page 250: ...Maintenance 7 12 ...
Page 273: ...8 23 Troubleshooting 3 Close the rear cover 4 Open and close the top cover to clear the error ...
Page 274: ...Troubleshooting 8 24 ...
Page 306: ...Appendix A 32 ...
Page 315: ......
Page 318: ...Rev 1 2014 12 2P7KDEN001 ...


