4-17
Operation Panel
8
Press
[OK]
. The
Auto Sending
menu appears.
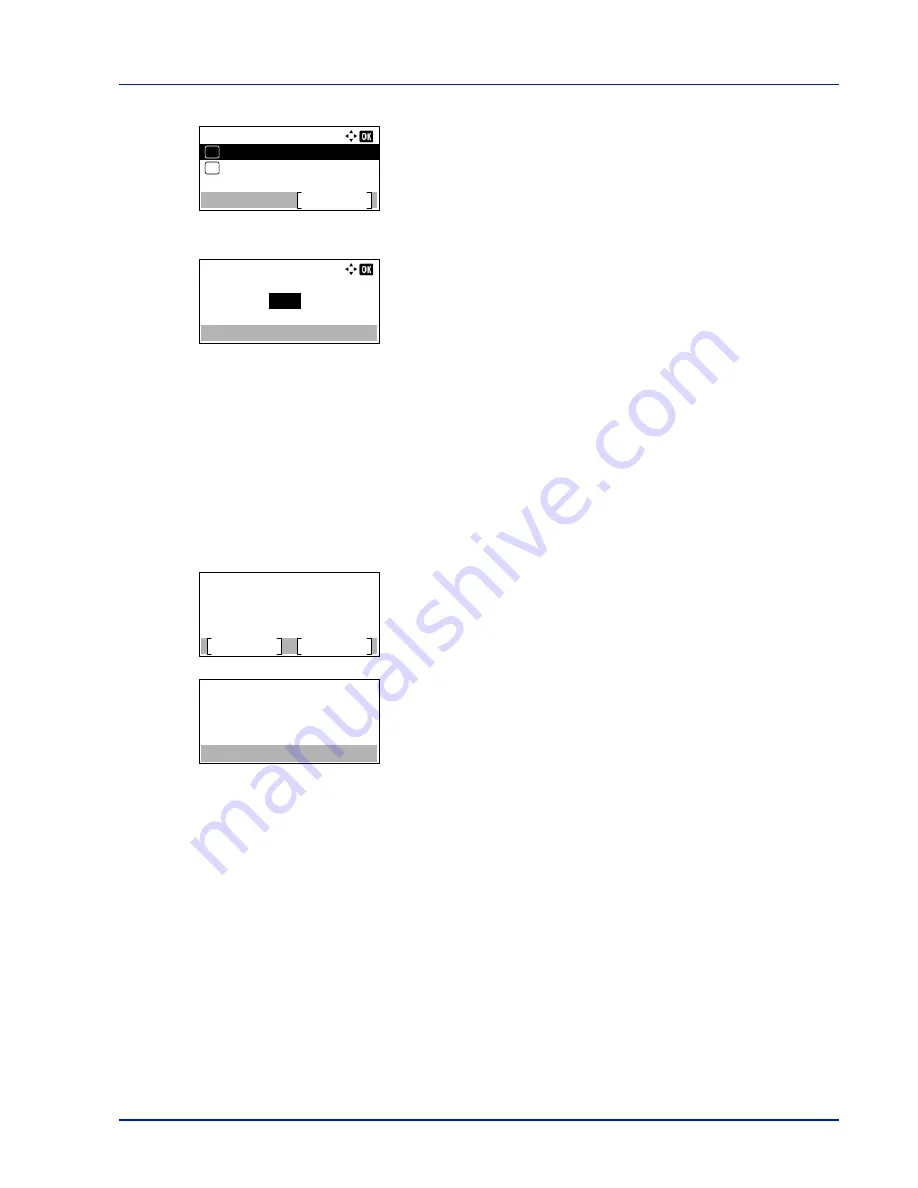
When Auto Sending is set to
On
in step 5, the setting for
Jobs
is
displayed.
9
Press
U
or
V
to select
Jobs
.
10
Press
[OK]
. The
Jobs
screen appears.
11
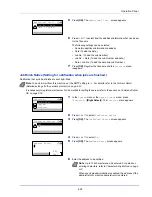
Use the numeric keys or press
U
or
V
to specify the number of job
log histories.
12
Press
[OK]
. The setting is stored and the
Job Log History
menu
reappears.
Send History (Sending job log history)
You can also send the job log history to the specified destination manually. Set the destinations in advance by referring to
Destination (Setting the destination) on page 4-18
.
1
In the
Job Log History
menu, press
U
or
V
to select
Send
History
.
2
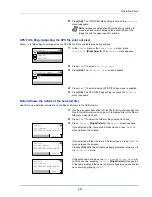
Press
[OK]
. A confirmation message is displayed.
This message appears if no destination has been set.
3
Press
[Yes]
(
[Left Select]
). The message
Accepted.
appears and
the printer sends the job log history.
Pressing
[No]
(
[Right Select]
) returns to the
Job Log History
menu without sending the job log history.
Auto Sending:
Off/On
Exit
Jobs
01
02
Jobs:
100
(1 - 100)
jobs
Send the job log
history.
Are you sure?
Yes
No
Enter Destination.
Summary of Contents for ECOSYS P4040dn
Page 1: ...ECOSYS P4040dn PRINT OPERATION GUIDE ...
Page 16: ...xii ...
Page 22: ...Machine Parts 1 6 ...
Page 58: ...Preparation before Use 2 36 ...
Page 66: ...Printing 3 8 ...
Page 202: ...Operation Panel 4 136 ...
Page 250: ...Maintenance 7 12 ...
Page 273: ...8 23 Troubleshooting 3 Close the rear cover 4 Open and close the top cover to clear the error ...
Page 274: ...Troubleshooting 8 24 ...
Page 306: ...Appendix A 32 ...
Page 315: ......
Page 318: ...Rev 1 2014 12 2P7KDEN001 ...


