


Jabiru J450 Constructors Manual
Post-Paint>Fuselage>Firewall forward>Fit propeller and spinner
Tuesday, April 6, 2010
275 of 343
There must be more than 1½ threads and less than 3 threads showing through the Nyloc nuts.
Pack behind the nuts with flat washers as required. Recheck the torque settings, applying a
slow, steady pressure on the torque wrench until the correct torque value is reached.
Add engine oil
At this time the engine should have the correct grade of oil added (2200 = 2.3l, 3300 = 3.5l)
refer to the engine manual for the grade. Pour slowly to minimize the chance of spillage and
refit the dipstick. Remove the “
Do Not Run: Contains No Oil
” tag from the engine.
Check and set the propeller blade tracking
It is important that the tips of both propeller blades track
exactly
in line with each other as the
propeller rotates – tracking must be adjusted to
very close tolerances, preferably less than
0.25mm, in order to minimize engine and/or
airframe vibration.
To check the tracking you will need to make up
an adjustable pointer (example shown arrowed at
right) that can be clamped to the nose gear and
placed against the tip of the propeller blade as a
reference point (shown circled at right).
Rotate the propeller and check that each tip is
just touching the pointer. If there is any variation
then the technique to be used is as follows:
Coarse adjustment
: if the difference between blades is greater than 1 to 1.5mm then a shim
will need to be made and placed between the propeller and the propeller flange.
Remove the propeller. Cut a shim from a sheet of
standard 80gsm paper (photocopier paper) as
shown at right (use the discarded universal
propeller flange as a pattern) and fit on the
propeller flange on the side of rearmost blade.
Re-fit the propeller and re-torque all the nuts to
the correct values, working in a diagonal or criss-
cross pattern, and check the tracking.
Add more shims if required. Note that a shim cut from a manila folder will correct a 2.5-3mm
tracking error. Make fine adjustments as described next:
Fine adjustment
: if the variation between blades is 1mm or less then apply additional torque
of no more than 2 ft/lbs to the 3 nuts on the side of the front-most blade and check the
tracking.
When the blade tracking is less than 0.25mm, loosen off all of the nuts and then re-torque
them all to the correct values, working in a
diagonal or criss-cross pattern.
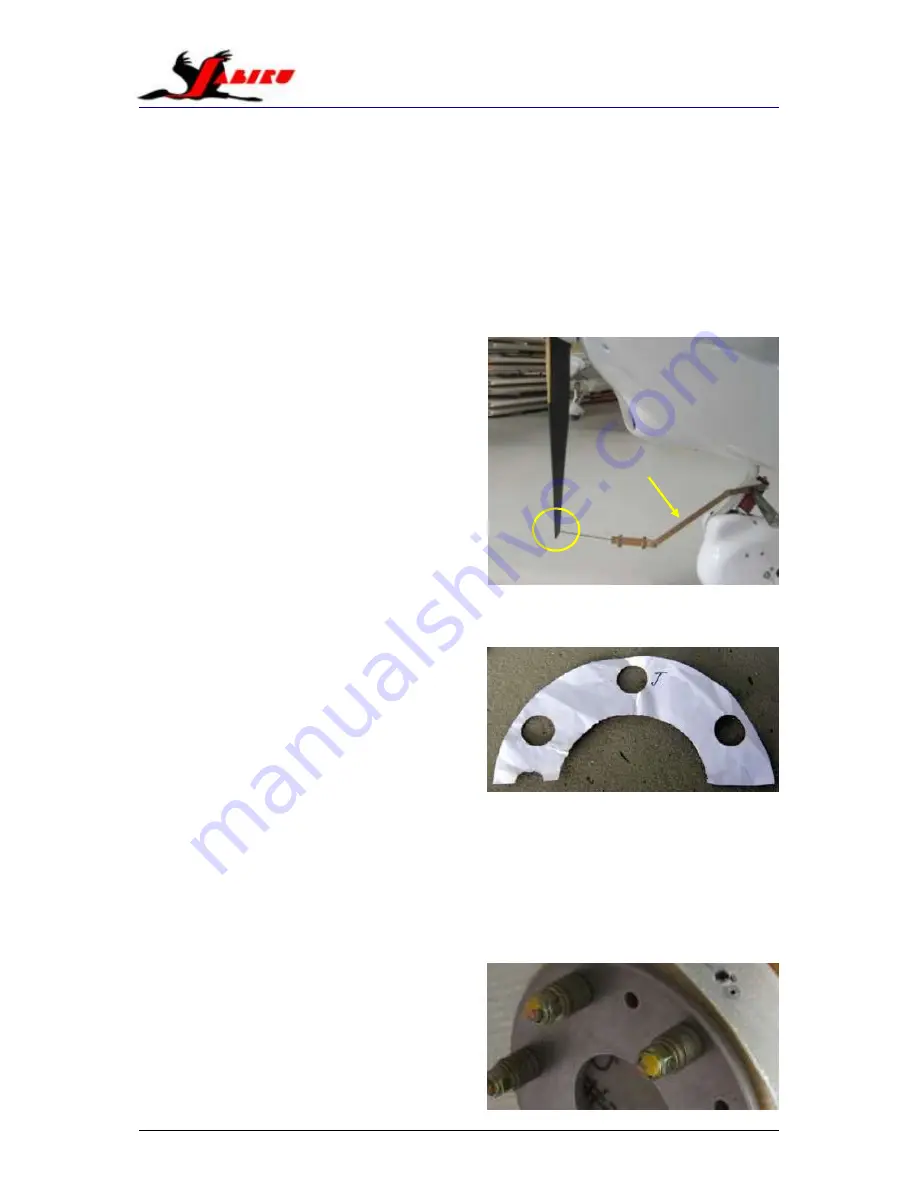
When blade tracking is correct and all the nuts
have been set to correct torque, apply a dab of
Torque Seal inspection putty to the top of each
nut as shown at right. This gives a clear visual
indication that no further work is required.