e.
Test the connection from the initiator to the iSNS server by clicking
Verify iSNS
. If successful,
click
Save
.
If necessary, from the iSNS server, make the appropriate edits to add the Xtend SAN iSCSI
Initiator to any iSNS discovery domains that include MPX iSCSI targets.
f.
Click
Discover Targets
, and then click
Discover by iSNS
.
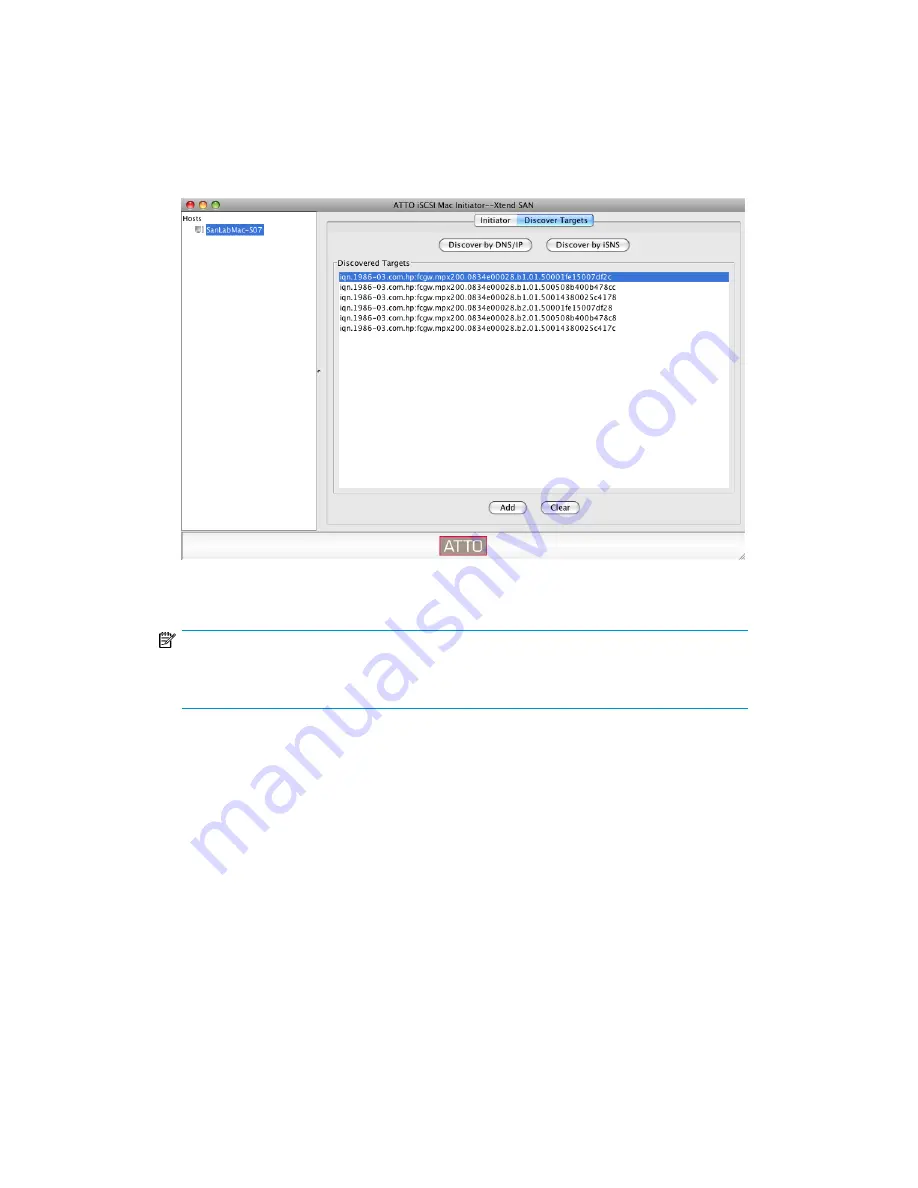
A list of MPX targets appears under Discovered Targets (
Figure 43
).
Figure 43 Discovered targets
.
NOTE:
The MPX iSCSI port may present several iSCSI targets to the Xtend SAN iSCSI Initiator.
Select only one target from the list.
g.
Select the newly added target under Host name in the left pane.
h.
Select the
Visible
check box to allow the initiator to display the target status (
Figure 44
).
i.
Select the
Auto Login
check box to configure the initiator to automatically log in to the iSCSI
target at system startup.
MPX200 iSCSI configuration rules and guidelines
68
Summary of Contents for Storageworks 8100 - enterprise virtual array
Page 20: ...20 ...
Page 30: ...MPX200 Multifunction Router overview 30 ...
Page 47: ...Figure 27 iSCSI controller options Remove controller MPX200 Multifunction Router 47 ...
Page 48: ...Managing the MPX200 using HP Command View EVA 48 ...
Page 59: ...Figure 32 Virtual disk properties Figure 33 Host details MPX200 Multifunction Router 59 ...
Page 112: ...MPX200 iSCSI configuration rules and guidelines 112 ...
Page 219: ...Load Balancing Enabled Array License Not Applied MPX200 Multifunction Router 219 ...
Page 248: ...Offline Data Migration 248 ...
Page 258: ...Diagnostics and troubleshooting 258 ...
Page 306: ...Command referencecommand reference 306 ...
Page 330: ... Blade number 1 or 2 Simple Network Management Protocol setup 330 ...
Page 368: ...Saving and restoring the MPX200 configuration 368 ...
Page 402: ...Data migration best practices 402 ...
Page 408: ...408 ...


