8.
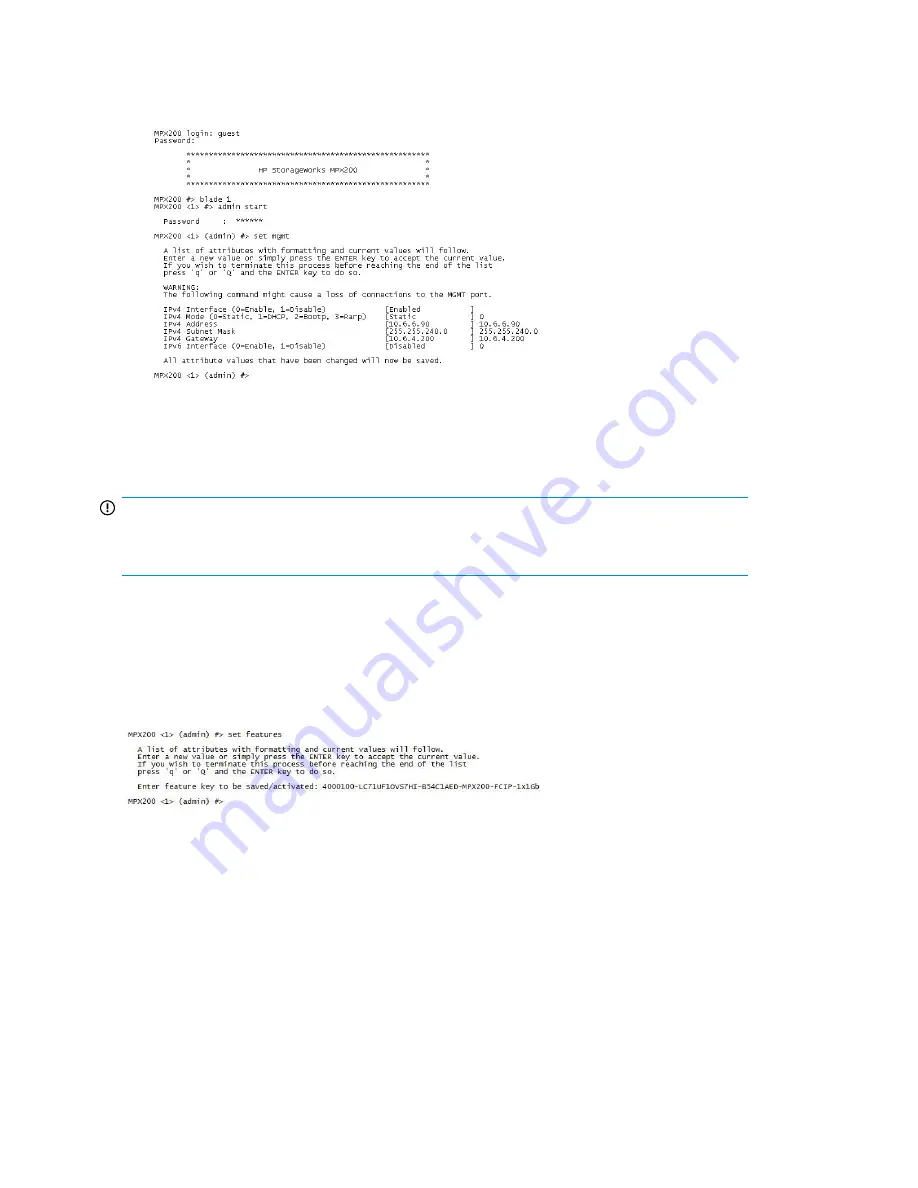
Enter the command
set mgmt
to set the initial parameters.
Follow the on-screen prompts to configure the management port (or press
Enter
to accept the
default settings, as shown in
Figure 84
):
Figure 84 Setting IP addresses
.
The management port is now configured with the appropriate IP address and network parameters.
IMPORTANT:
If you are using Telnet to configure the MPX200, the Telnet session is terminated. To restart the Telnet
session, use the IP address you just assigned to the management port.
Step 6. Configure the MPX200 FCIP Route parameters
Install FCIP license
For each MPX200 blade, add the FCIP license as shown in
Figure 85
.
Figure 85 FCIP License Add
.
Critical FCIP Performance settings
The following four parameters are critical to ensure optimal performance of the MPX200. Configuring
the FCIP Route to match the actual link characteristics is the only way to ensure the best utilization of
the available bandwidth.
•
Bandwidth setting
• Do not set the bandwidth setting above the guaranteed bandwidth of the link for each FCIP
route.
MPX200 FCIP
136
Summary of Contents for Storageworks 8100 - enterprise virtual array
Page 20: ...20 ...
Page 30: ...MPX200 Multifunction Router overview 30 ...
Page 47: ...Figure 27 iSCSI controller options Remove controller MPX200 Multifunction Router 47 ...
Page 48: ...Managing the MPX200 using HP Command View EVA 48 ...
Page 59: ...Figure 32 Virtual disk properties Figure 33 Host details MPX200 Multifunction Router 59 ...
Page 112: ...MPX200 iSCSI configuration rules and guidelines 112 ...
Page 219: ...Load Balancing Enabled Array License Not Applied MPX200 Multifunction Router 219 ...
Page 248: ...Offline Data Migration 248 ...
Page 258: ...Diagnostics and troubleshooting 258 ...
Page 306: ...Command referencecommand reference 306 ...
Page 330: ... Blade number 1 or 2 Simple Network Management Protocol setup 330 ...
Page 368: ...Saving and restoring the MPX200 configuration 368 ...
Page 402: ...Data migration best practices 402 ...
Page 408: ...408 ...


