78
4. Click
Start
to begin FTP connection.
NOTE:
To confirm that the FTP connection has been made successfully, you must test the FTP connection
using the local menus on the DVR. See “Backing up to an FTP Server” on page 53.
5. Click
Ok>Apply
.
The DVR begins FTP backup immediately. The DVR will backup data starting when the connection
is established; it does not backup any data from the past 24 hours.
Taking Screen Captures
You can capture screen shots as JPeg or Bitmap images (JPG or BMP).
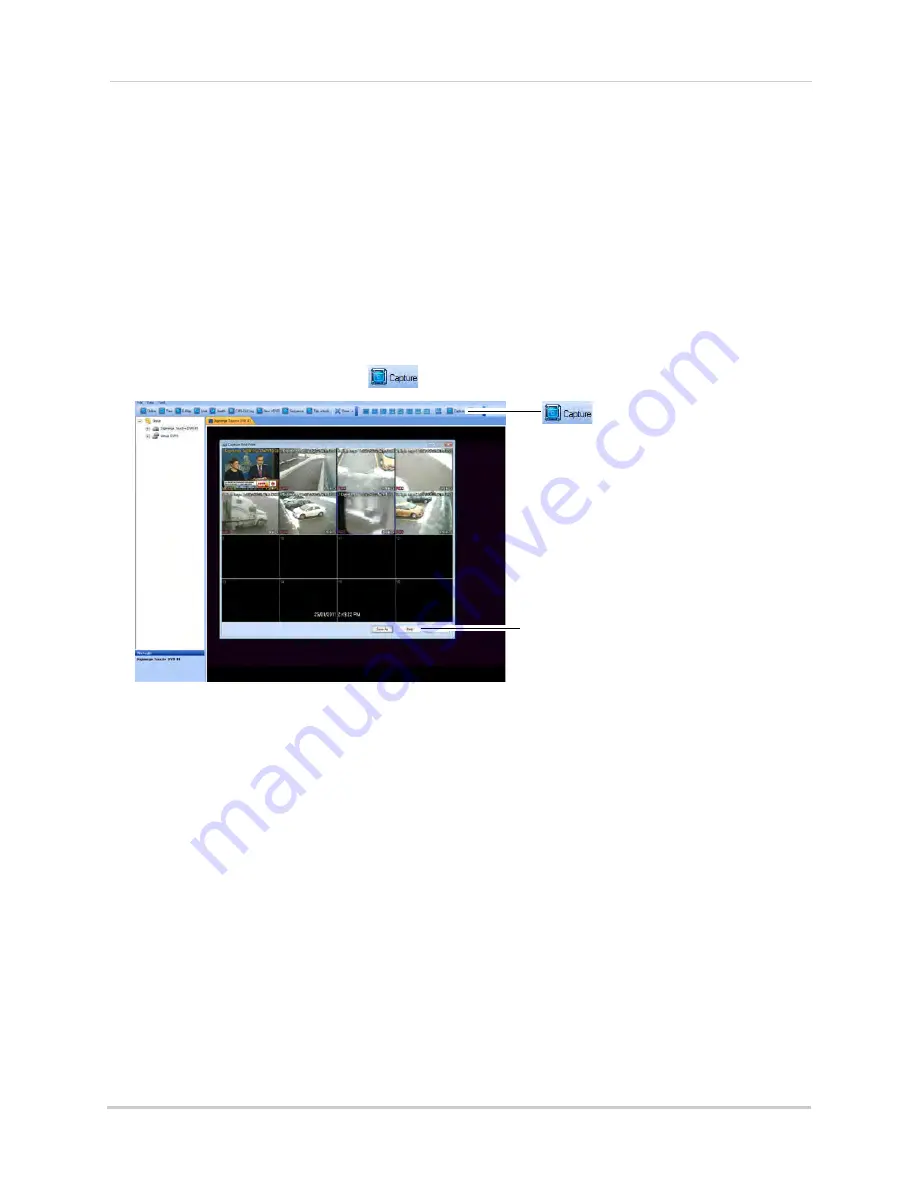
To take a screen capture:
1. During live view, click
Capture
(
).
Click the Print button to print the
image to a printer.
2. Click the
Save As
button. Enter the desired picture name, and select the desired save
directory, and then click
Save
.
NOTE:
To take a screen capture of a full-screen, double-click the desired channel, then click
the
Capture
button.
Summary of Contents for DH200+R Series
Page 12: ...xii...
Page 119: ...107 iSMS Client Remote Viewing on the Mac PTZ Controls cont d...
Page 174: ......
Page 175: ......


