8
Mouse Control
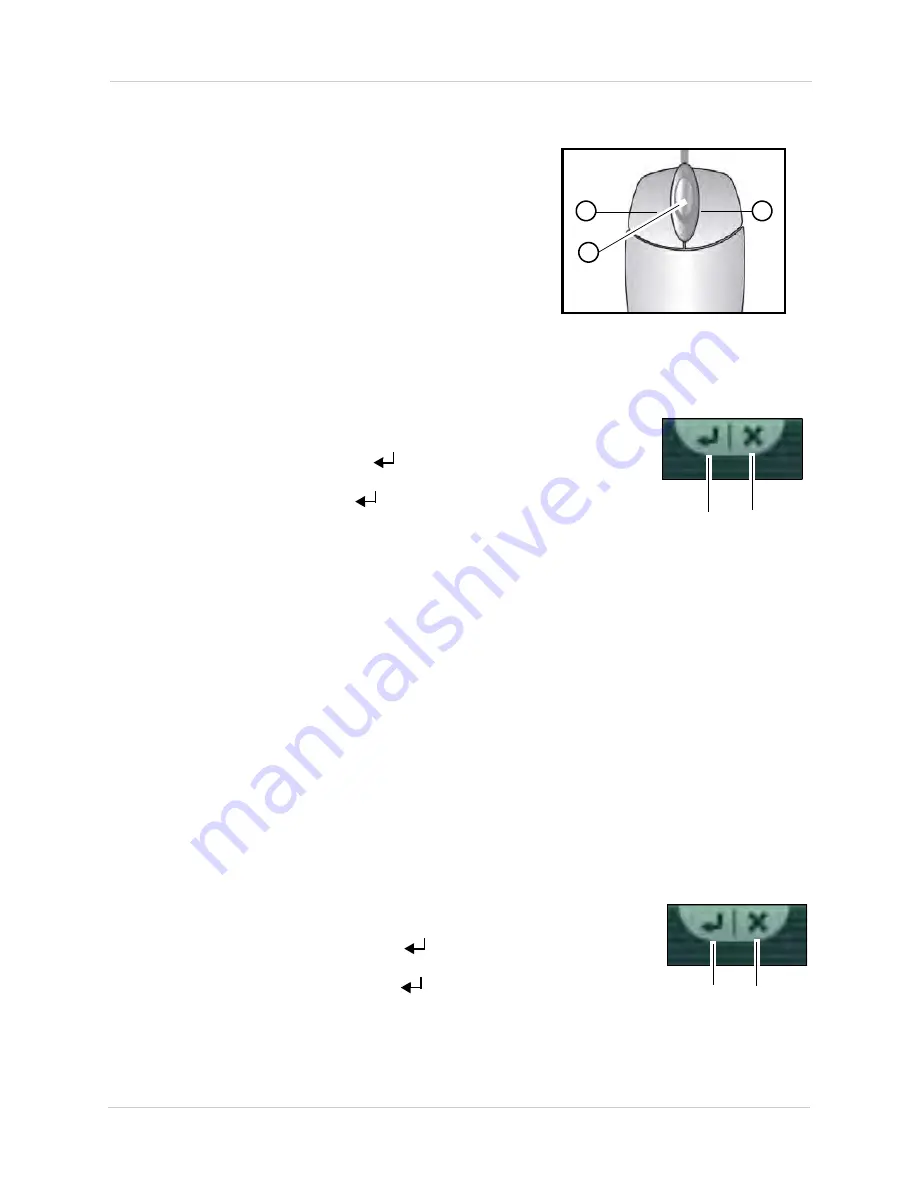
The mouse is the primary control device for the system. To
connect a USB mouse:
1
2
3
• Connect a USB mouse to the USB port on the front or
rear panel.
1.
Left-Button:
While in a split-screen display mode,
double-click an individual channel to view it in
full-screen; double-click again to return to the
split-screen display mode. While navigating menus,
click to select a menu option.
2.
Right-Button:
Right-click anywhere on the screen to open the Virtual Remote.
3.
Scroll-Wheel:
Move the scroll wheel up or down to increase/decrease the value of a selected
menu option.
Mouse Tips
When using the mouse, the
ENTER (
)
and
EXIT (X)
buttons appear
in the top-right corner of every menu window. When you change system
settings and configurations, click
to save your changes.
Touch Screen Control
A touch screen monitor (not included) can be used as a substitute for mouse control. Touch
screen monitors must be Windows 7® Touch compatible to work with the system.
To connect a touch screen monitor:
1. Connect a USB cable (not included) from a
USB
port on the front or rear panel of the system
to the monitor.
2. Connect a VGA cable (not included) from the
VGA
port on the rear panel to the monitor,
OR
• Connect an HDMI cable (not included) from the
HDMI
port on the rear panel to the monitor.
3. Power on the monitor, and then power on the system.
To control the system using a touch screen:
• While in viewing or playback mode, press and hold anywhere on the screen to access the
Virtual Remote. For details, see “Using the Virtual Remote” on page 12. Tap outside the Virtual
Remote to exit.
• While in a split-screen display mode, double-tap an individual channel to view it in full-screen.
Double-tap again to return to split-screen display mode.
• While navigating menus, tap to select a menu option.
Touch Screen Tips
When using a touch screen, the
ENTER (
)
and
EXIT (X)
buttons
appear in the top-right corner of every menu window. When you change
system settings and configurations, tap
to save your changes.
You can reposition camera channels using a touchscreen. For details,
see “Repositioning Channels” on page 14.
Enter
Exit
Enter
Exit
Summary of Contents for DH200+R Series
Page 12: ...xii...
Page 119: ...107 iSMS Client Remote Viewing on the Mac PTZ Controls cont d...
Page 174: ......
Page 175: ......


