18
Recording
Schedule Recording
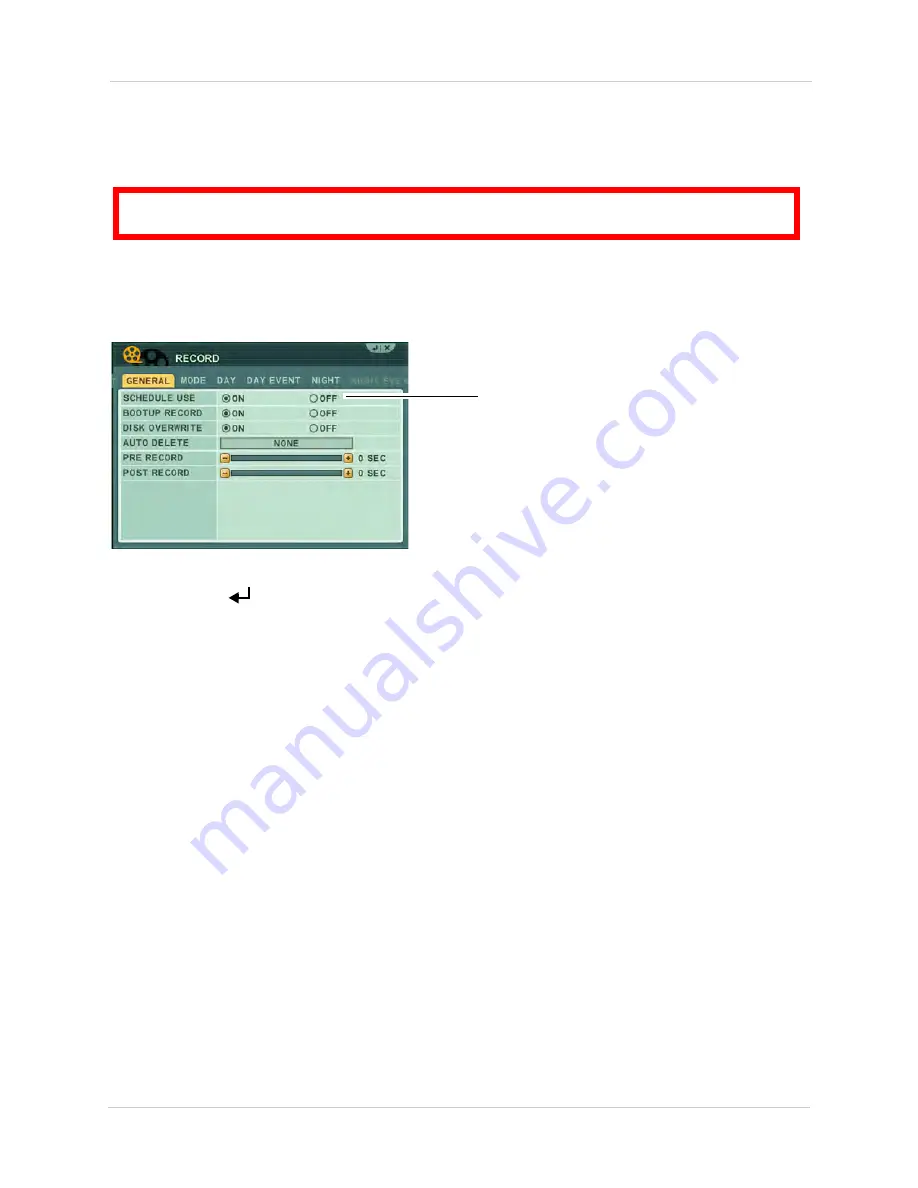
Schedule Recording can be set manually or at startup. Schedule Recording allows you to assign
customized recording parameters to each camera.
ATTENTION
: Schedule Recording takes priority over all other recording modes.
To access the Schedule Recording tab:
1. Press the MENU button on the front panel, or virtual remote (right-click >
MENU
).
2. Click
RECORD
.
3. In the GENERAL tab, under SCHEDULE USE, select
ON
.
Schedule Use
4. Click the
DAY
,
DAY EVENT
,
NIGHT
, and
NIGHT EVENT
tabs to configure scheduled recording.
5. Click
Enter (
)
to save changes.
6. Configure the weekly schedule as needed. See “SCHEDULE” on page 41.
For details on scheduled recording, see “RECORD” on page 37.
Recording Audio
The system can record one channel of audio. You must have an audio enabled camera or
self-powered microphone connected to the system in order to use this function. For details on
connected audio recording devices, see “Appendix I: Using Listen-in Audio” on page 151.
Summary of Contents for DH200+R Series
Page 12: ...xii...
Page 119: ...107 iSMS Client Remote Viewing on the Mac PTZ Controls cont d...
Page 174: ......
Page 175: ......


