76
3.
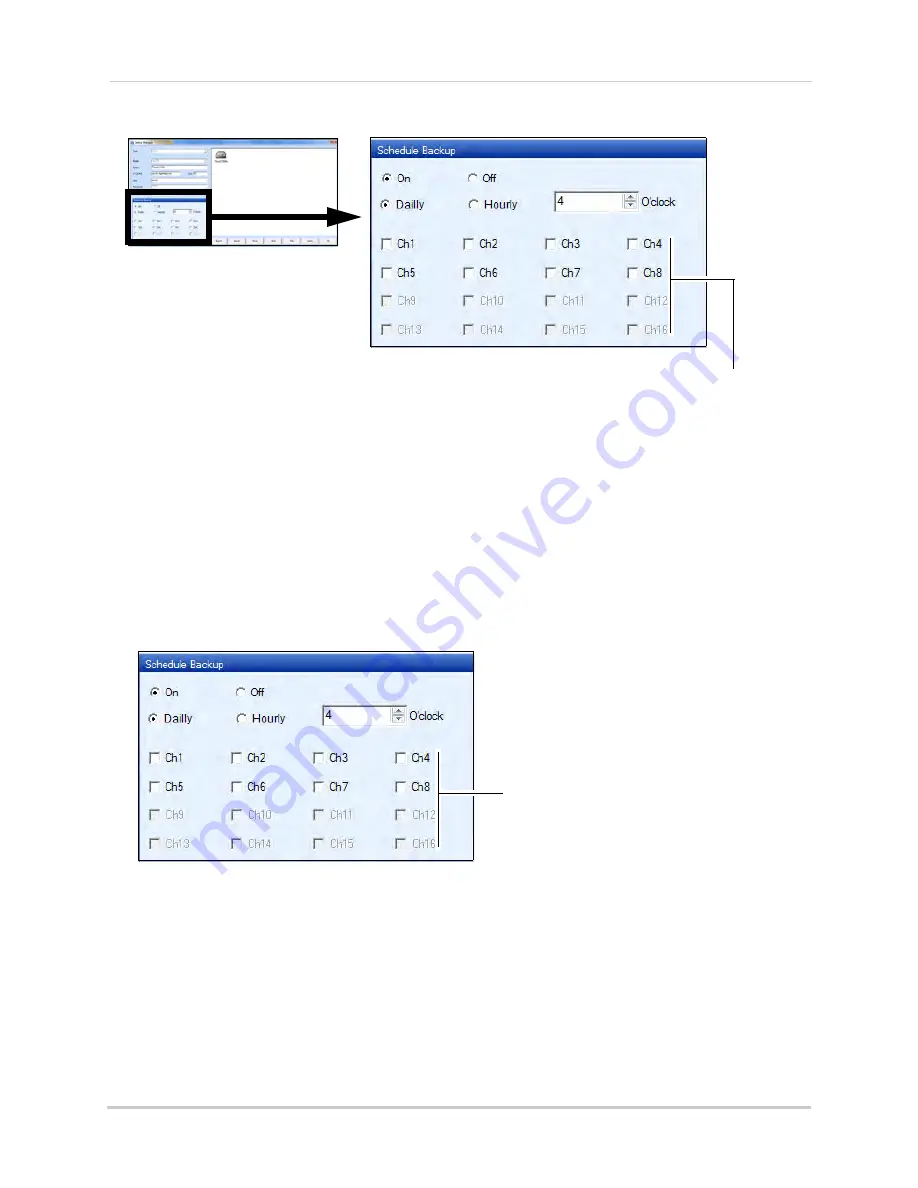
Select channels you wish to back up
Select
On
to enable schedule backup.
4. Select
Daily
to back up 24 hours of video to your hard drive. Go to step 6.
• Select
Hourly
to back up every hour of video to your hard drive. Go to step 5.
5. In the Minute drop-down menu, enter how many minutes the system should wait before
recording. For example, if you enter 10 minutes, the system will backup video footage from
8:10 a.m to 9:10 a.m.
6. In the Hour drop-down menu, enter the time you wish to begin backup. For example, if you
enter 5:00pm (05:00hr), the backup will start at 5:00pm, and end at 4:49am (the next day).
Enter the hourly time in 24-hour format.
7. Select the channels that you wish to enable schedule backup.
Select channels you wish to back up
8. Click
Apply
and then click
OK
to save your settings.
Summary of Contents for DH200+R Series
Page 12: ...xii...
Page 119: ...107 iSMS Client Remote Viewing on the Mac PTZ Controls cont d...
Page 174: ......
Page 175: ......


