Job Assembly
101
Copy
3
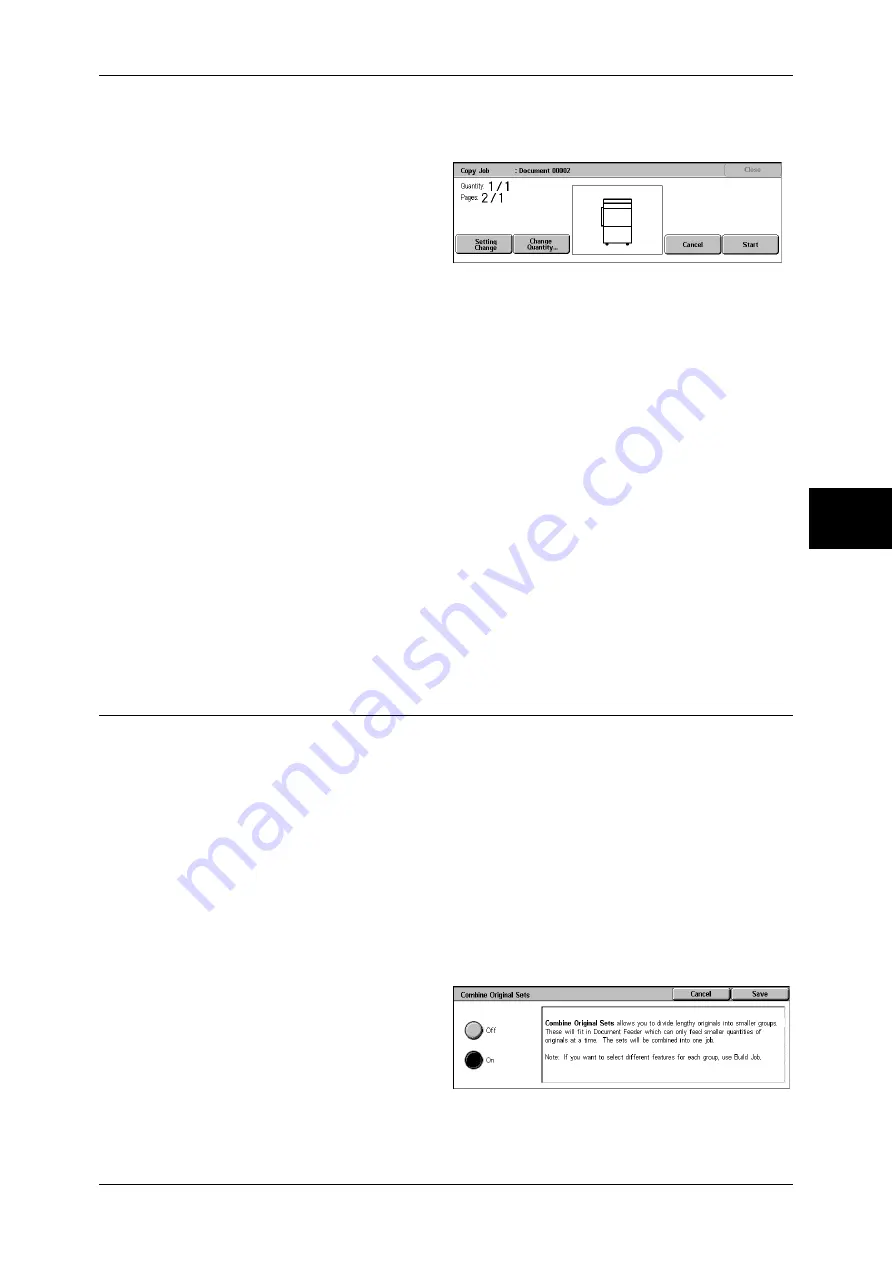
[Copy Job] screen
The machine pauses and displays the [Copy Job] screen after the sample set is copied.
Setting Change
The [Setting Change] screen is displayed. Uncheck the settings you want to cancel.
This button is displayed only when there are any settings that can be cancelled for the
job.
Change Quantity...
The [Change Quantity] screen appears and you can change the number of copies
entered before. Enter a new quantity using the numeric keypad. The new value must
include the number of the sample set that has already been printed. When reducing the
quantity, you cannot enter a number less than the number of copies that have already
been printed.
Note
•
If you specify "1" for [Change Quantity] and then press the <Start> button, the machine will
not process the job.
Cancel
The remaining copies are cancelled.
Start
The remaining copies are made.
Note
•
The same operation is performed if you press the <Start> button on the control panel.
Combine Original Sets (Adding Originals)
Use this feature when you copy a document that has too many pages to be loaded into
the document feeder at one time, or when you scan each document page using the
document glass and have the machine process the pages as one job.
[Next Original] that is usually displayed while scanning documents with the document
feeder is always selected in this mode. In addition, when using the document glass to
scan documents, [Next Original] is also selected during scanning. If [Copy Output] is
set to [Auto], the output is automatically sorted.
When all documents have been scanned, select [Last Original].
After the first original set is copied, the screen will automatically return to the previous
display if the machine is left unused for the period specified under [Auto Clear]. You
can change the value of [Auto Clear] as necessary.
Note
•
This feature does not appear for some models. An optional package is necessary. For more
information, contact our Customer Support Center.
1
Select [Combine Original Sets].
2
Select [On].
Summary of Contents for ApeosPort-II 3000
Page 1: ...ApeosPort II 5010 4000 3000 DocuCentre II 5010 4000 User Guide...
Page 14: ......
Page 54: ......
Page 139: ...Layout Adjustment 137 Fax 4 Off No stamp is added On A stamp is added...
Page 254: ......
Page 350: ......
Page 406: ......
Page 538: ......
Page 599: ...17 Glossary This chapter contains a list of terms used in this guide z Glossary 598...
Page 618: ......


