Storage
Options
6-45
Printer Options
5
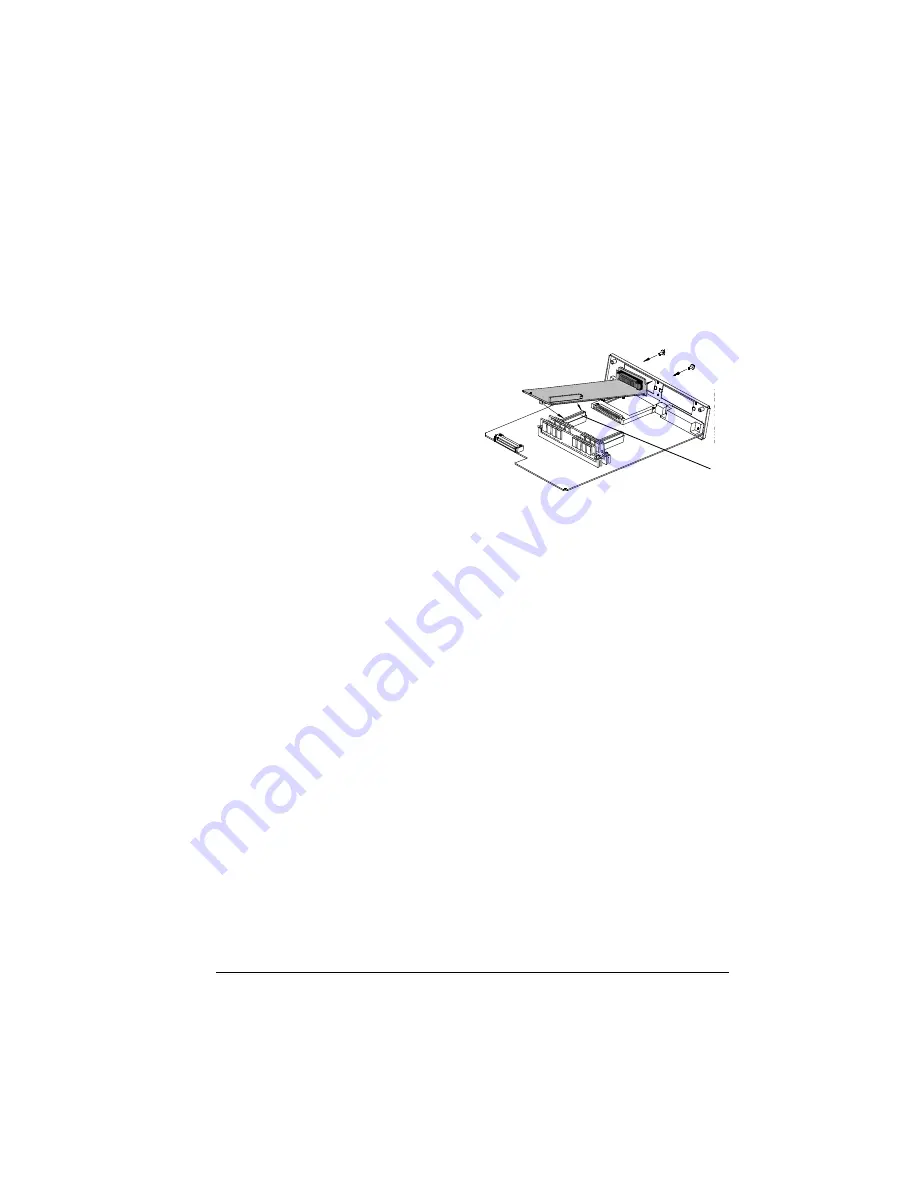
Attach the IDE-SCSI
board.
a
Position the board
so the port slides
into the optional I/O
opening you just
created in step
“Remove the two
screws from the
optional I/O
interface.” on
page 44 above.
b
Snap the board onto
the 80-pin
connector on the
controller board.
c
Press down on the
board gently until it
is secured by the
80-pin connector.
»
Note:
This illustration shows an IDE-SCSI board without an
internal hard disk. The installation is the same even if the board
has an internal hard disk installed.
6
Secure the IDE-SCSI board to the rear interface panel with
the two screws you removed earlier.
7
Replace the controller board.
Use the instructions in the “Reinstalling the Controller Board”
section, earlier in this chapter.
80-pin connector
Summary of Contents for 1060
Page 1: ...QMS 1060 Print System Reference 1800338 001B...
Page 13: ...1 Introduction In This Chapter n About this manual n Typographic conventions...
Page 17: ...2 Print Media In This Chapter n Media sizes imageable areas and margins n Media storage...
Page 34: ......
Page 130: ......
Page 229: ...A QMS Customer Support In This Chapter n Sources of customer support n QMS world wide offices...
Page 252: ......
Page 274: ......
Page 279: ...E Configuration Menu In This Chapter n Configuration menu charts...
Page 284: ......


