6. Position Data Edit W
indow
135
Move Continuously
Clicking this button will move all axes indicated by
(in the case of the SCARA axis, the 1st arm,
2nd arm, and R-axis are interlocked) to the position of the position number corresponding to the
cursor position. Thereafter, each axis will continue to move to the position set by the data in next
position number.
(Note) The SCARA axis and orthogonal axis cannot be moved simultaneously.
In the case of the X-SEL-RXD/SXD and RAXD/SAXD, controller, axes of two SCARA robots
cannot be moved continuously.
* If any of the applicable position data has been changed, transfer the latest position data to the
controller first.
Stop All Axes
Clicking this button will stop all axes currently moving.
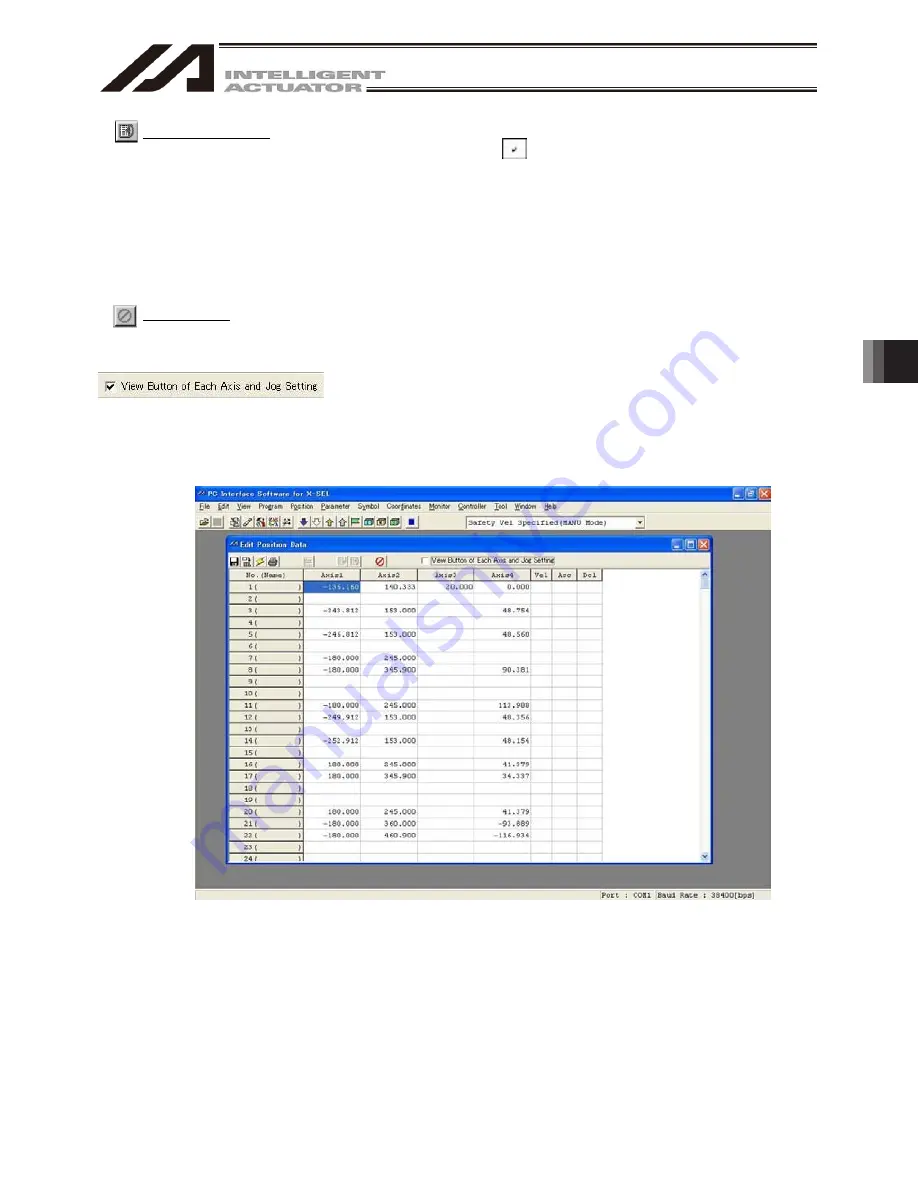
If a checkmark is placed in the checkbox of this button, the
axis-specific button/setting screen (Fig. 6.4 [example of
X-SEL-JX/KX]) will be displayed. If the checkmark is not placed, the
position data will only be displayed (Fig. 6.28 [example of
X-SELJX/KX]).
Fig. 6.28 Screen of Position Data Only (Example of X-SEL-JX/KX)
Summary of Contents for IA-101-TT-USB
Page 2: ......
Page 4: ......
Page 8: ......
Page 50: ...1 Before You Begin 42 1 4 Connection to Controller Fig 1 48 X SEL K J Type Controller ...
Page 52: ...1 Before You Begin 44 Figure shows example of TT Fig 1 50 Table Top Actuator TT TTA ...
Page 53: ...1 Before You Begin 45 Fig 1 51 X SEL KX JX Type Controller ...
Page 62: ...1 Before You Begin 54 Fig 1 60 ASEL Type Controller USB Cable ...
Page 63: ...1 Before You Begin 55 Fig 1 61 PSEL Type Controller USB Cable ...
Page 189: ...9 Symbol Edit Window 181 ...
Page 251: ...13 How to Reset an Absolute Encoder 243 Fig 13 38 Arm Length 120 Reference Position ...
Page 386: ...16 Appendix 378 ...
Page 391: ......


