Chapter 1
1-35
Field Remedy
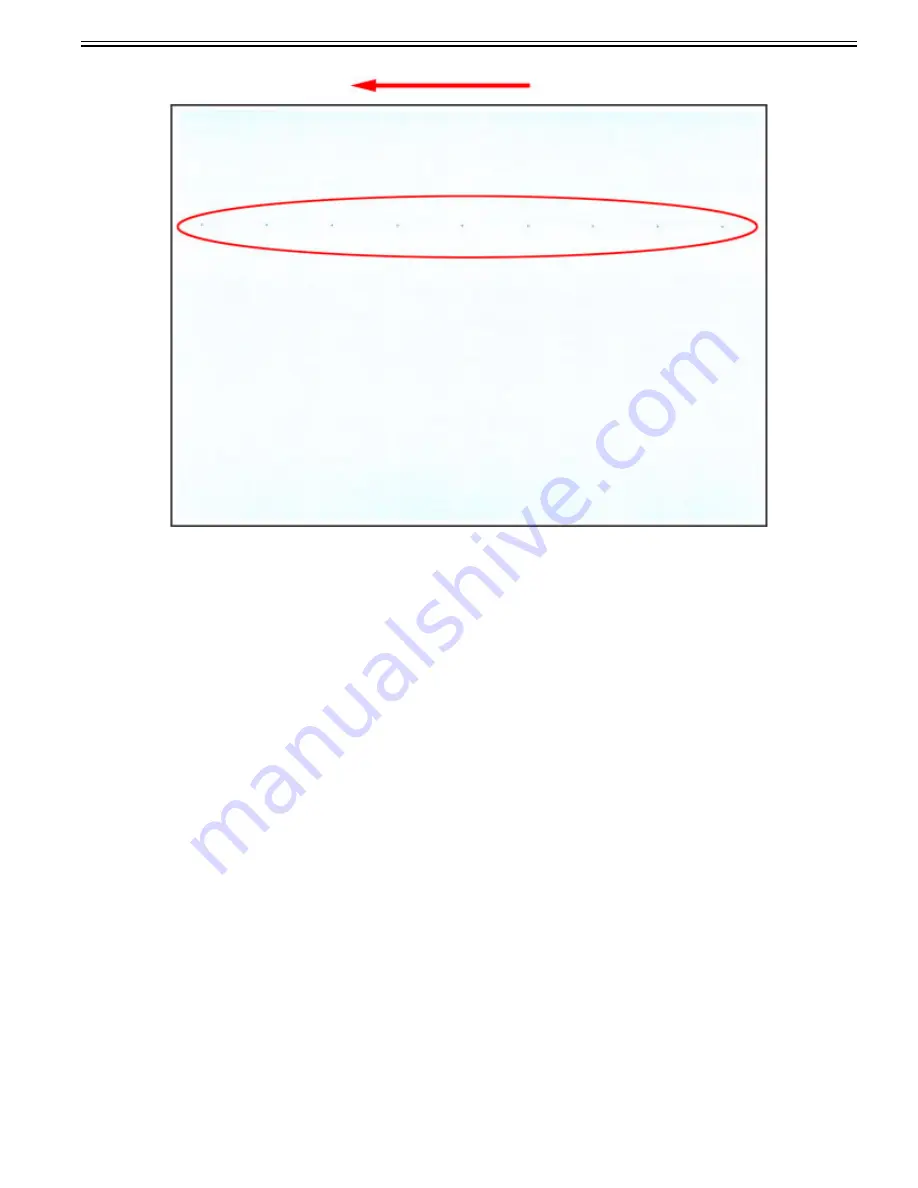
1) Output the halftone image of each color and identify the Drum Unit with soiling.
- Service mode > COPIER > TEST > PG > TYPE > "5 (Whole-area halftone image)"
2) Select Settings/Registration > Adjustment/Maintenance > Maintenance > Clean Inside Main Unit > press Start to clean the inside of machine and then print again.
If the soiling does not disappear, it can be determined to be the soiling of Primary Charging Roller. Refer to below [Cleaning Procedure for the Primary Charging
Roller] and clean it.
Clean using the lint-free paper with ethanol or isopropyl alcohol. Do not reuse any used lint-free paper.
[Caution]
- If this symptom occurred on multiple Process Units, remedy this issue one unit at a time. This is to prevent the deterioration of Photosensitive Drums.
- When handling a Process Unit, be careful to not touch the surface of the Photosensitive Drum.
[Cleaning Procedure for the Primary Charging Roller]
The total time for work takes approx. 21 minutes. The breakdown is approx. 3 minutes for step 1 to 3, approx. 5 minutes for step 4 to 6, approx. 3 minutes for step
7 and 8 and approx. 10 minutes for step 9.
1) Turn OFF the main power switch of machine and remove the relevant Process Unit from the machine.
Summary of Contents for imagePRESS C800 Series
Page 1: ...Dec 2 2014 Troubleshooting Guide imagePRESS C800 Series...
Page 2: ......
Page 6: ......
Page 8: ......
Page 9: ...Chapter 1 Correcting Faulty Images...
Page 10: ......
Page 14: ......
Page 114: ...Chapter 1 1 100 7 2 Select the envelope type press OK...
Page 165: ...Chapter 1 1 151 3 Pull the Tray all the way out...
Page 167: ...Chapter 1 1 153 5 Remove the Waste Toner Container...
Page 172: ...Chapter 1 1 158 2 Pull out the staple cartridge holding it by the green tab...
Page 180: ...Chapter 1 1 166 5 Push in the new staple case until it clicks to insert it...
Page 181: ...Chapter 1 1 167 6 Close the Cover for the saddle stitch staple cartridge...
Page 199: ...Chapter 1 1 185 b 1 Take out the Waste Toner Container 1...
Page 201: ...Chapter 1 1 187 b 2 Install the Waste Toner Joint 1 to the Waste Toner Container 2...
Page 206: ...Chapter 1 1 192 b 9 Remove the Prism 1 1 Screw 2 1 Hook 3...
Page 207: ...Chapter 1 1 193 b 10 Clean the toner adhered to the 2 A parts on the prism...
Page 208: ...Chapter 1 1 194 b 11 Clean the toner adhered to the A part of the Waste Toner Container...
Page 210: ...Chapter 1 1 196 2 Pull out the punch waste tray...
Page 217: ...Chapter 1 1 203 3 Discard the staple waste...
Page 239: ...Chapter 1 1 225 3 Press Memory Media 4 Select the target memory media...
Page 250: ...Chapter 1 1 236 Select Share files and folders using SMB Windows Select the account to be used...
Page 255: ...Dec 2 2014...
Page 256: ......


