Chapter 1
1-132
[Caution]
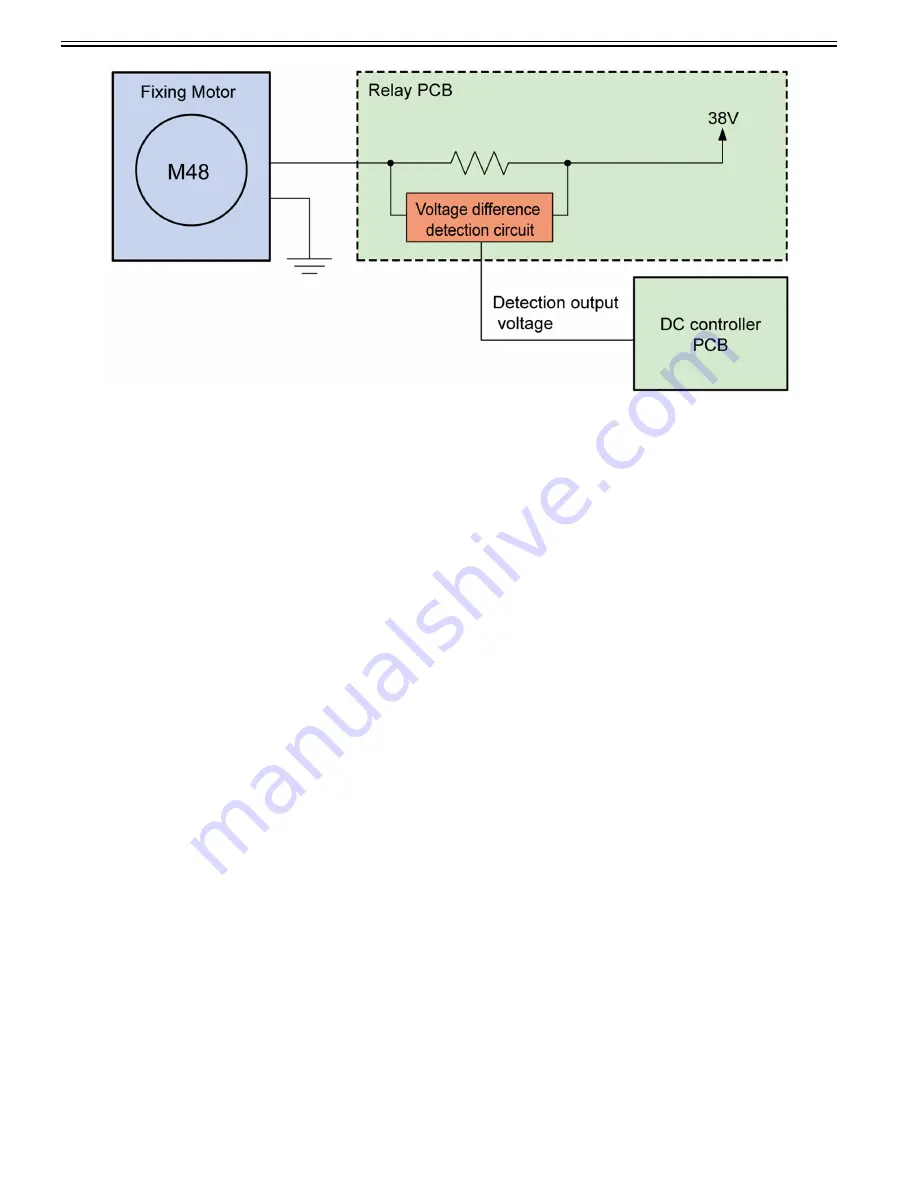
When E008-0001 occurs, and is handled without replacement of the Pressure Belt Unit, be sure to clear the log of the Fixing Motor current values in service mode.
If you don't, E008-0001 will occur again.
Service Mode > COPIER > Function > CLEAR > FX-L-CLR (Clear of Fixing Motor current value log)
[Reference]
- Expected number of sheets from alarm to error is approx. 10,000 sheets.
- Hence, by checking the fixing delivered number with the Service Mode > COPIER > Counter > DRBL-1 > FX-BLT-L (Pressure Belt Unit Parts Counter), the
occurrence timing of the warning and the error can be predicted to some extent.
b) Total rotation time of the Fixing Belt
When the pressure belt is separated and rotates for long period and at low speed (convenience store, etc), the lifetimes of thermistor and thermoswitch may end.
Total rotation time should be included in the condition of the lifetime of the fixing belt unit.
Total rotation time is found by combining the time at standby (Pressure Belt Unit is disengaged) and at printing (Pressure Belt Unit is engaged) and if the total time
reaches 150,000 hours, an alarm message is displayed on the control panel.
If its usage is extended and it reaches 155,000 hours, E008-0002 (Fixing Belt Unit life detection error) is displayed.
1.1.7.1.45 Points to note after replacing Laser Scanner Unit
0031-6194
[ Manual-related ]
Description
Please explain the actions to take after replacing the Laser Scanner Unit.
Field Remedy
1) Initialize the adjustment value.
Enter "0" for the service mode that corresponds to the color of the replaced Laser Scanner Unit.
Service Mode > COPIER > Adjust > LASER > M-ADJ-Y/M/C/K (Display Laser Scan moire adjust phase)
2) Execute the Auto Adjust Gradation.
Settings/Registration > Adjustment/Maintenance > Adjust Image Quality > Auto Adjust Gradation > Full Adjust
3) Execute the color displacement correction.
Settings/Registration > Adjustment/Maintenance > Adjust Image Quality > Auto Correct Color Mismatch
The following moire adjustment is for colors M, C and K. Since moire is not visible in the color Y, there is no need for adjustment.
4) Adjust the scanner phase.
Output a PG for phase adjustment (PG 23 outputs the total three sheets of test chart of M, C, and K).
[Caution] Output by color is not available.
4-1) Select Service Mode > COPIER > Test > PG > TYPE > 23.
4-2) Select Service Mode > COPIER > Test > PG > PG-PICK, and then select the paper source where A3 or LDR size paper is loaded.
4-3) In the service mode that corresponds to the color, enter the median of the values of the areas where moire has not occurred in the output chart.
Service Mode > COPIER > Adjust > LASER > LSADJ1-M/C/K (Adjusting Laser Scanner phase difference)
[Reference] See below for how to check the chart.
5) Adjust the scanner magnification ratio.
Output a PG for magnification ratio adjustment (PG24 outputs the total three sheets of test chart of M, C, and K).
[Caution] Output by color is not available.
5-1) Select Service Mode > COPIER > Test > PG > TYPE > 24.
5-2) Select Service Mode > COPIER > Test > PG > PG-PICK, and then select the paper source where A3 or LDR size paper is loaded.
5-3) In the service mode that corresponds to the color, enter the median of the values of the areas where moire has not occurred in the output chart.
Service Mode > COPIER > Adjust > LASER > LSADJ2-M/C/K (Adjusting Laser Scanner magnification)
How to see the chart for moire adjustment
Check the following for each of the 2 columns of the chart:
1) Starting from +15, look for the location where moire has disappeared.
2) Starting from -15, look for the location where moire has disappeared.
3) Take note of the numeric value obtained by adding the two numbers and then dividing it by two.
4) Check the other side (column) in the same manner, and take note of the numeric value.
5) The value to be entered in service mode is the one obtained by adding the two numbers and then dividing it by two.
Summary of Contents for imagePRESS C800 Series
Page 1: ...Dec 2 2014 Troubleshooting Guide imagePRESS C800 Series...
Page 2: ......
Page 6: ......
Page 8: ......
Page 9: ...Chapter 1 Correcting Faulty Images...
Page 10: ......
Page 14: ......
Page 114: ...Chapter 1 1 100 7 2 Select the envelope type press OK...
Page 165: ...Chapter 1 1 151 3 Pull the Tray all the way out...
Page 167: ...Chapter 1 1 153 5 Remove the Waste Toner Container...
Page 172: ...Chapter 1 1 158 2 Pull out the staple cartridge holding it by the green tab...
Page 180: ...Chapter 1 1 166 5 Push in the new staple case until it clicks to insert it...
Page 181: ...Chapter 1 1 167 6 Close the Cover for the saddle stitch staple cartridge...
Page 199: ...Chapter 1 1 185 b 1 Take out the Waste Toner Container 1...
Page 201: ...Chapter 1 1 187 b 2 Install the Waste Toner Joint 1 to the Waste Toner Container 2...
Page 206: ...Chapter 1 1 192 b 9 Remove the Prism 1 1 Screw 2 1 Hook 3...
Page 207: ...Chapter 1 1 193 b 10 Clean the toner adhered to the 2 A parts on the prism...
Page 208: ...Chapter 1 1 194 b 11 Clean the toner adhered to the A part of the Waste Toner Container...
Page 210: ...Chapter 1 1 196 2 Pull out the punch waste tray...
Page 217: ...Chapter 1 1 203 3 Discard the staple waste...
Page 239: ...Chapter 1 1 225 3 Press Memory Media 4 Select the target memory media...
Page 250: ...Chapter 1 1 236 Select Share files and folders using SMB Windows Select the account to be used...
Page 255: ...Dec 2 2014...
Page 256: ......


