Chapter 1
1-20
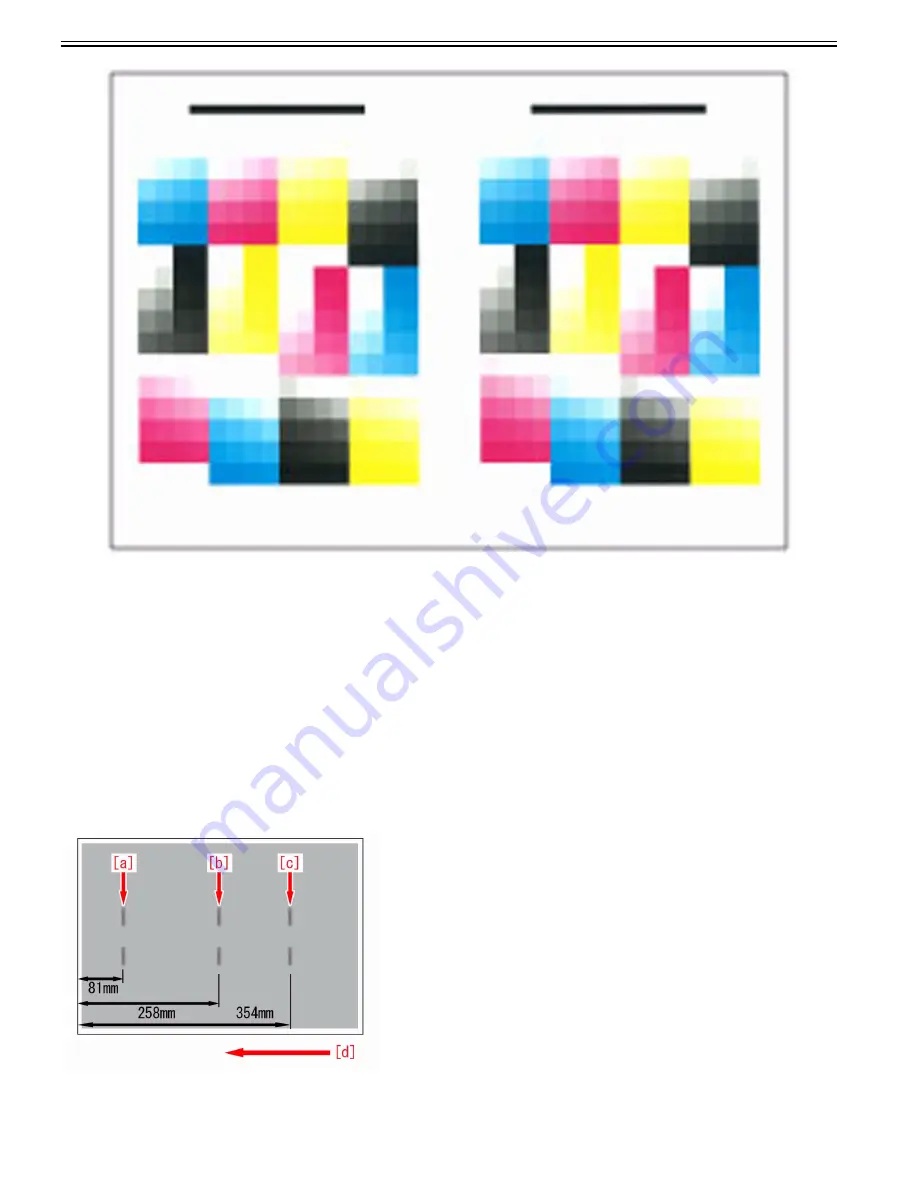
2-7) Place the output third test page face down on the platen glass with the black strip to the rear and then press "Start Scanning".
[Reference]
Make sure to place the last output if the multiple third test pages are output. To perform more precise full adjustment, you can increase the number of sheets for test
pages in "Number of Sheets to Output for Test Page". In this case, multiple third test pages are output.
2-8) Remove the third test page from the platen glass.
[Caution]
After changing the settings, make sure to perform the automatic gradation adjustment first, and then perform the color balance adjustment as the color balance may
become unstable.
1.1.1.5.2 Roller marks
0031-6958
[ Verified by Canon Inc. ]
Symptom
If paper is picked up from the cassette 1 or 2 under a high humidity environment, roller marks may appear in the area at 81mm[a]/258mm[b]/354mm[c] from the
leading edge of the first page of halftone image.
Roller marks in the area at 354mm[c] may appear only when paper is picked up from the cassette 2.
The arrow [d] indicates the feed direction.
Cause
After print started, the first sheet of paper stands by at the registration assembly.
If the areas of the sheet touching the rollers are deformed while the idle activity by the sheet, toner will not be transferred evenly from the ITB and that leads to the
Summary of Contents for imagePRESS C800 Series
Page 1: ...Dec 2 2014 Troubleshooting Guide imagePRESS C800 Series...
Page 2: ......
Page 6: ......
Page 8: ......
Page 9: ...Chapter 1 Correcting Faulty Images...
Page 10: ......
Page 14: ......
Page 114: ...Chapter 1 1 100 7 2 Select the envelope type press OK...
Page 165: ...Chapter 1 1 151 3 Pull the Tray all the way out...
Page 167: ...Chapter 1 1 153 5 Remove the Waste Toner Container...
Page 172: ...Chapter 1 1 158 2 Pull out the staple cartridge holding it by the green tab...
Page 180: ...Chapter 1 1 166 5 Push in the new staple case until it clicks to insert it...
Page 181: ...Chapter 1 1 167 6 Close the Cover for the saddle stitch staple cartridge...
Page 199: ...Chapter 1 1 185 b 1 Take out the Waste Toner Container 1...
Page 201: ...Chapter 1 1 187 b 2 Install the Waste Toner Joint 1 to the Waste Toner Container 2...
Page 206: ...Chapter 1 1 192 b 9 Remove the Prism 1 1 Screw 2 1 Hook 3...
Page 207: ...Chapter 1 1 193 b 10 Clean the toner adhered to the 2 A parts on the prism...
Page 208: ...Chapter 1 1 194 b 11 Clean the toner adhered to the A part of the Waste Toner Container...
Page 210: ...Chapter 1 1 196 2 Pull out the punch waste tray...
Page 217: ...Chapter 1 1 203 3 Discard the staple waste...
Page 239: ...Chapter 1 1 225 3 Press Memory Media 4 Select the target memory media...
Page 250: ...Chapter 1 1 236 Select Share files and folders using SMB Windows Select the account to be used...
Page 255: ...Dec 2 2014...
Page 256: ......


