Chapter 1
1-111
ables you to select the setting value when you select [Gradation] as the halftone setting. For instructions on setting halftone of the printer, see "Halftones."
- "Resolution"
You can select [Gradation], [Resolution], or [Error Diffusion] independently for texts, graphics, and images for the halftone settings of the printer. This mode en-
ables you to select the setting value when you select [Resolution] as the halftone setting. For instructions on setting halftone of the printer, see "Halftones."
Field Remedy
1) Press Settings/Registration > Adjustment/Maintenance > Adjust Image Quality > Dither Settings.
2) Select the value for "Gradation" and "Resolution" > press OK.
3) Perform the automatic gradation adjustment.
[Caution]
After changing the settings, make sure to perform the automatic gradation adjustment first, and then perform the color balance adjustment as the color balance may
become unstable.
[Reference] Halftones:
You can set how to express halftones in black and white data.
Print data is expressed in dots. Fine gradations, edges, and shades are expressed by using dither patterns, which are groups of dots. This is called halftone processing.
For example, using a pattern that sharpens character and line edges, or a pattern that smoothens image and graph gradation, enables you to obtain the most suitable
texture.
- "Resolution"
You can print text with distinct outlines, which is best to print text and thin lines.
- "Gradation"
You can print with both smooth gradation and outlines, which is best to print graphs and graphics that use gradation.
- "Error Diffusion"
Finer printing can be done than with [Resolution], although toner stability is somewhat weaker. This is suited to printing small characters and fine lines, and outlines
(such as from CAD data) sharply.
1.1.7.1.28 Supposed reason for paper jams occur frequently
0031-5512
[ Manual-related ]
Description
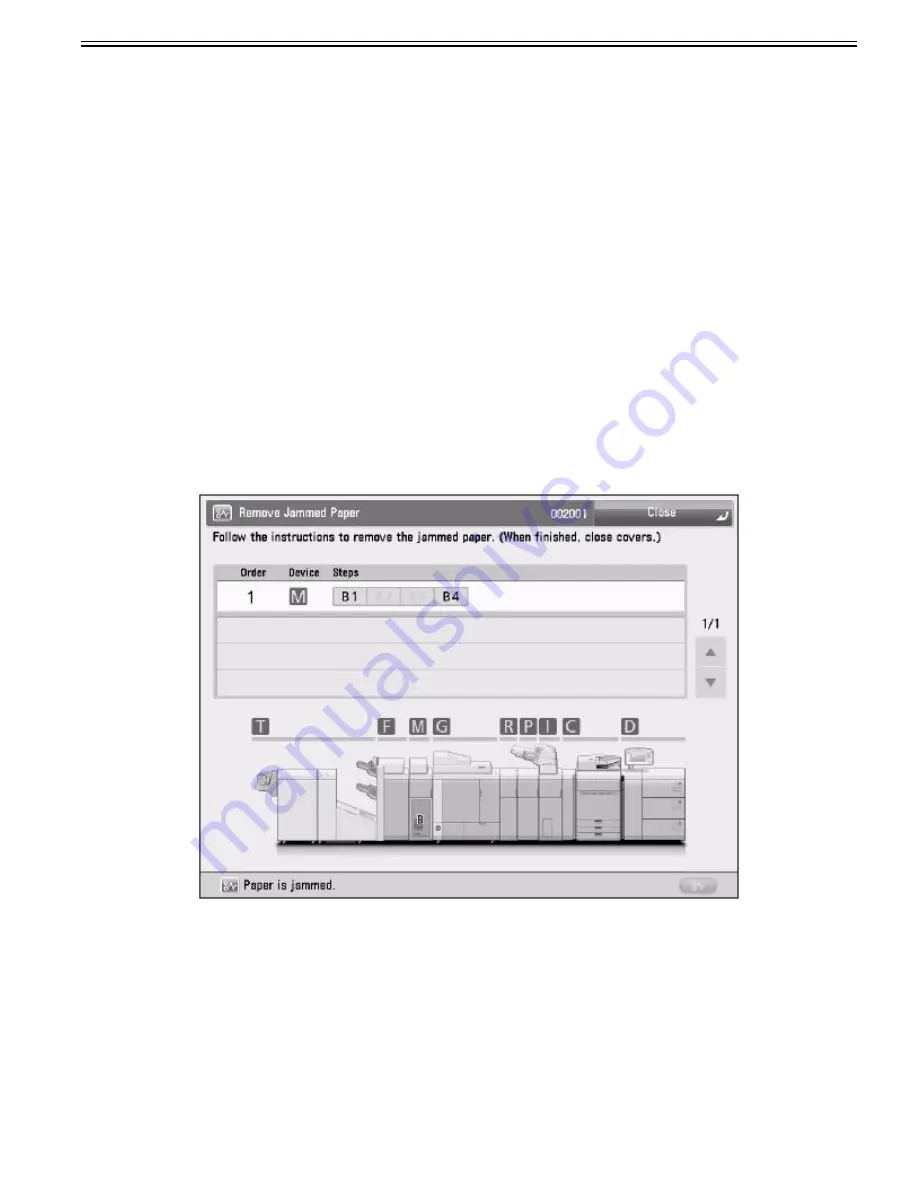
If a paper jam occurs, follow the instructions displayed on the touch panel display to clear the jam. The location of a paper jam is displayed with
animations.
If you press [Close], you can continue operations, such as scanning originals, even if the jammed paper is not removed.
If paper jams occur frequently, the following reasons may be the cause.
Field Remedy
a) There are torn pieces of paper left inside the machine.
As a result of pulling jammed paper out by force, torn pieces of paper may be left inside the machine. Remove all of the torn pieces.
b) Paper which does not match with the setting is loaded.
Make sure that the paper loaded in the paper drawer matches the paper size and type registered in "Paper Settings" in "Preferences".
- Settings/Registration > Preferences > Paper Settings > Paper Settings
c) Paper jams occur frequently only when using the specific custom paper.
The paper information may be registered incorrectly. Confirm the paper information settings (Paper Type Management) for the paper you are using.
1.1.7.1.29 Hardware Specifications / Software Specifications ÅiNetwork EnvironmentÅj
0031-5559
[ Manual-related ]
Description
Summary of Contents for imagePRESS C800 Series
Page 1: ...Dec 2 2014 Troubleshooting Guide imagePRESS C800 Series...
Page 2: ......
Page 6: ......
Page 8: ......
Page 9: ...Chapter 1 Correcting Faulty Images...
Page 10: ......
Page 14: ......
Page 114: ...Chapter 1 1 100 7 2 Select the envelope type press OK...
Page 165: ...Chapter 1 1 151 3 Pull the Tray all the way out...
Page 167: ...Chapter 1 1 153 5 Remove the Waste Toner Container...
Page 172: ...Chapter 1 1 158 2 Pull out the staple cartridge holding it by the green tab...
Page 180: ...Chapter 1 1 166 5 Push in the new staple case until it clicks to insert it...
Page 181: ...Chapter 1 1 167 6 Close the Cover for the saddle stitch staple cartridge...
Page 199: ...Chapter 1 1 185 b 1 Take out the Waste Toner Container 1...
Page 201: ...Chapter 1 1 187 b 2 Install the Waste Toner Joint 1 to the Waste Toner Container 2...
Page 206: ...Chapter 1 1 192 b 9 Remove the Prism 1 1 Screw 2 1 Hook 3...
Page 207: ...Chapter 1 1 193 b 10 Clean the toner adhered to the 2 A parts on the prism...
Page 208: ...Chapter 1 1 194 b 11 Clean the toner adhered to the A part of the Waste Toner Container...
Page 210: ...Chapter 1 1 196 2 Pull out the punch waste tray...
Page 217: ...Chapter 1 1 203 3 Discard the staple waste...
Page 239: ...Chapter 1 1 225 3 Press Memory Media 4 Select the target memory media...
Page 250: ...Chapter 1 1 236 Select Share files and folders using SMB Windows Select the account to be used...
Page 255: ...Dec 2 2014...
Page 256: ......


