Chapter 1
1-234
[Caution]
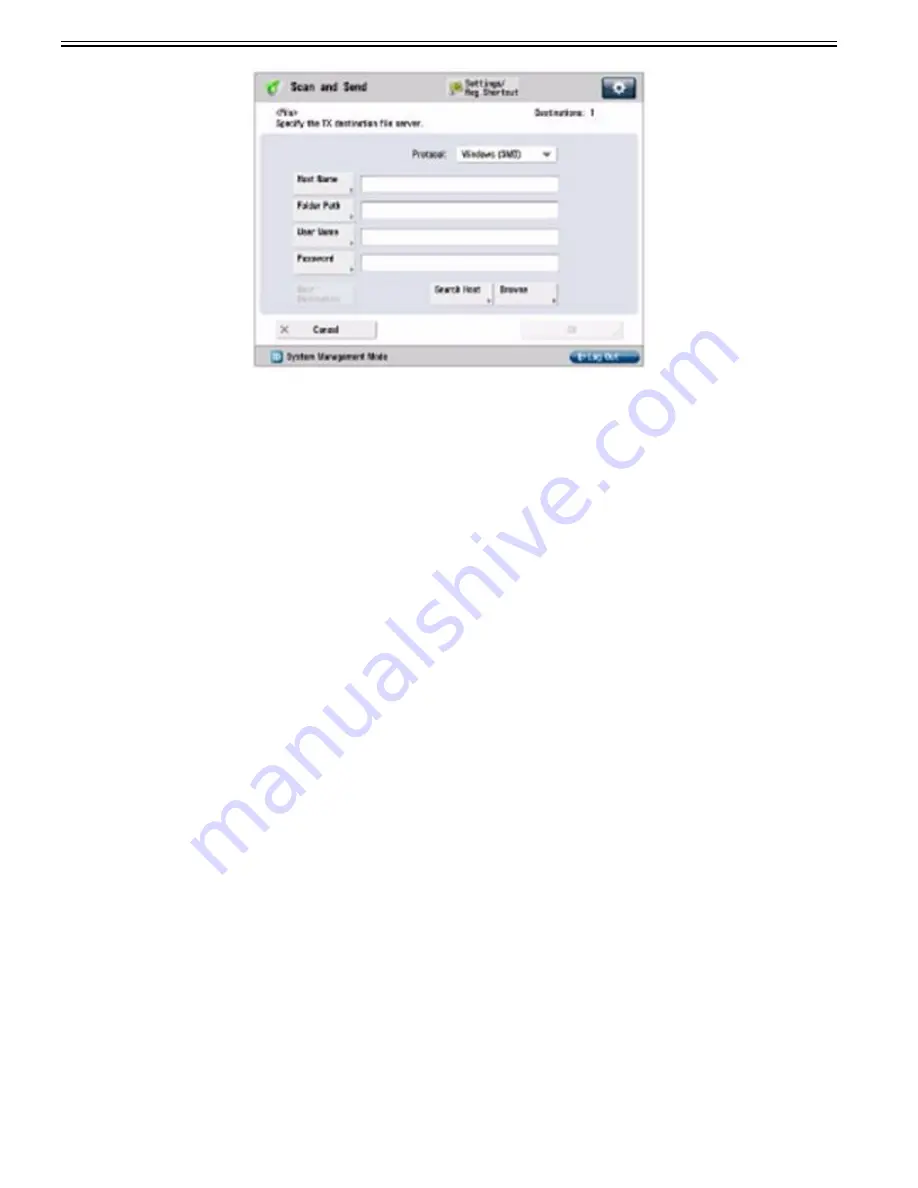
If you want to specify each item from the list on the Browse screen, make sure you press [Browse] after the expiration of the time specified in "Setting the Waiting
Time for Connection at Startup".
Up to 128 alphanumeric characters can be entered for [Host Name] on the control panel. Also, up to 255 alphanumeric characters can be entered for [Folder Path].
Specify the server settings within the character limit.
If you change the language of the touch panel display, [Host Name] and [Folder Path] may not appear correctly, or you may not be able to browse the directories.
If the language of the touch panel display differs from the computer used as a master browser, [Host Name] and [Folder Path] may not appear correctly, or you may
not be able to browse the directories.
[Reference]
You can set [Host Name] for the address using the following formats. A DNS server is required for the latter case:
\\192.168.2.100\share
\\host_name.organization.company.co.jp\share
You can set [User Name] for the address using the following formats.
domain_name\user_name (up to 15 alphanumeric characters for the domain name, and up to 20 for the user name)
If you specify the user name in this format, the user authority for the specified domain is applied to SMB communication.
[email protected] (up to 128 characters in total)
Note that the latter is only applicable when sending to a Windows XP/Server 2003/Server 2008/Vista/7/Server 2008 R2 computer that belongs to a domain contain-
ing Windows XP/Server 2003/Server 2008/Vista/7/Server 2008 R2 domain controllers.
b) Mac OS X 10.5/10.6
- Screenshots and item names from Mac OS X 10.6 are used for the procedures common to each OS.
- When changing your computer's settings, it may be necessary to unlock the computer by clicking the key icon.
1) Log in to Mac OS X as an administrator.
2) Set the user and password for sending the data.
From Dock or the apple menu, select [System Preferences] > [Accounts]/[Users & Groups].
In the [Accounts]/[Users & Groups] window, enter the name of the user to whom you want to send data from the machine through Mac OS X > enter the password.
Summary of Contents for imagePRESS C800 Series
Page 1: ...Dec 2 2014 Troubleshooting Guide imagePRESS C800 Series...
Page 2: ......
Page 6: ......
Page 8: ......
Page 9: ...Chapter 1 Correcting Faulty Images...
Page 10: ......
Page 14: ......
Page 114: ...Chapter 1 1 100 7 2 Select the envelope type press OK...
Page 165: ...Chapter 1 1 151 3 Pull the Tray all the way out...
Page 167: ...Chapter 1 1 153 5 Remove the Waste Toner Container...
Page 172: ...Chapter 1 1 158 2 Pull out the staple cartridge holding it by the green tab...
Page 180: ...Chapter 1 1 166 5 Push in the new staple case until it clicks to insert it...
Page 181: ...Chapter 1 1 167 6 Close the Cover for the saddle stitch staple cartridge...
Page 199: ...Chapter 1 1 185 b 1 Take out the Waste Toner Container 1...
Page 201: ...Chapter 1 1 187 b 2 Install the Waste Toner Joint 1 to the Waste Toner Container 2...
Page 206: ...Chapter 1 1 192 b 9 Remove the Prism 1 1 Screw 2 1 Hook 3...
Page 207: ...Chapter 1 1 193 b 10 Clean the toner adhered to the 2 A parts on the prism...
Page 208: ...Chapter 1 1 194 b 11 Clean the toner adhered to the A part of the Waste Toner Container...
Page 210: ...Chapter 1 1 196 2 Pull out the punch waste tray...
Page 217: ...Chapter 1 1 203 3 Discard the staple waste...
Page 239: ...Chapter 1 1 225 3 Press Memory Media 4 Select the target memory media...
Page 250: ...Chapter 1 1 236 Select Share files and folders using SMB Windows Select the account to be used...
Page 255: ...Dec 2 2014...
Page 256: ......


