Chapter 1
1-108
[Reference]
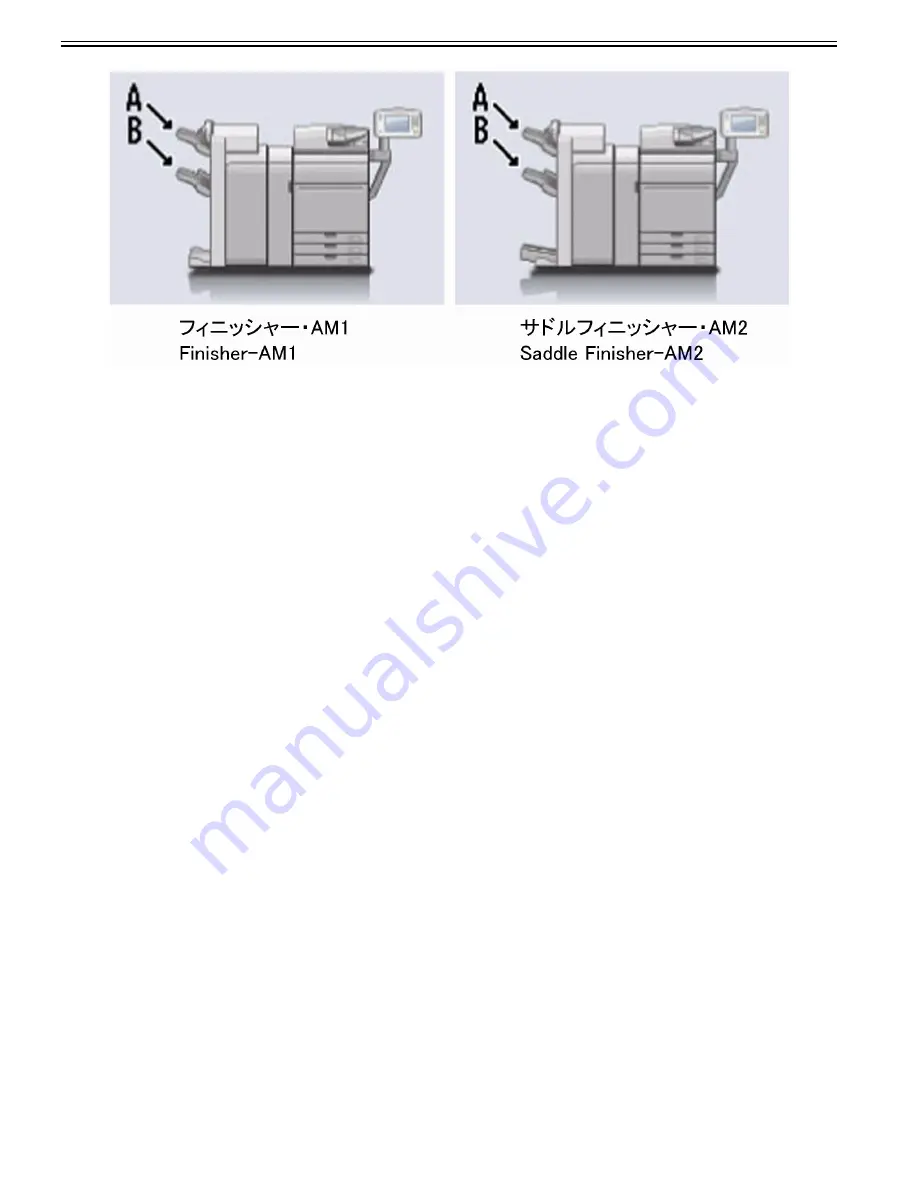
- "Other" is used for setting the priority for printing reports.
- If you want to use an output tray for only one function, select only that function.
[Caution]
- If a certain tray reaches its stacking limit, the machine automatically uses another tray that is designated for the same function.
- It is recommended that you only designate one tray for I-fax documents to prevent them from getting lost.
- You can designate an output tray for multiple functions.
- The priority order of the output destinations is determined by the order of the selected output trays. The priority is displayed as "1" and "2."
1.1.7.1.23 Cautions on enlarging A4/B5/A5/LTR/STMT originals to A3/B4/11" x 17"/LGL paper
0031-5499
[ Manual-related ]
Description
Please explain cautions on enlarging A4/B5/A5/LTR/STMT originals to A3/B4/11" x 17"/LGL paper.
Field Remedy
Place the original in the horizontal position and match to A4R/B5R/A5R/LTRR/STMTR guideline.
If A4/B5/A5/LTR/STMT originals are enlarged onto A3/B4/11" x 17"/LGL paper, Auto Orientation is not performed even if Settings/Registration > Function Set-
tings > Copy > Auto Recognize Original Orientation > ON is selected.
1.1.7.1.24 Fine adjustments to the color by varying the relative strength and density of each color
0031-5504
[ Manual-related ]
Description
You can make fine adjustments to the color by varying the relative strength and density of yellow, magenta, cyan, and black.
The adjustment can be made for each coated paper and non-coated paper.
Field Remedy
1) Press Settings/Registration > Adjustment/Maintenance > Adjust Image Quality > Color Balance.
2) Select "Non-Coated" or "Coated".
3) Press "-" or "+" to adjust the color strength of each color.
Summary of Contents for imagePRESS C800 Series
Page 1: ...Dec 2 2014 Troubleshooting Guide imagePRESS C800 Series...
Page 2: ......
Page 6: ......
Page 8: ......
Page 9: ...Chapter 1 Correcting Faulty Images...
Page 10: ......
Page 14: ......
Page 114: ...Chapter 1 1 100 7 2 Select the envelope type press OK...
Page 165: ...Chapter 1 1 151 3 Pull the Tray all the way out...
Page 167: ...Chapter 1 1 153 5 Remove the Waste Toner Container...
Page 172: ...Chapter 1 1 158 2 Pull out the staple cartridge holding it by the green tab...
Page 180: ...Chapter 1 1 166 5 Push in the new staple case until it clicks to insert it...
Page 181: ...Chapter 1 1 167 6 Close the Cover for the saddle stitch staple cartridge...
Page 199: ...Chapter 1 1 185 b 1 Take out the Waste Toner Container 1...
Page 201: ...Chapter 1 1 187 b 2 Install the Waste Toner Joint 1 to the Waste Toner Container 2...
Page 206: ...Chapter 1 1 192 b 9 Remove the Prism 1 1 Screw 2 1 Hook 3...
Page 207: ...Chapter 1 1 193 b 10 Clean the toner adhered to the 2 A parts on the prism...
Page 208: ...Chapter 1 1 194 b 11 Clean the toner adhered to the A part of the Waste Toner Container...
Page 210: ...Chapter 1 1 196 2 Pull out the punch waste tray...
Page 217: ...Chapter 1 1 203 3 Discard the staple waste...
Page 239: ...Chapter 1 1 225 3 Press Memory Media 4 Select the target memory media...
Page 250: ...Chapter 1 1 236 Select Share files and folders using SMB Windows Select the account to be used...
Page 255: ...Dec 2 2014...
Page 256: ......


