Chapter 1
1-210
c) After Replacement
1) After installing the parts, turn ON the main power switch.
2) Restore the backup data (Settings/Registration data).
- Remote UI > Settings/Registration > Management Settings > Data Management > Import
- Remote UI > Settings/Registration > Management Settings > Data Management > Import/Export Individually
- Remote UI > Settings/Registration > Management Settings > Data Management > Restore
3) Restore SRAM (with HDD Encryption Board).
- SST (Sramimg)
4) When an encryption key/certificate/CA certificate has been generated or added by the user, ask the user to execute regeneration.
5) Execute the Auto Adjust Gradation (Full Adjust).
- Settings/Registration > Adjustment/Maintenance > Adjust Image Quality > Auto Adjust Gradation
[Caution] Do not transfer the following parts to another machine (a machine of a different serial number). If you fail to do so, the Main Body does not activate
normally and this might cause the restoration to fail.
- Main Controller PCB 1
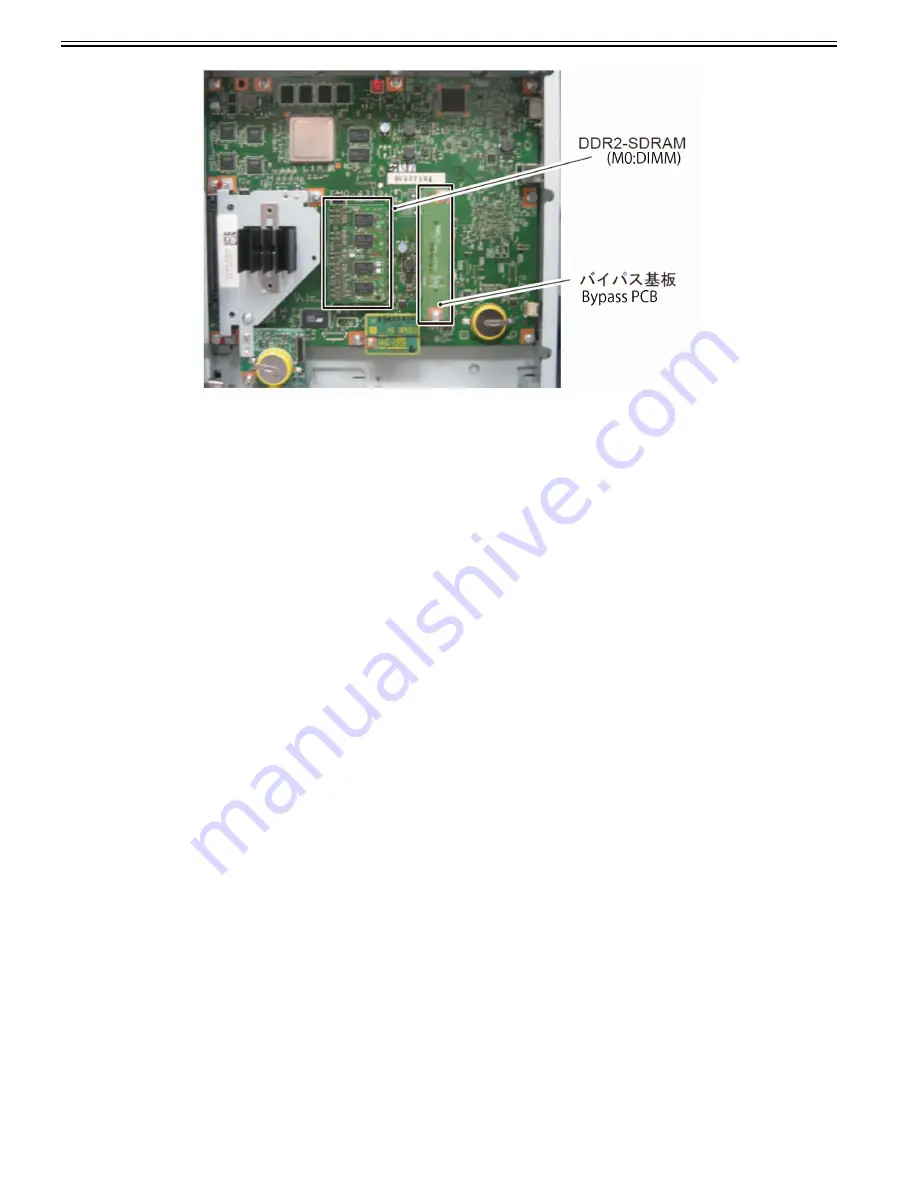
- Main Controller PCB 2 (with the Memory PCB installed)
- Memory PCB
1.1.7.1.76 How to set refresh operation of Fixing Belt
0031-6906
[ Manual-related ]
Description
Please explain how to set the refresh operation of Fixing Belt.
Field Remedy
In following service mode, the refresh operation of Fixing Belt can be set.
Service Mode > COPIER > Function > CLEANING > FX-CL-FQ
- Contact time (Amount of time where the Fixing Refresh Roller is in contact in a single refresh operation)
Setting range: From 0 to 3 (Default: 0)
- Frequency: Interval (the number of sheets (on 80 g/m2, A4 size conversion basis, it differs according to the paper type))
Setting range: From 300 to 30000 (Default: 3000)
- Temperature control (Fixing Temperature control table to be applied at refresh operation)
Setting range: From 0 to 4 (Default: 0)
[Caution]
- When Contact time or Frequency is increased, the life of the Fixing Refresh Roller is shortened.
- When the control temperature is increased, the effect of the refresh increases, but an image failure (lines, etc.) may occur.
1.1.7.1.77 How to check Fixing Refresh Roller cleaning counter
0031-6907
[ Manual-related ]
Description
Please explain the service mode to check the Fixing Refresh Roller cleaning counter.
Field Remedy
The Fixing Refresh Roller cleaning counter can be checked in the following service mode.
Service Mode > COPIER > COUNTER > CLEANING > FX1-RFRL
[Reference] If the operation time (seconds) of Fixing Refresh Roller needs to be checked due the insufficient refreshing effect or the cleaning counter needs to be
cleared after cleaning the Fixing Refresh Roller, use this service mode.
- Estimated cleaning timing value: 3600 seconds (equivalent to approx. 600,000 sheets)
- Setting range: From 0 to 9999 (Default: 0)
[Reference]
- Clear the counter value after cleaning.
- To clear the counter value, select the item and then press Clear key.
- When changing the estimated cleaning timing, select the item, enter the value and then press OK key.
- Operation time is cleared by selecting the item and then pressing the Clear key or clearing the counter value at Service Mode > COPIER > COUNTER > DRBL-
1 > FX-BLT-U.
Summary of Contents for imagePRESS C800 Series
Page 1: ...Dec 2 2014 Troubleshooting Guide imagePRESS C800 Series...
Page 2: ......
Page 6: ......
Page 8: ......
Page 9: ...Chapter 1 Correcting Faulty Images...
Page 10: ......
Page 14: ......
Page 114: ...Chapter 1 1 100 7 2 Select the envelope type press OK...
Page 165: ...Chapter 1 1 151 3 Pull the Tray all the way out...
Page 167: ...Chapter 1 1 153 5 Remove the Waste Toner Container...
Page 172: ...Chapter 1 1 158 2 Pull out the staple cartridge holding it by the green tab...
Page 180: ...Chapter 1 1 166 5 Push in the new staple case until it clicks to insert it...
Page 181: ...Chapter 1 1 167 6 Close the Cover for the saddle stitch staple cartridge...
Page 199: ...Chapter 1 1 185 b 1 Take out the Waste Toner Container 1...
Page 201: ...Chapter 1 1 187 b 2 Install the Waste Toner Joint 1 to the Waste Toner Container 2...
Page 206: ...Chapter 1 1 192 b 9 Remove the Prism 1 1 Screw 2 1 Hook 3...
Page 207: ...Chapter 1 1 193 b 10 Clean the toner adhered to the 2 A parts on the prism...
Page 208: ...Chapter 1 1 194 b 11 Clean the toner adhered to the A part of the Waste Toner Container...
Page 210: ...Chapter 1 1 196 2 Pull out the punch waste tray...
Page 217: ...Chapter 1 1 203 3 Discard the staple waste...
Page 239: ...Chapter 1 1 225 3 Press Memory Media 4 Select the target memory media...
Page 250: ...Chapter 1 1 236 Select Share files and folders using SMB Windows Select the account to be used...
Page 255: ...Dec 2 2014...
Page 256: ......


