Chapter 16
16-17
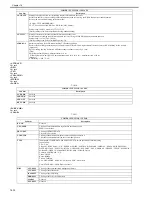
<USER>
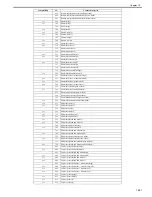
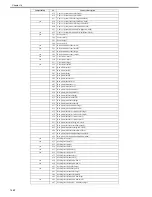
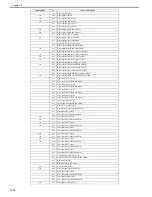
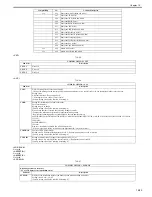
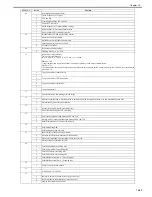
T-16-23
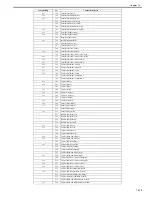
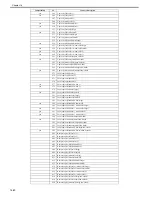
Software counter specifications
100 to 199: Total
200 to 299: Copy (When more numbers are needed, add the number from 001.)
300 to 399: Print
400 to 499: Copy and print
500 to 599: Scan
600 to 699: Box, Media/Pic/Mobile phone print
700 to 799: Reception print
800 to 899: Report print
900 to 999: Sending/Box/Remote/Media
<Explanation of the symbols in the table>
- yes: Valid counter for this machine
- Large size: Paper larger than B4-size
- Small size: B4-size or smaller paper
- Numbers 1, 2 indicated under "Counter Details": Number of counts for large size paper
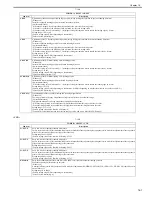
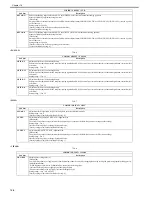
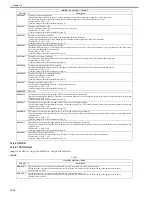
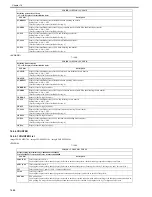
TMIC-BK
Switching of the method of correcting the end of TMIC_BK_PASCAL_LUT (high-density area)
Setting value:
0: Correction of the end of BK_LUT for PDL is set to OFF. Correction of the end of Bk_LUT for copy operation is set to OFF.
1: Correction of the end of BK_LUT for PDL is set to ON. Correction of the end of Bk_LUT for copy operation is set to ON.
[Factory setting value/Value after RAM clearing: 1]
AST-SEL
AST-SEL for the change of the advanced smoothing range (AST level SELect)
Setting range: 0 to 3
[Factory setting value/Value after RAM clearing: 2]
TMIC-CMY
Switching of the method of correcting the end of TMIC_PASCAL_LUT (high-density area)
0: Correction of the end of LUT for PDL is set to OFF. Correction of the end of LUT for copy operation is set to OFF.
1: Correction of the end of LUT for PDL is set to ON. Correction of the end of LUT for copy operation is set to ON.
[Factory setting value/Value after RAM clearing: 1]
TMC-SLCT
Switching of the coefficient used for error diffusion correction
Setting value:
0: Small granularity for CMYK
1: Small granularity for CMY, Large granu large stability for K
2: Large granu large stability for CMYK
[Factory setting value/Value after RAM clearing: 0]
IFXEML-Z
Control of the additional function of the attribute flag when printing a message received by email
Setting value:
0: For PDL_Text mode (CardDirect_Gray Correction ODM + Background On)
1: For PDL_Photo mode (CardDirect_Normal ODM + Background Off)
2: For Scan_Photo mode (CardDirect_Normal ODM + Background On)
[Factory setting value/Value after RAM clearing: 0]
* The Text mode is set as default because it is considered that many of the email messages contain documents mixed with text. ODM for CardDirect
is used regardless of PDL or Scan because there is a restriction in terms of input/output color space.
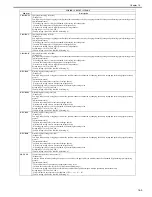
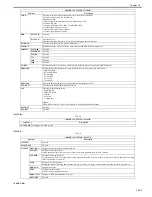
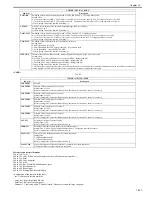
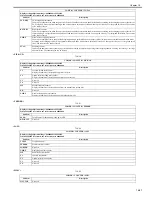
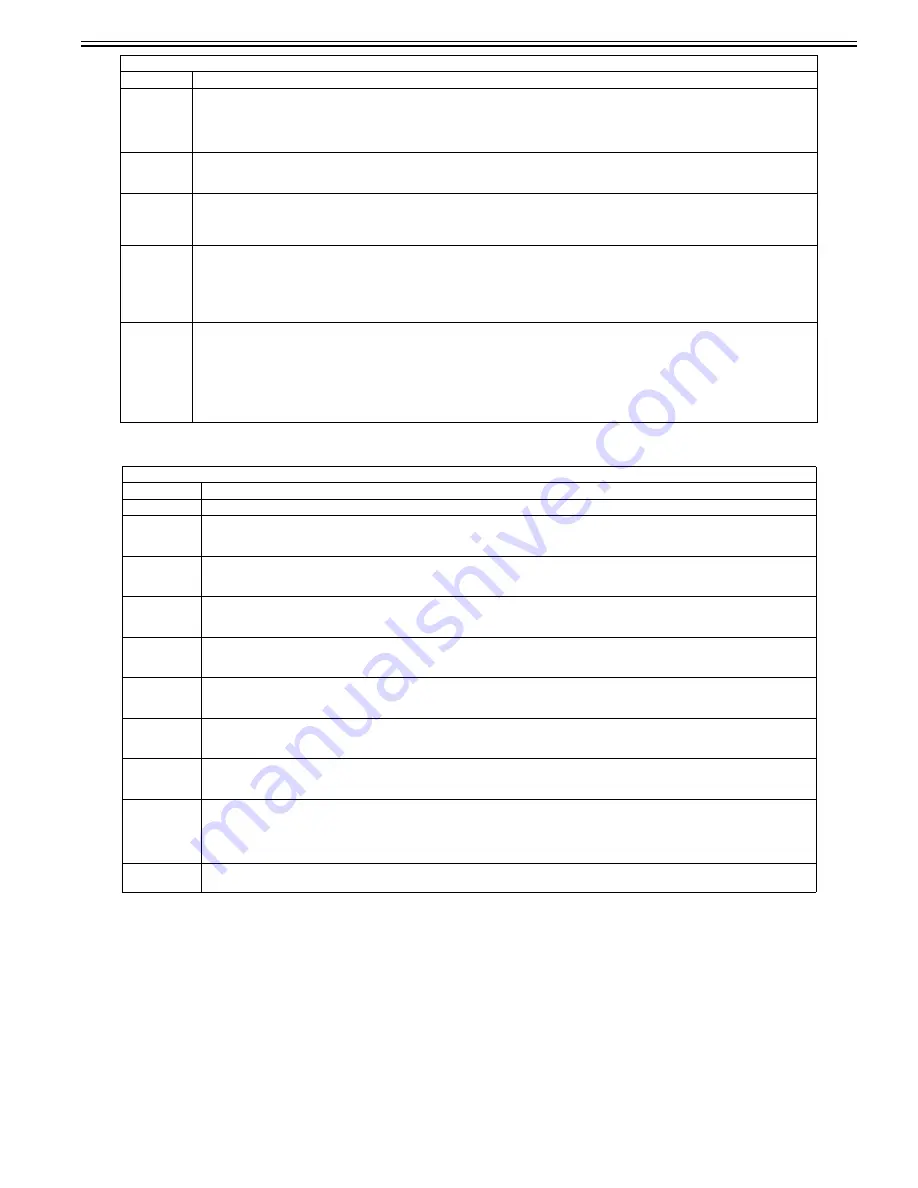
COPIER > OPTION > USER
Sub item
Description
COUNTER1
Not used
COUNTER2
Selection of the counter type for Counter 2
Setting range: 0 to 999
[Factory setting value/Value after RAM clearing: (Reference: External and Controls > Counters)]
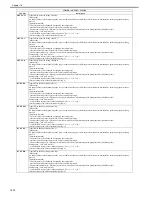
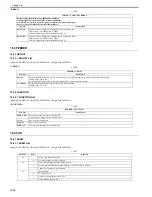
COUNTER3
Selection of the counter type for Counter 3
Setting range: 0 to 999
[Factory setting value/Value after RAM clearing: (Reference: External and Controls > Counters)]
COUNTER4
Selection of the counter type for Counter 4
Setting range: 0 to 999
[Factory setting value/Value after RAM clearing: (Reference: External and Controls > Counters)]
COUNTER5
Selection of the counter type for Counter 5
Setting range: 0 to 999
[Factory setting value/Value after RAM clearing: (Reference: External and Controls > Counters)]
COUNTER6
Selection of the counter type for Counter 6
Setting range: 0 to 999
[Factory setting value/Value after RAM clearing: (Reference: External and Controls > Counters)]
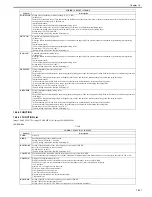
CNT-SW
Switching of the type of counter display
Setting range: 0 to 4
[Factory setting value/Value after RAM clearing: 0]
TNRB-SW
Switching of whether or not to display the toner bottle counter
Setting value: 0: Do not display the toner bottle counter. 1: Display the toner bottle counter.
[Factory setting value/Value after RAM clearing: 0]
SCALL-SW
Turning ON/OFF call button function (For future expansion)
Setting value:
0: Call button function OFF
1: Call button function ON
[Factory setting value/Value after RAM clearing: 0]
SCALLCMP
Actions when repair of call button function is completed (For future expansion)
Used when actions for a repair request are completed.
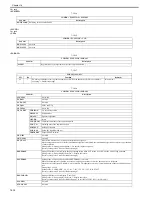
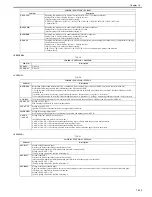
COPIER > OPTION > BODY
Sub item
Description
Summary of Contents for imageCLASS MF8450c
Page 16: ...Chapter 1 Introduction ...
Page 55: ...Chapter 2 Basic Operation ...
Page 61: ...Chapter 3 Main Controller ...
Page 75: ...Chapter 4 Original Exposure System ...
Page 88: ...Chapter 5 Original Feeding System ...
Page 105: ...Chapter 6 Laser Exposure ...
Page 113: ...Chapter 7 Image Formation ...
Page 150: ...Chapter 8 Pickup and Feed System ...
Page 184: ...Chapter 9 Fixing System ...
Page 200: ...Chapter 10 External and Controls ...
Page 230: ...Chapter 11 Maintenance and Inspection ...
Page 233: ...Chapter 12 Measurement and Adjustments ...
Page 237: ...Chapter 13 Correcting Faulty Images ...
Page 260: ...Chapter 14 Error Code ...
Page 272: ...Chapter 15 Special Management Mode ...
Page 280: ...Chapter 16 Service Mode ...
Page 322: ...Chapter 17 Upgrading ...
Page 327: ...Chapter 17 17 4 3 Click Next F 17 4 4 Select a USB connected device and click Next F 17 5 ...
Page 328: ...Chapter 17 17 5 5 Click Start F 17 6 6 Click Yes F 17 7 Download will be started F 17 8 ...
Page 330: ...Chapter 18 Service Tools ...
Page 334: ...Appendix ...
Page 349: ......

