Chapter 1
1-26
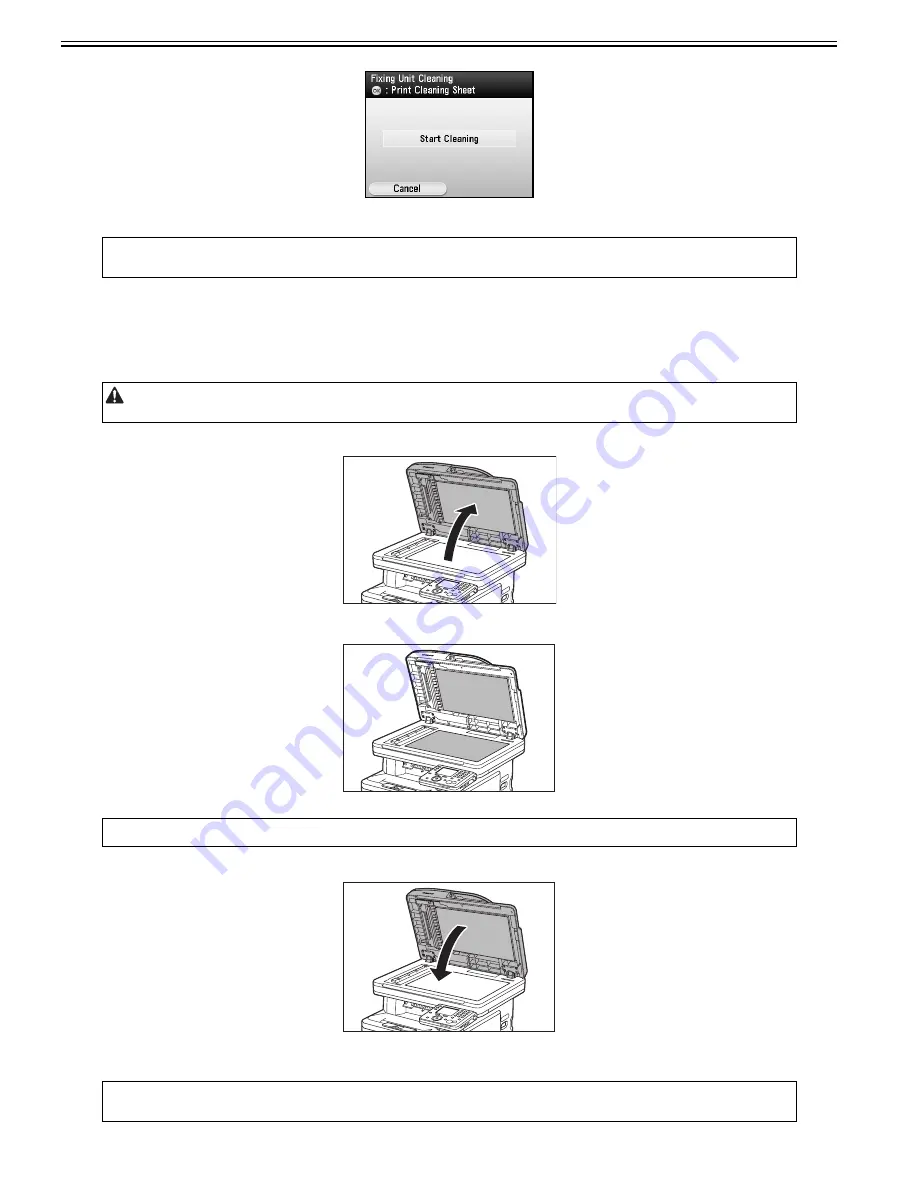
F-1-12
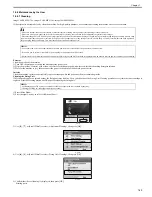
The display returns to the Adjustment/Cleaning screen.
6) Press (Main Menu) to return to the Main Menu screen.
Scanning Area
Keep the scanning area clean to avoid dirty copies or faxes to be sent.
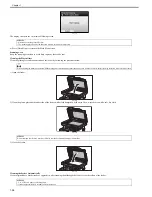
Cleaning the Platen Glass
Clean the platen glass and the underside of the feeder by following the procedure below.
1) Open the feeder.
F-1-13
2) Clean the platen glass and the underside of the feeder with a cloth dampened with water. Then, wipe the area with a soft, dry cloth.
F-1-14
3) Close the feeder.
F-1-15
Cleaning the Feeder Automatically
If your originals have black streaks or appear dirty after scanning them through the feeder, clean the rollers of the feeder.
MEMO:
- Discard the cleaning sheet after use.
- The cleaning process cannot be canceled. Please wait until it is completed.
When cleaning the machine, first turn OFF the main power switch, and disconnect the power cord. Failure to observe these steps may result in a fire or electrical shock.
MEMO:
Do not dampen the cloth too much, as this may tear the document or damage the machine.
MEMO:
- Use LTR or A4 paper as cleaning paper.
- It takes approximately 30 seconds to clean the feeder.
Summary of Contents for imageCLASS MF8450c
Page 16: ...Chapter 1 Introduction ...
Page 55: ...Chapter 2 Basic Operation ...
Page 61: ...Chapter 3 Main Controller ...
Page 75: ...Chapter 4 Original Exposure System ...
Page 88: ...Chapter 5 Original Feeding System ...
Page 105: ...Chapter 6 Laser Exposure ...
Page 113: ...Chapter 7 Image Formation ...
Page 150: ...Chapter 8 Pickup and Feed System ...
Page 184: ...Chapter 9 Fixing System ...
Page 200: ...Chapter 10 External and Controls ...
Page 230: ...Chapter 11 Maintenance and Inspection ...
Page 233: ...Chapter 12 Measurement and Adjustments ...
Page 237: ...Chapter 13 Correcting Faulty Images ...
Page 260: ...Chapter 14 Error Code ...
Page 272: ...Chapter 15 Special Management Mode ...
Page 280: ...Chapter 16 Service Mode ...
Page 322: ...Chapter 17 Upgrading ...
Page 327: ...Chapter 17 17 4 3 Click Next F 17 4 4 Select a USB connected device and click Next F 17 5 ...
Page 328: ...Chapter 17 17 5 5 Click Start F 17 6 6 Click Yes F 17 7 Download will be started F 17 8 ...
Page 330: ...Chapter 18 Service Tools ...
Page 334: ...Appendix ...
Page 349: ......

