Chapter 7
7-32
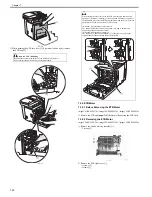
F-7-70
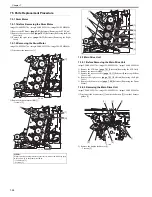
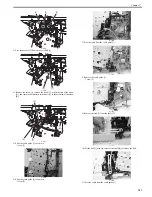
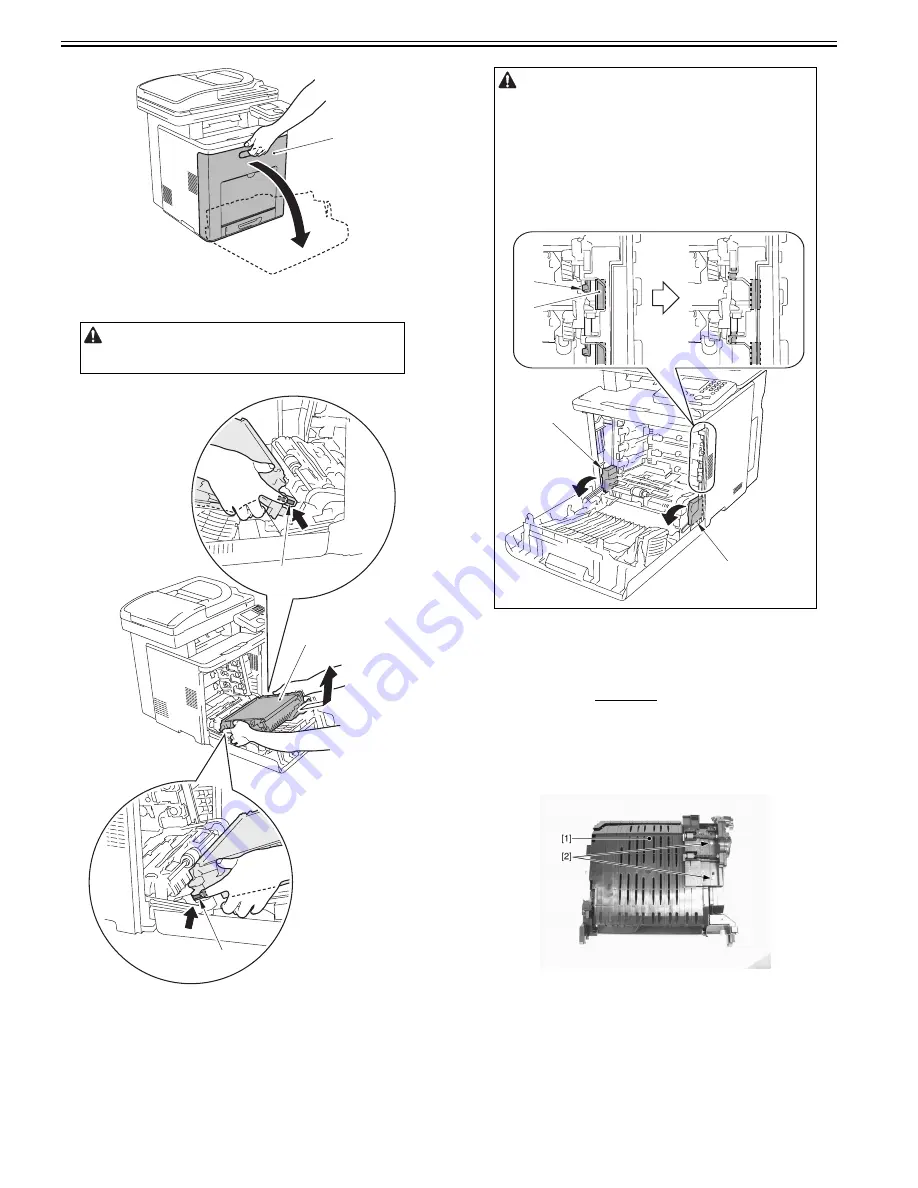
2) While pushing the ETB lock lever [1] (2 points at left and right), remove
the ETB unit [2].
F-7-71
7.5.5 ETB Motor
7.5.5.1 Before Removing the ETB Motor
0019-5795
imageCLASS MF9170c / imageCLASS MF9150c / imageCLASS MF8450c
1) Remove the ETB unit.
Reference [Removing the ETB Unit]
7.5.5.2 Removing the ETB Motor
0019-5798
imageCLASS MF9170c / imageCLASS MF9150c / imageCLASS MF8450c
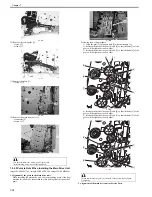
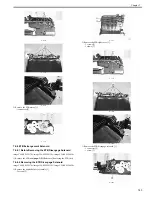
1) Remove the duplex delivery assembly [1].
- 2 screws [2]
F-7-72
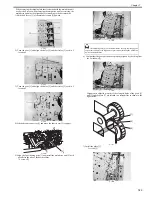
2) Remove the ETB right cover [1]
-3 screws [2]
-5 claws [3]
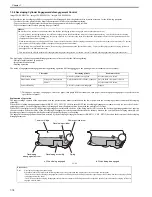
Points to Note At Handling
Be careful not to touch the surface of the ETB belt or damage it.
Dirts or small cuts on the belt may cause image faults.
[1]
[1]
[1]
[2]
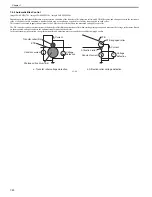
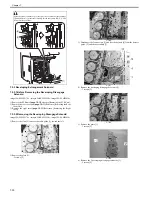
When closing the front cover with the ETB unit removed and then and
opening it, the drawer connector [1] faces upward. The drawer connector
facing upward may cause the following symptoms; and therefore, be sure to
put down the 2 drawer connectors [1] if necessary.
- When the toner cartridge is not removed
The shutter of the toner cartridge is opened, resulting in deteriorated
sensitivity of the photosensitive drum.
- When the toner cartridge is removed
The coupling [2] and lock mechanism [3] of the toner cartridge works
together and the toner cartridge cannot be installed.
[1]
[1]
[2]
[3]
Summary of Contents for imageCLASS MF8450c
Page 16: ...Chapter 1 Introduction ...
Page 55: ...Chapter 2 Basic Operation ...
Page 61: ...Chapter 3 Main Controller ...
Page 75: ...Chapter 4 Original Exposure System ...
Page 88: ...Chapter 5 Original Feeding System ...
Page 105: ...Chapter 6 Laser Exposure ...
Page 113: ...Chapter 7 Image Formation ...
Page 150: ...Chapter 8 Pickup and Feed System ...
Page 184: ...Chapter 9 Fixing System ...
Page 200: ...Chapter 10 External and Controls ...
Page 230: ...Chapter 11 Maintenance and Inspection ...
Page 233: ...Chapter 12 Measurement and Adjustments ...
Page 237: ...Chapter 13 Correcting Faulty Images ...
Page 260: ...Chapter 14 Error Code ...
Page 272: ...Chapter 15 Special Management Mode ...
Page 280: ...Chapter 16 Service Mode ...
Page 322: ...Chapter 17 Upgrading ...
Page 327: ...Chapter 17 17 4 3 Click Next F 17 4 4 Select a USB connected device and click Next F 17 5 ...
Page 328: ...Chapter 17 17 5 5 Click Start F 17 6 6 Click Yes F 17 7 Download will be started F 17 8 ...
Page 330: ...Chapter 18 Service Tools ...
Page 334: ...Appendix ...
Page 349: ......

