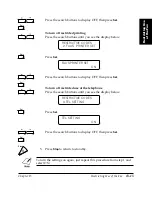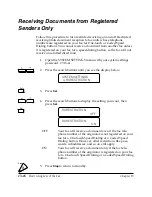
Chapter 13
Restricting Use of the Fax
13-21
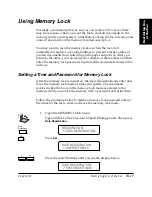
Restricting Use
of the Fax
LASER CLASS 3170 Series.
CFYA/YAH/YAN 120v US V1.0
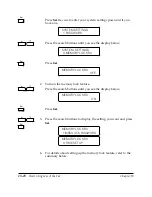
2.
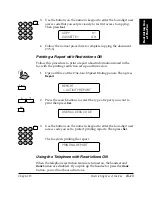
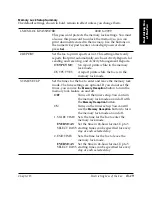
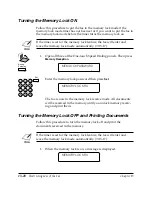
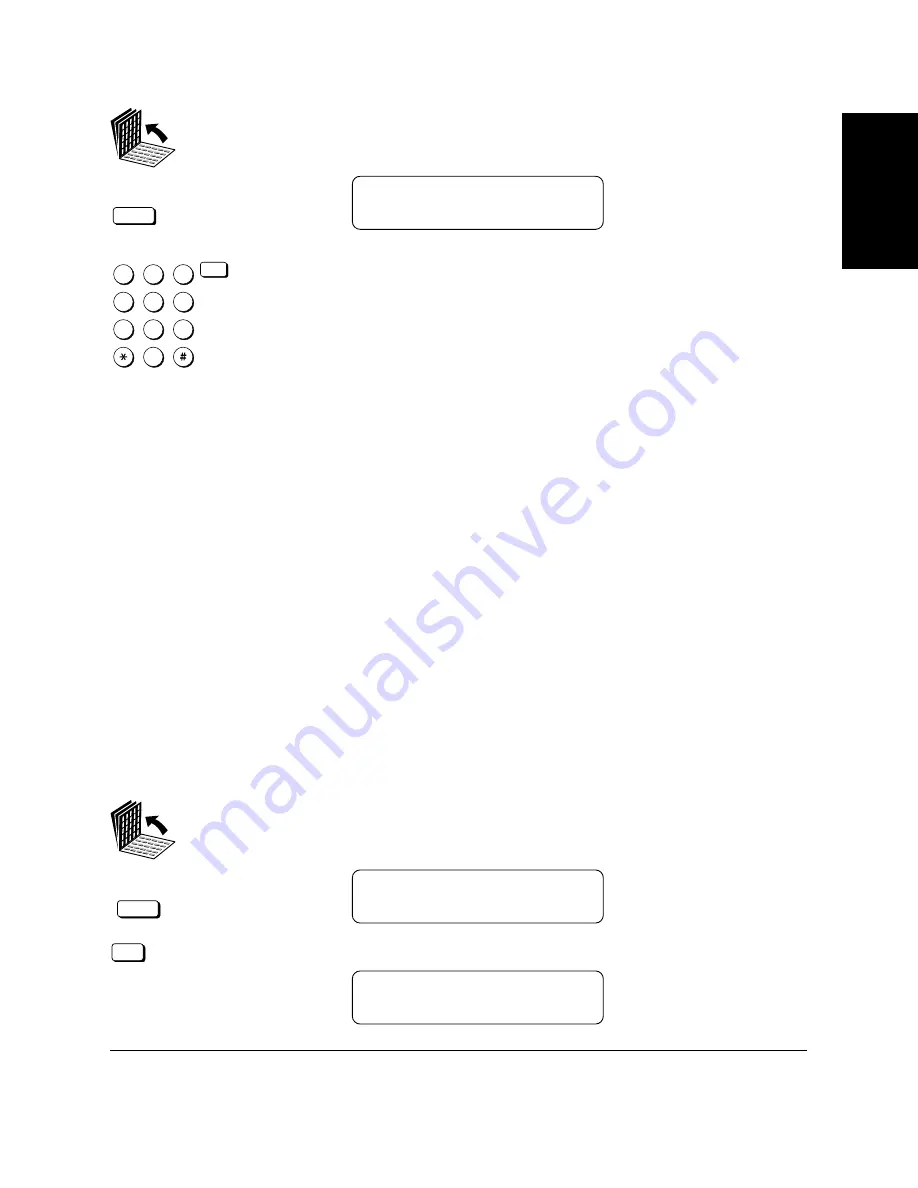
Open all three of the One-touch Speed Dialing panels. Then press
Memory Reception
.
Memory
Reception
MEM LOCK PASSWORD
_
3.
1
4
7
2
5
8
0
3
6
9
ABC
GHI
PRS
JKL
TUV
OPER
M NO
WXY
DEF
Tone
SYMBOLS
Set
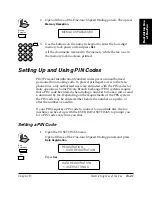
Use the buttons on the numeric keypad to enter the four-digit
memory lock password and press
Set
.
All the documents received in the memory while the fax was in
the memory lock mode are printed.
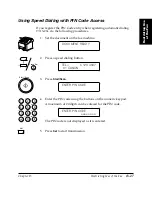
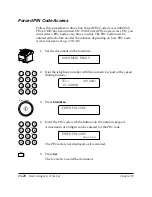
Setting Up and Using PIN Codes
PIN (Personal Identification Number) codes prevent unauthorized
personnel from making calls. To protect privileged access to the tele-
phone lines, only authorized users are entrusted with the PIN codes for
daily operations. Some Private Branch Exchange (PBX) systems require
that a PIN code be entered when dialing a number to make a call or send
a document by fax. Depending on the requirements of the PBX system,
the PIN code may be entered either before the number as a prefix, or
after the number as a suffix.
If your PBX requires a PIN code to connect to an outside line, the fax
machine can be set up with the USER DATA SETTINGS to prompt you
for a PIN code every time you dial.
Setting a PIN Code
1.
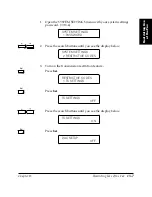
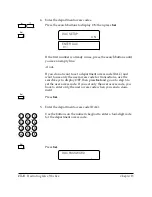
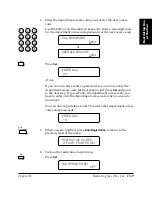
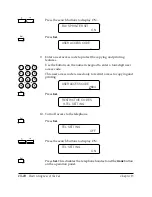
Open the TX SETTINGS menu.
Open all three of the One-touch Speed Dialing panels and press
Data Registration
.
Data
Registration
REGISTRATION
1.DATA REGISTRATION
Set
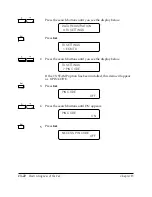
Press
Set
.
DATA REGISTRATION
1.USER SETTINGS
Summary of Contents for 3175 Series
Page 1: ......
Page 2: ...Preface i FACSIMILE USER S GUIDE ...
Page 91: ...2 60 Setting Up Chapter 2 ...
Page 263: ...10 14 Using Confidential Mailboxes Chapter 10 ...
Page 287: ...11 24 Setting Up and Using Polling Chapter 11 6 Stop Press Stop to return to standby ...
Page 303: ...12 16 Other Special Features Chapter 12 ...
Page 403: ...15 52 Maintenance Frequently Asked Questions Chapter 15 ...
Page 447: ...B 4 Documents You Can Scan Appendix B ...
Page 474: ......

