


BASIC EDITING
65
Bas
ic Ed
iti
n
g
2
c
Touch
to select the thread mark to be
sewn.
d
Touch .
Embroidering the Pattern
Repeatedly
After creating the repeated pattern, rehoop the
embroidery frame and keep embroidering for the
next pattern.
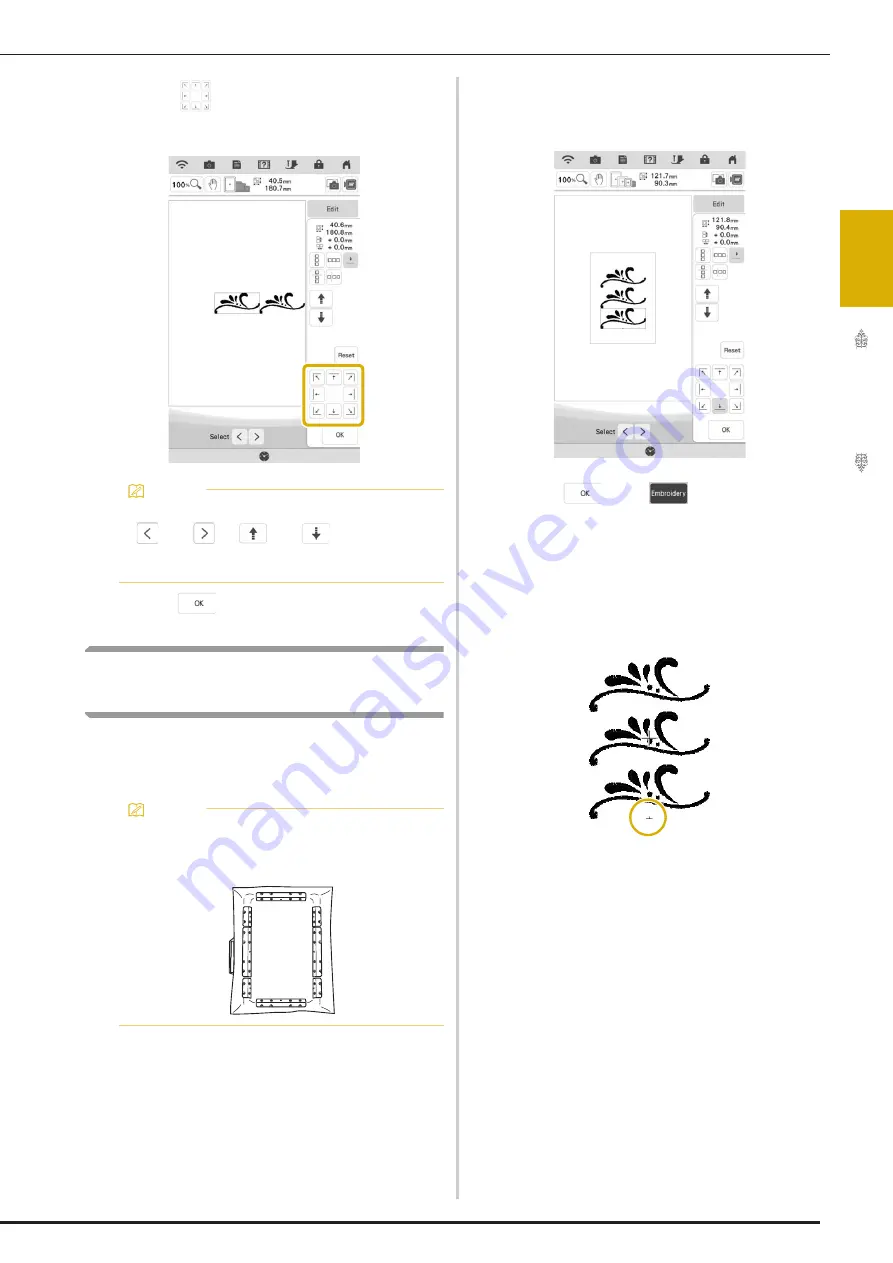
a
Select the border pattern with the thread
mark at the center of the end of the pattern.
*
Refer to “Assigning Thread Marks” on page 64.
b
Touch ,
then .
c
Press the “Start/Stop” button to begin
embroidering.
When embroidering is finished, the thread mark is
embroidered with the last thread color.
d
Remove the embroidery frame.
e
Rehoop the fabric in the embroidery frame.
Memo
• When there are two or more elements, use
and
or
and
to select a
pattern that you want to assign a thread
mark(s) to.
Memo
• Using the optional magnetic frames, the fabric
can be easily rehooped. For details, refer to
the manual included with magnetic frame.
Summary of Contents for Solaris VISION BLSA3
Page 1: ......
Page 2: ......
Page 6: ...CONTENTS 4 ...
Page 7: ...Chapter 1 Embroidery Step by Step ...
Page 59: ...Chapter 2 Basic Editing ...
Page 87: ...Chapter 3 Advanced Editing ...
Page 150: ...USING THE CAMERA TO CONNECT PATTERNS 148 ...
Page 151: ...Chapter 4 IQ Designer ...
Page 192: ...IQ INTUITION POSITIONING APP 190 ...
Page 193: ...Chapter 5 Appendix ...
Page 204: ...English 882 W34 Version 0 ...


