Draw
75
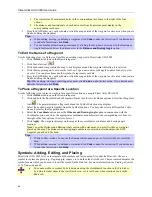
Use the following steps to draw a line.
1.
Click the
Draw
tab to open the Draw dialog area.
2.
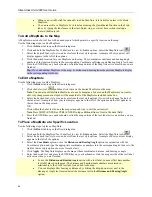
Click and hold the Line/Arc/Spline tool to view its hidden options. Select the Line tool
.
3.
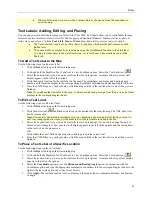
Select a line style from the Style drop-down list.
4.
Click the line color button (next to the Style drop-down list) to select a line color.
5.
If available, select a line width from the Width drop-down list.
Note
: The Width option is not available for all line styles.
6.
If available, select the Highlight check box to make your line appear translucent on the map.
Note
: The Highlight option is not available for all line styles.
7.
Select the
Show Measurement
check box to display information about the points on the map as you draw
the line. As you add each point, a text box displays next to your pointer indicating the bearing or angle, leg
(line segment) length, and total length of the whole line on the map.
Note
: Labels display when end points are clicked if the Show Measurement check box is selected.
8.
Click the map to designate the start and end points of each line segment.
OR
Drag your cursor on the map. The line displays as a squiggly line.
•
The coordinates of each point display in the corresponding text boxes to the right of the line
options.
•
The distance and bearing/angle of each new point from its previous point display in the
corresponding text boxes.
9.
To finish the line, click the last point on the map screen and then click
Done
.
OR
Click the last point on the map screen and press the ENTER key on your keyboard.
OR
Double-click the last point of the line.
10.
To label your line, select the line twice, then type the label in the text box which displays next to the line.
To Edit a Line
Use the following steps to edit a line.
1.
Click the
Draw
tab to open the Draw dialog area.
2.
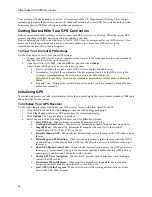
Click the Select tool
and then click the line you want to edit.
•
A box displays around the selected line.
•
The shape points used to create the line display as small, magenta squares.
Note
: You can also edit multiple lines at once by dragging a box around the lines you want to edit. Any
changes made in steps 5 will be made to all of the lines included in the box.
3.
Change any of the line style, color, or width (if available) options of the existing line.
OR
You can:
•
Edit any label on a line by selecting the line twice, then typing the label in the text box which
displays next to the line.
•
Reshape the line by dragging any of the points in the line to a new location. When you select a
shape point of a line segment within an active line:
•
A small green circle indicates the start end point of the selected line segment.
•
A small red circle indicates the last end point of the selected line segment.
•
Select the
Coordinate
option or the
Distance and Bearing/Angle
option and edit their numbers.
Click
Apply
to initiate the changes.
Notes
:
•
You can display either bearing or distance by clicking the drop-down arrow next to the
Bearing or Angle text located below the distance text in the
Distance and Bearing/Angle
option.
•
You can also delete points and line segments from or add points to a line. For more
information on points, deleting points and line segments, and adding points, see the
following topics:
•
Deleting Points and Line Segments from Draw Objects
on page 71

