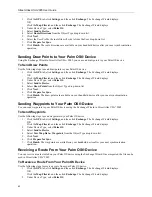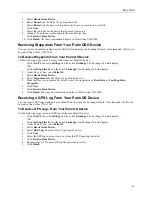
49
Print Overview
Street Atlas USA 2005 lets you perform the following functions:
•
Print single and multi-page maps.
•
Print your route and/or route directions.
•
Save your map as a bitmap or JPEG image.
•
Save your route directions as a text file.
•
Copy a map to the clipboard.
•
E-mail the print area and/or route directions to a friend.
•
You can print maps from Street Atlas USA 2005 through any Windows-compatible printer
driver. Strange characters or incomplete output are usually the result of an incompatible,
outdated, or improperly configured printer driver. There are also differences between black-
and-white and color printers.
•
Before printing, click the
tab to open the Print dialog area and then click the Setup
button
. If the options are available, set the graphics mode to use raster graphics and set
TrueType fonts to print as graphics. Consult your printer manual for additional information.
•
Printouts from Street Atlas USA 2005 contain complex graphic images and it may take
several minutes to print each page. After clicking
, the program gives you the option to
cancel while it is processing the map area.
Printing a Map
Street Atlas USA 2005 lets you print a map based on your paper size or screen size. If you choose to print a map
based your paper size, you can also print a multipage map which can be assembled using the
Manually Assembling a
Multipage Map
instructions on page 52.
To Print a Map
Use the following steps to print a map.
1.
Locate the area you want to print.
2.
Click the
tab. The Print dialog area displays.
3.
Click
Map
. The Map dialog area displays.
4.
Under Map Layout, select
Page
(the map print area is based on the paper size you have specified in the
Setup options) or
Screen
(the map print area is based on the screen size).
The print area for a Page map displays as a red box on the map (may not be visible) and the overview map
and the print area for a Screen map displays as a blue box on the overview map.
5.
If you selected
Screen
in step 4, proceed to step 6. If you selected
Page
in step 4, the following options are
available.
a.
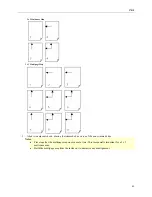
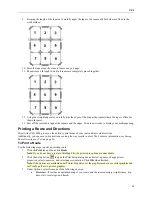
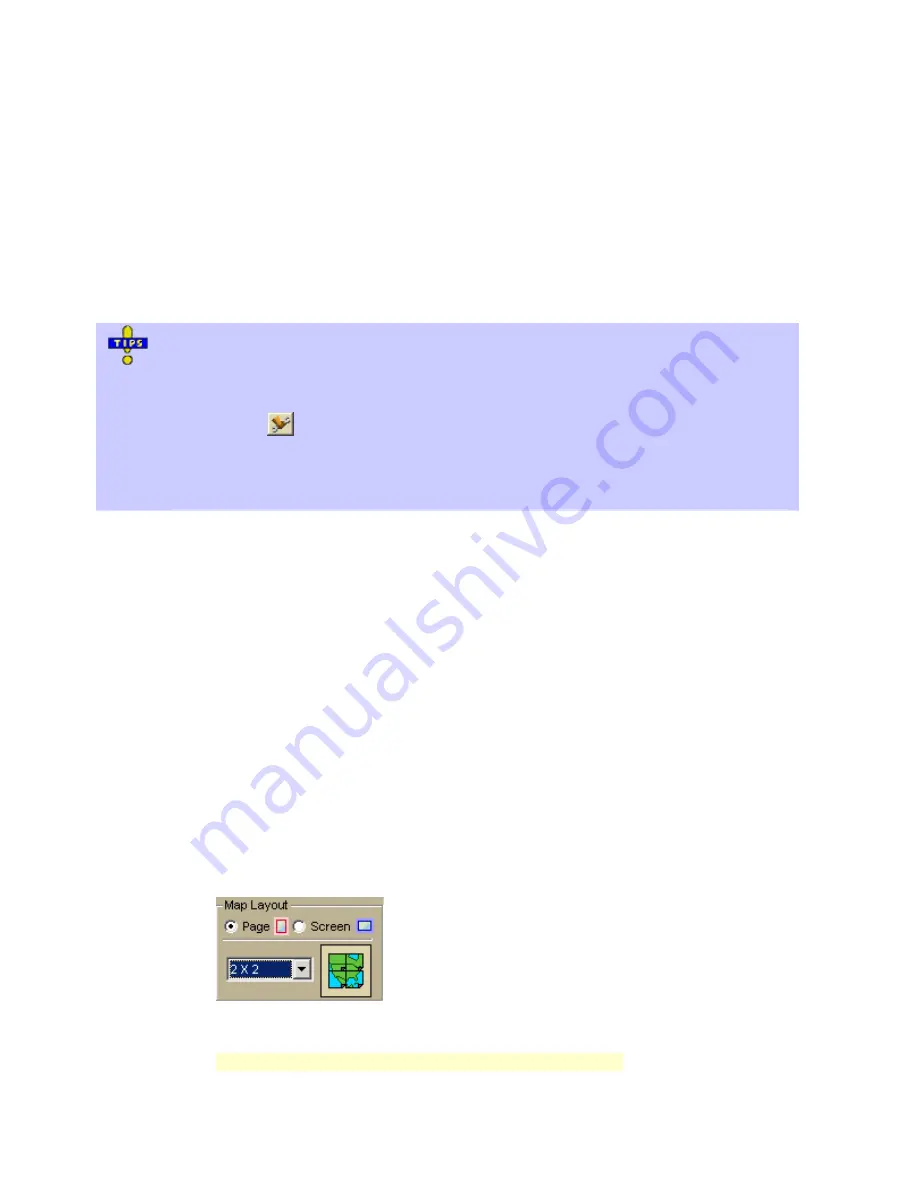
Under Map Layout, select a layout option (Single, 2 x 2, or 3 x 3) from the available drop-down
list. The print area displays on both the Map and the Overview Map. In the example below, 2 x 2
is selected. This means the print area encompasses four standard pages at whatever paper size you
specified in the Setup options.
b.
Optional: If you selected 2 x 2 or 3 x 3 in step 5a (and do not want to print all the pages in the
multipage map) on the Map Layout graphic itself, click the page(s) you do not want to print. The
page appears dimmed or gray.
Note
: In the example below, page 4 will not print for the 2 x 2 map.

