Street Atlas USA 2005 User Guide
96
Almanac
When using a DeLorme GPS receiver, the Almanac window displays the satellite
number and its current status.
N
—Indicates the satellite is being used for navigation.
E
—Indicates ephemeris data is available for the satellite.
T
—Indicates the satellite is currently being tracked by your GPS receiver.
D
—Indicates differential data is available for that satellite.
Notes
:
•
Differential data is available on WAAS-enabled devices.
•
Almanac information is only available for DeLorme receivers.
Skyview
The Skyview diagram indicates visible satellites, their number (assigned by the
Department of Defense), and their position in the sky relative to your current position.
Each satellite is color coded, based on the quality of data it is transmitting.
Gray
—Indicates the satellite's position in the sky.
Red—
Indicates your GPS receiver is tracking the satellite, but it is not receiving data
from it.
Yellow—
(DeLorme GPS receivers only) Indicates your receiver is tracking the satellite,
ephemeris data is available, but the satellite is not being used for navigation.
Green
—Indicates your GPS receiver is tracking the satellite, ephemeris data is available,
and the satellite is being used for navigation.
Dark Green—
(WAAS-enabled receivers only) Indicates your receiver is tracking the
satellite, ephemeris data is available, the satellite is being used for navigation, and the
satellite has DGPS and WAAS corrections available.
Blue
—(WAAS-enabled receivers only) Indicates a WAAS satellite used for corrections.
Tracking Your Route Directions
When tracking in Street Atlas USA 2005, you can follow along a road route you have created. As you travel, Street
Atlas USA 2005 highlights the current leg (segment) of your route.
•
To automatically recalculate your route when off track, select the
Auto
check box next to the
Back on Track button in the New/Edit tab area. If you do not want the program to automatically
recalculate your route when off track, just click
Back on Track
.
•
The Turns option is only available during GPS tracking.
•
You can only track route directions for a road route.
To Track a Route
Use the following steps to track a route.
1.
Initialize your GPS receiver and begin tracking.
Note
: This is not necessary if you have selected the
Auto Start GPS
check box on the Settings dialog area
in the GPS tab.
2.
Click the
Route
tab and then click
Directions
. The Route Directions dialog area displays.
3.
Select the
GPS Track
check box (if it is not already selected).
4.
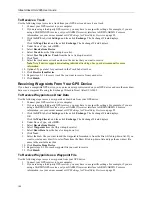
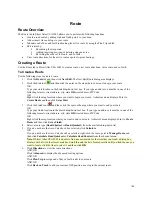
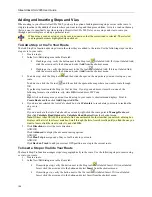
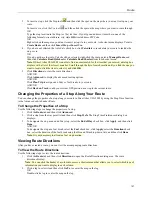
Click the Expand to Maximum Height button
in the upper-right corner of the dialog box to expand the
list view.
Note
: To change a column header name and the information that displays in its list, click the column
header. A shortcut menu displays all available options, with the currently selected item in bold. Select the
desired column header.
5.
To view next turn information, click
Show
Turns
. The Show Turns dialog area displays the following:
•
A turn graphic indicating the direction of your next turn
•
Distance (in the format chosen in Units on the Map Display tab)
•
Time and distance until next turn
•
The estimated time of arrival (ETA) of your next stop

