Basic Functions
33
•
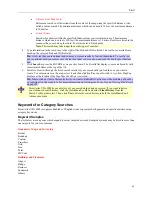
To delete a draw object, right-click the desired item, click
Manage Draw Objects
, and then click
Delete Draw Object
.
•
To join multiple lines, press the CTRL key on your keyboard while you select the lines, click
Manage Draw Objects
, and then click
Join Lines
.
•
To break a line, select the line on the map, click
Manage Draw Objects
, and then click
Break
Line
.
•
To copy a line directly on the selected item, click
Manage Draw Objects
and then click
Copy to
Draw Object
. By using options in the Draw tab, you can select and then move and/or manipulate
the linear object. For example, you can use a road as one edge of a polygon shape, by dragging its
shapepoints into the desired configuration. Map lines which can be copied to Draw objects include
all types of roads and highways, railroad, power lines, pipelines, rivers or streams, and grid lines.
•
Info
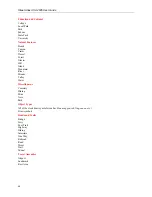
Right-click a point, symbol, feature, or area on the map and then click
Info
to identify it and view detailed
information about it. This information displays in the Info tab.
Notes
:
The type of descriptive information varies, depending on the item you have right-clicked. You can
also copy the information and paste it into another program, such as a word processor.
If there is more than one object under the point you clicked, information for each object displays.
•
Find Travel POIs
1.
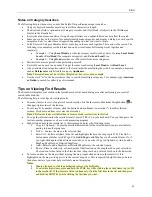
Right-click a point on the map, point to
Find Travel POIs
, and then select a distance. The Find
tab displays and a category search is launched.
2.
When the Find Category within Distance from Mouse Click dialog box displays the general
categories, review the listing. Clear the check box of any category you do not want included in
your results.
3.
Click
OK
to perform the search. Results are sorted based on the distance from the point where you
clicked.
Note
: The search may take awhile, depending on the location and the distance specified.
•
Create Route
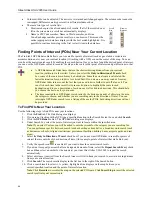
You can use Create Route right-click options from any tab. Right-click a point on the map and then select
one of the options in the table below.
Note:
Once set, route points can be repositioned or resequenced. For more information, see
Editing a Route
on page 108.
Routing option
Function
Set as Start
Sets the selected point as the starting point of your route.
Add Stop
Adds a numbered stop to your route. All new stops are added in sequence.
Add Via
Adds a numbered via to your route. All new vias are added in sequence.
Insert Stop
Inserts a stop geographically within your route. (If the Automatic Calculation
check box is selected in the Route dialog area, the route automatically
recalculates based on shortest distance between each stop.)
Insert Via
Inserts a via geographically within your route. (If the Automatic Calculation
check box is selected in the Route dialog area, the route automatically
recalculates based on shortest distance between each stop.)
Set as Finish
Sets the selected point as the endpoint of your route.
•
Copy Map to Clipboard
Copies the current map to the clipboard so that it can be pasted into a third-party application (such as a
Word Processing application).

